What Is The Best Paint For A Bathtub
Hey there, bathtub renos! Ever stare at your dingy tub and think, "This thing needs a serious glow-up"? Me too! And then comes the million-dollar question (well, maybe not a million, but definitely a few bucks): what’s the best paint for a bathtub? It’s not quite as simple as grabbing a can of your favorite wall color, you know? We’re talking about a place that gets wet. And gets scrubbed. And sometimes has to endure questionable bath bomb explosions. So, let’s dive in (pun intended!) and figure this out, shall we?
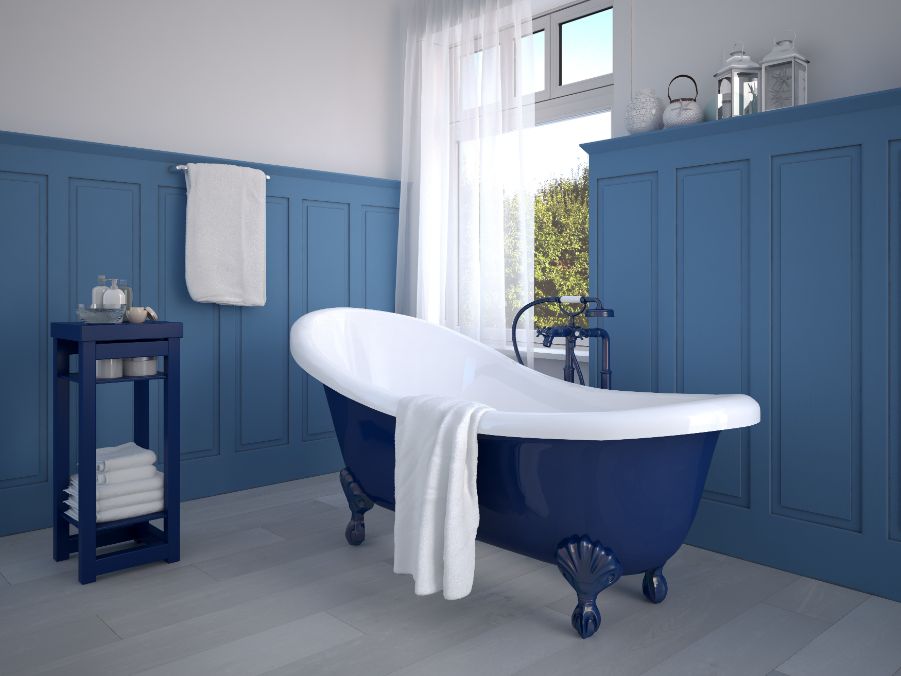
First things first, let’s get real about what we’re dealing with. Bathtubs aren’t exactly painted with typical house paint. They’re usually made of stuff like porcelain, enamel, fiberglass, or acrylic. And these surfaces can be a bit… picky. They don’t always play nice with just any old paint. So, when we talk about “painting a bathtub,” we’re usually talking about refinishing or resurfacing it. Think of it like giving your old tub a fancy new outfit, not just slapping on a coat of nail polish.
Now, you might be tempted to run to the hardware store and grab whatever looks pretty. Hold your horses, there, speedy Gonzales! We need to be a little more strategic. The “best” paint isn’t just about color; it’s about durability, adhesion, and its ability to withstand the steamy, sudsy, and sometimes even acidic (hello, harsh cleaners!) environment of your bathroom.
So, What’s the Magic Potion?
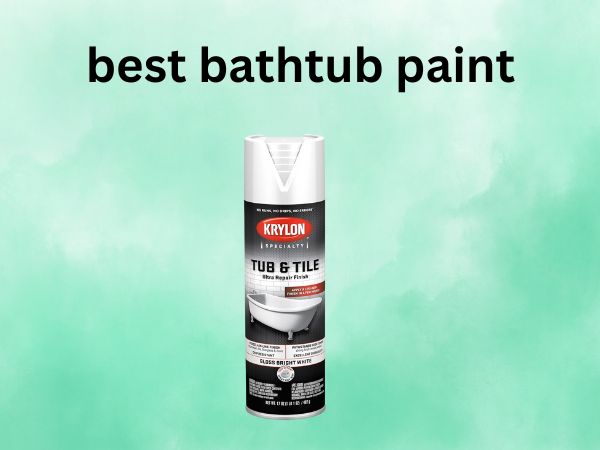
The real stars of the show when it comes to bathtub paint are usually epoxy-based paints or specialized tub and tile refinishing kits. These aren’t your grandma’s latex wall paints. They’re designed to form a tough, waterproof, and durable surface that can stand up to the rigors of bathtub life.
Epoxy paints are often a two-part system. You mix a resin and a hardener, and when they combine, they create a super strong, glossy finish. It’s like a chemical reaction of awesomeness! This stuff is seriously tough and can give you a factory-like finish if you apply it correctly. It’s also pretty resistant to moisture and chemicals, which is exactly what we need in a bathroom.
Then there are the tub and tile refinishing kits. These are usually more of an all-in-one solution, often enamel-based. They’re designed to be a bit more DIY-friendly, which is music to our ears, right? They typically come with primers and topcoats, and the instructions are usually pretty clear. Think of them as the pre-packaged meal of bathtub painting – less prep, more immediate gratification!
Why These Guys Rock (and Regular Paint Doesn’t)
Let’s break down why these specialized paints are the superheroes of bathtub renovation. Imagine trying to paint your car with house paint. It wouldn't last five minutes in the rain, would it? Same principle applies here.
1. Water, Water Everywhere, and Not a Paint Drop to Spare!
Bathtubs are, by definition, designed to hold water. This means the paint needs to be waterproof. Regular paints can get gummy, peel, or even mold if they’re constantly exposed to moisture. Our special bathtub paints are engineered to seal the surface and keep that water from seeping in and causing trouble.
2. The Scrubbing Factor: A Bathtub’s Nemesis
Let’s be honest, we’re not always gentle with our tubs. We scrub, we use cleaning products (sometimes the industrial-strength kind!), and we don’t always rinse immediately. The paint needs to be scratch-resistant and chemical-resistant. Epoxies and good refinishing kits can handle a good scrub-down without showing their age too quickly. Regular paint? It’d be begging for mercy after a week.
![6 Best Paints for Fiberglass Bathtub [Complete Buying Guide 2026]](https://bathroomexplorer.com/wp-content/uploads/2024/12/Best-Paints-for-Fiberglass-Bathtub.jpg)
3. Adhesion is Key!
This is where things can get tricky. Bathtub surfaces are often smooth and non-porous. Paint needs something to grab onto. That’s where primers come in, and the specialized formulations of these paints are designed to adhere beautifully to prepared tub surfaces. Without proper adhesion, your beautiful new paint job will be peeling off faster than a sunburn on a beach vacation.
4. The Finish Line: Glossy and Gorgeous
Most people want their bathtub to look shiny and new, right? These specialized paints often come in a high-gloss finish that mimics the original look of many bathtubs. It’s that smooth, slick, easy-to-clean surface we all desire. Think of it as giving your tub a spa day, every day!
Choosing Your Champion: Epoxy vs. Refinishing Kits
Now, which one should you choose? It really depends on your DIY confidence level and your desired outcome.
Epoxy Paints: The Serious Contender
Pros:
- Incredible durability: These things are tough cookies!
- Excellent water and chemical resistance: Your tub will be practically invincible.
- Beautiful, glossy finish: Can look like a brand-new tub.
- Long-lasting: With proper application, it can last for years.
Cons:
- Requires thorough prep work: This is NOT a quick weekend project if you want it done right. You'll be sanding, cleaning, and priming like a pro.
- Can be more challenging to apply: Mixing two parts correctly and ensuring even coverage can be tricky.
- Fumes can be strong: Ventilation is absolutely crucial! You might need a respirator.
- Less forgiving of mistakes: Once it’s mixed and applied, it’s hard to fix errors.
If you’re a meticulous planner, don’t shy away from a bit of elbow grease, and want a finish that’s built to last, epoxy is a fantastic choice. Just remember to read those instructions like your life depends on it, because your bathtub’s life (or at least its aesthetic appeal) does!
Tub and Tile Refinishing Kits: The DIY Darling
Pros:
- Generally easier to use: Designed with the DIYer in mind.
- Often include primer and topcoat: A more complete package.
- Good durability and water resistance: Still a significant upgrade from regular paint.
- More forgiving: Usually a bit more flexible when it comes to application mistakes.
Cons:
- May not be as durable as a high-quality epoxy: Durability can vary by brand.
- Finish might be slightly less glossy: Depending on the product, it might be more of a satin finish.
- Prep work is still essential: You can't skip the cleaning and light sanding!
These kits are a great option if you’re looking for a significant improvement without the intense learning curve of a two-part epoxy. They’re perfect for giving a dated tub a fresh lease on life.
The Not-So-Glamorous Prep Work (But It's Super Important!)
Okay, here’s the part nobody loves, but you absolutely must do. No matter which paint you choose, proper preparation is king. Skipping this is like trying to build a house on quicksand – it’s just not going to end well.
1. Clean Like Your Life Depends On It (Because Your Paint Job Might!)
You need to get rid of all soap scum, mineral deposits, old caulk, and any lingering grime. Use a good bathroom cleaner, and maybe even a degreaser if you suspect there's built-up residue. Rinse thoroughly and let it dry completely. You want a squeaky-clean canvas.
2. Light Sanding: Create Some Grip!
This is where you create a surface for the paint to adhere to. You're not trying to remove material; you're just trying to scuff it up slightly. Use a fine-grit sandpaper (like 220-grit) and go over the entire surface of the tub. This gives the primer and paint something to grab onto. After sanding, wipe down the tub with a tack cloth or a damp (then dry) cloth to remove all the dust. Seriously, no dust bunnies allowed!
3. Repair Any Damage
Got chips or cracks? Now’s the time to fix them! Use a repair kit specifically designed for bathtubs or the material your tub is made of. Let the repairs cure completely according to the product instructions before you proceed.
![What Is The Best Bathtub Paints [In 2026]](https://bathroomexplorer.com/wp-content/uploads/2025/03/bathtub-paint.jpg)
4. Masking Tape is Your Best Friend
Protect everything you don't want painted. This includes the faucet, drain, overflow plate, tile edges, and walls. Use high-quality painter's tape for crisp, clean lines. Take your time with this – it’ll save you a headache (and a lot of scraping) later.
5. Ventilation, Ventilation, Ventilation!
Seriously, open those windows! Turn on the exhaust fan! If you’re using anything with strong fumes (like epoxy), consider wearing a respirator. You want your bathroom to smell like a fresh spa, not a chemical factory.
The Application Process: Painting Like a Pro (or Close Enough!)
Once your tub is prepped, it's time for the fun part! (Well, relatively fun.)
1. The Primer: The Unsung Hero
Most refinishing systems will recommend a primer. Apply it according to the manufacturer’s instructions. This layer is crucial for adhesion and creating a uniform base for your color.
2. The Paint Coats: Patience is a Virtue
Whether you’re using epoxy or a kit, you’ll likely need multiple thin coats. Don't try to get full coverage in one go; you’ll end up with drips and an uneven finish. Follow the drying times recommended by the manufacturer between coats. This is where you learn to embrace the waiting game.

3. Application Tools Matter
Usually, a high-quality foam roller or a good-quality brush (designed for smooth surfaces) will be your go-to. For epoxy, some people even use specialized sprayer systems, but that’s a whole other ballgame. For most DIYers, a roller and brush combo will do the trick.
4. The Curing Process: The Ultimate Test of Patience
This is HUGE. After you’ve applied the final coat, you need to let the paint cure completely. This isn't just about it being dry to the touch; it's about it reaching its full hardness and durability. This can take anywhere from 24 hours to a week, depending on the product. Resist the urge to hop in for a bath too soon! Your patience will be rewarded with a long-lasting finish.
A Note on Different Bathtub Materials
While we've been talking generally, it’s worth noting that different tub materials might have slight nuances:
- Porcelain/Enamel: These are generally the most durable and best to paint. They can chip over time, which is often why people opt for refinishing.
- Fiberglass/Acrylic: These can be a bit more prone to scratching. Proper prep and a good quality paint are essential. Be careful not to use overly abrasive cleaners after painting.
Always check the product’s compatibility with your specific tub material. Most good refinishing kits will specify what they work best on.
The Final Verdict: What’s the Best?
The "best" paint for a bathtub really comes down to a few things: your budget, your skill level, and how long you want the finish to last. For the ultimate in durability and a factory-like finish, a high-quality two-part epoxy system is likely your winner. However, for a more accessible and often quicker DIY project with great results, a specialized tub and tile refinishing kit is a fantastic choice.
Ultimately, the key to success is thorough preparation and following the manufacturer’s instructions meticulously. Don't cut corners! Your bathtub deserves the best, and so do you!
So, there you have it! Painting your bathtub might seem daunting, but with the right paint and a little bit of elbow grease (and a whole lot of patience for drying times!), you can transform a tired, old tub into a sparkling sanctuary. Imagine stepping into a fresh, beautiful tub every day – it’s like a mini-vacation right in your own home! You’ve got this, and your bathroom is about to thank you with a whole lot of shine and sparkle. Go forth and paint!