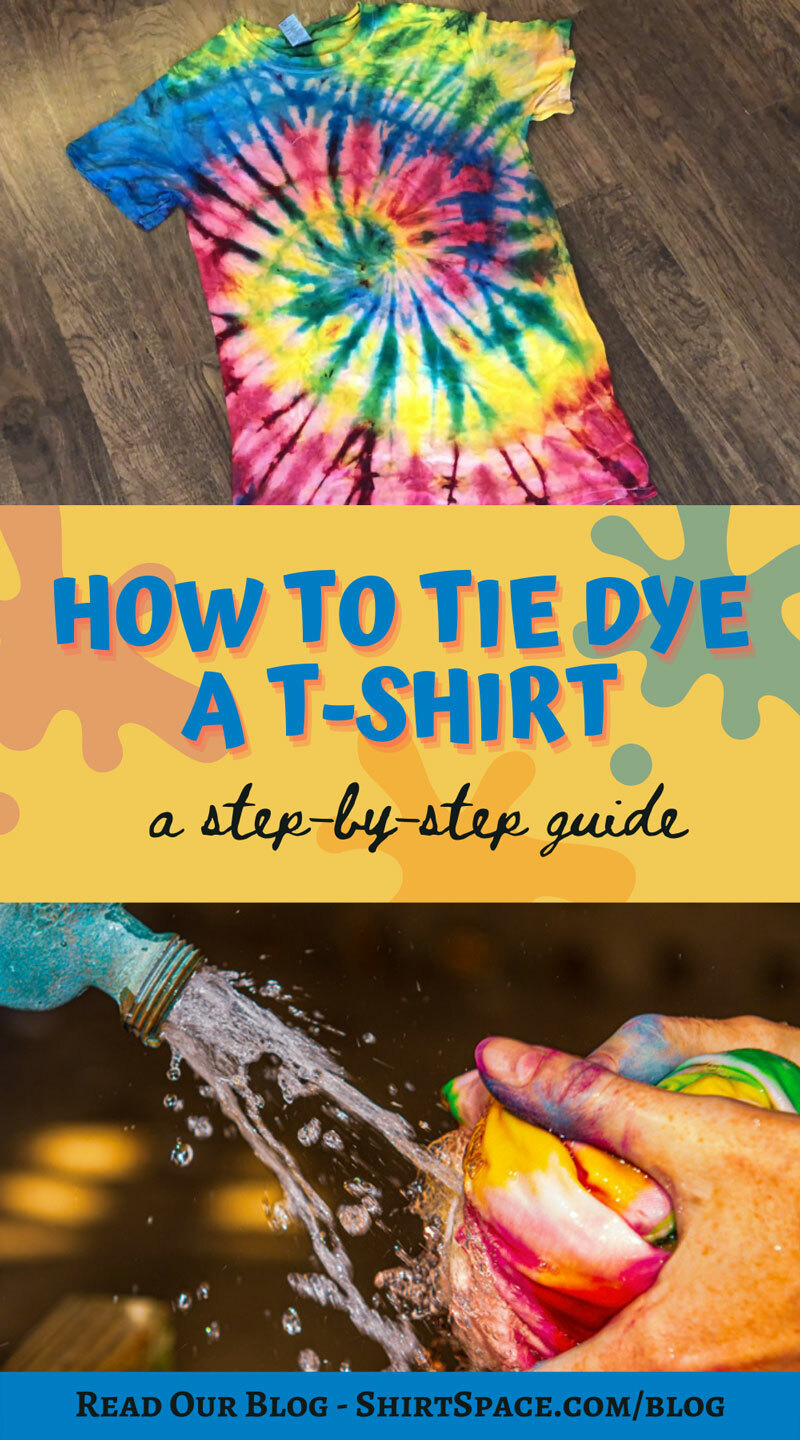
Ever looked at a tie-dye shirt and thought, "Wow, that's cool, but way too complicated for me"? Think again, my friend! Tie-dyeing is so easy, a caffeinated squirrel could probably manage it. And trust me, the results are ridiculously fun and uniquely YOU.
Ready to ditch those boring solid colors and unleash your inner artist? Let's get this tie-dye party started!
Gather Your Supplies: The Tie-Dye Dream Team
First things first, you'll need a few essentials. Think of it as assembling your tie-dye dream team. Don't worry, you won't need a superhero cape (unless you want to, of course!).
Here's the lineup: A plain white T-shirt (the blank canvas for your masterpiece), dye (duh!), rubber bands (the secret weapon!), gloves (because nobody wants tie-dye hands... unless?), and a squirt bottle or applicator (depending on your dye).
You might also want a plastic tablecloth or garbage bags to protect your workspace. Trust me, tie-dye has a mind of its own and likes to explore! Think of it like containing a toddler with finger paints, it's all about damage control!
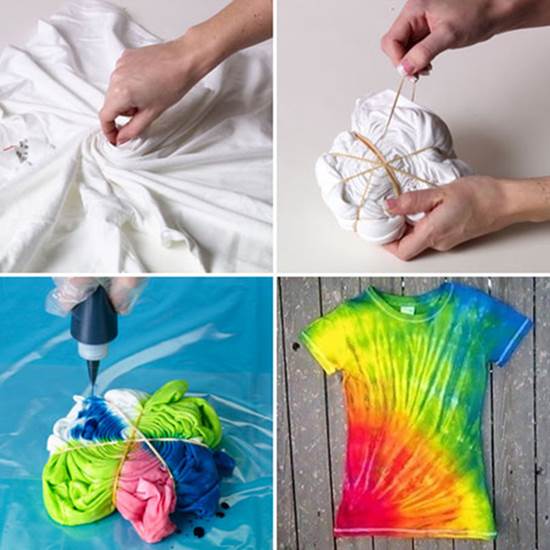
Folding Frenzy: The Art of the Twist
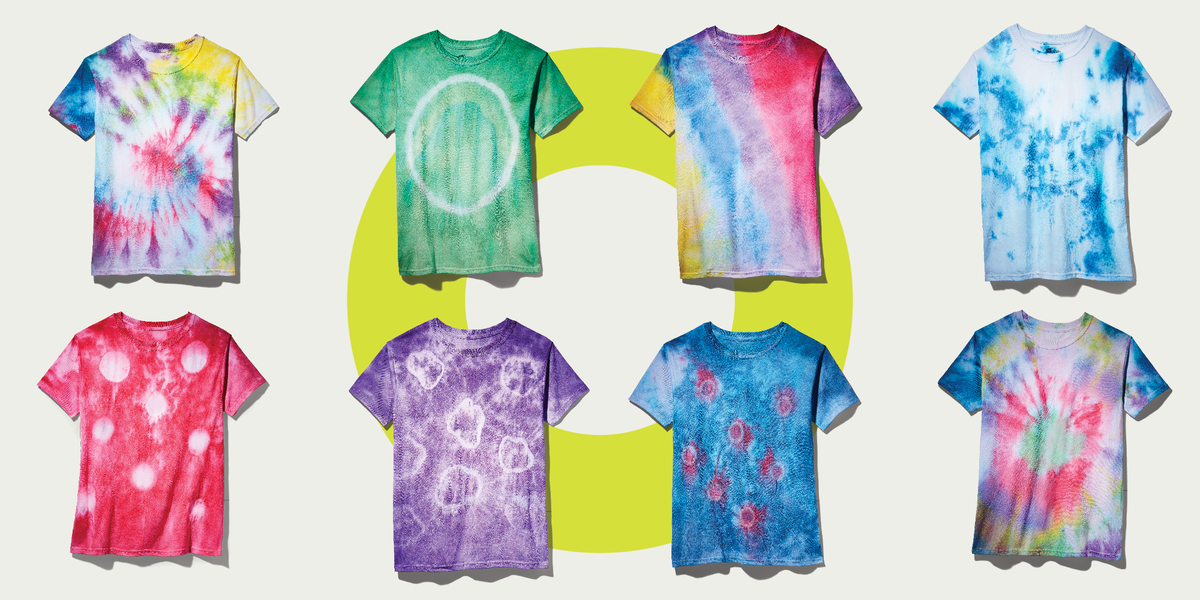
Now comes the fun part: folding! This is where you decide the pattern of your shirt. Don't stress too much about making it perfect, imperfection is what makes tie-dye so cool!
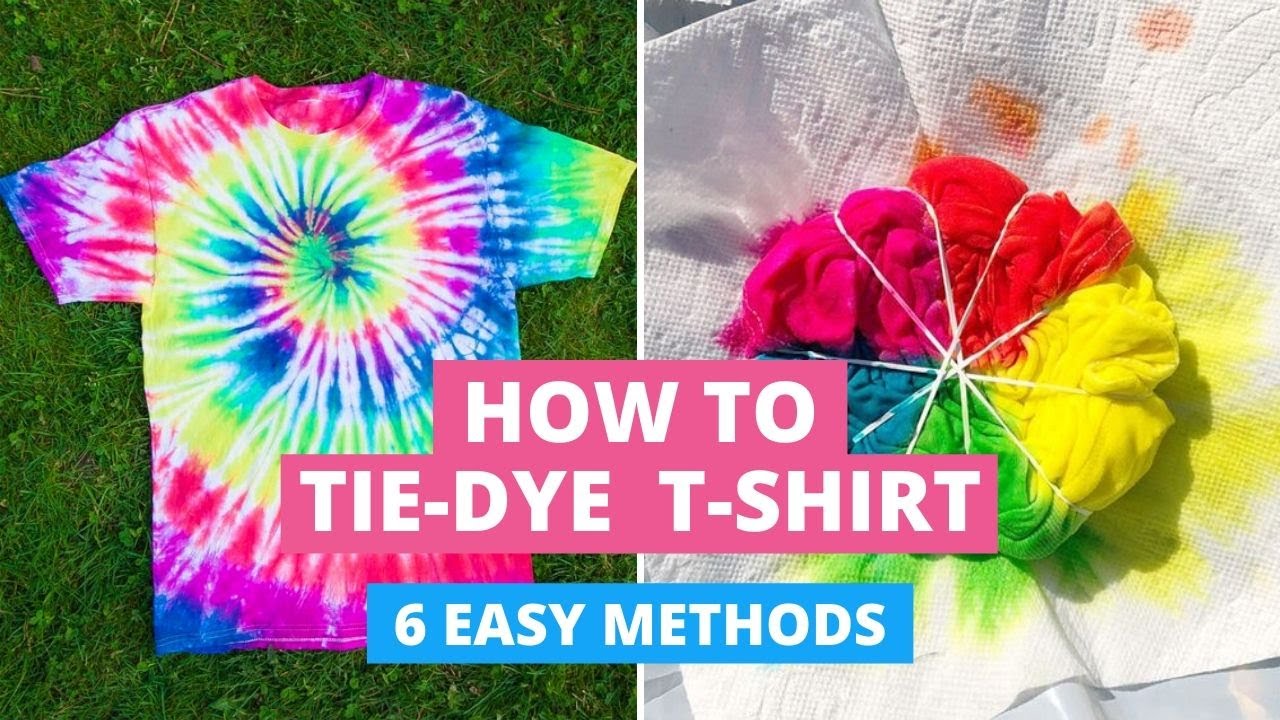
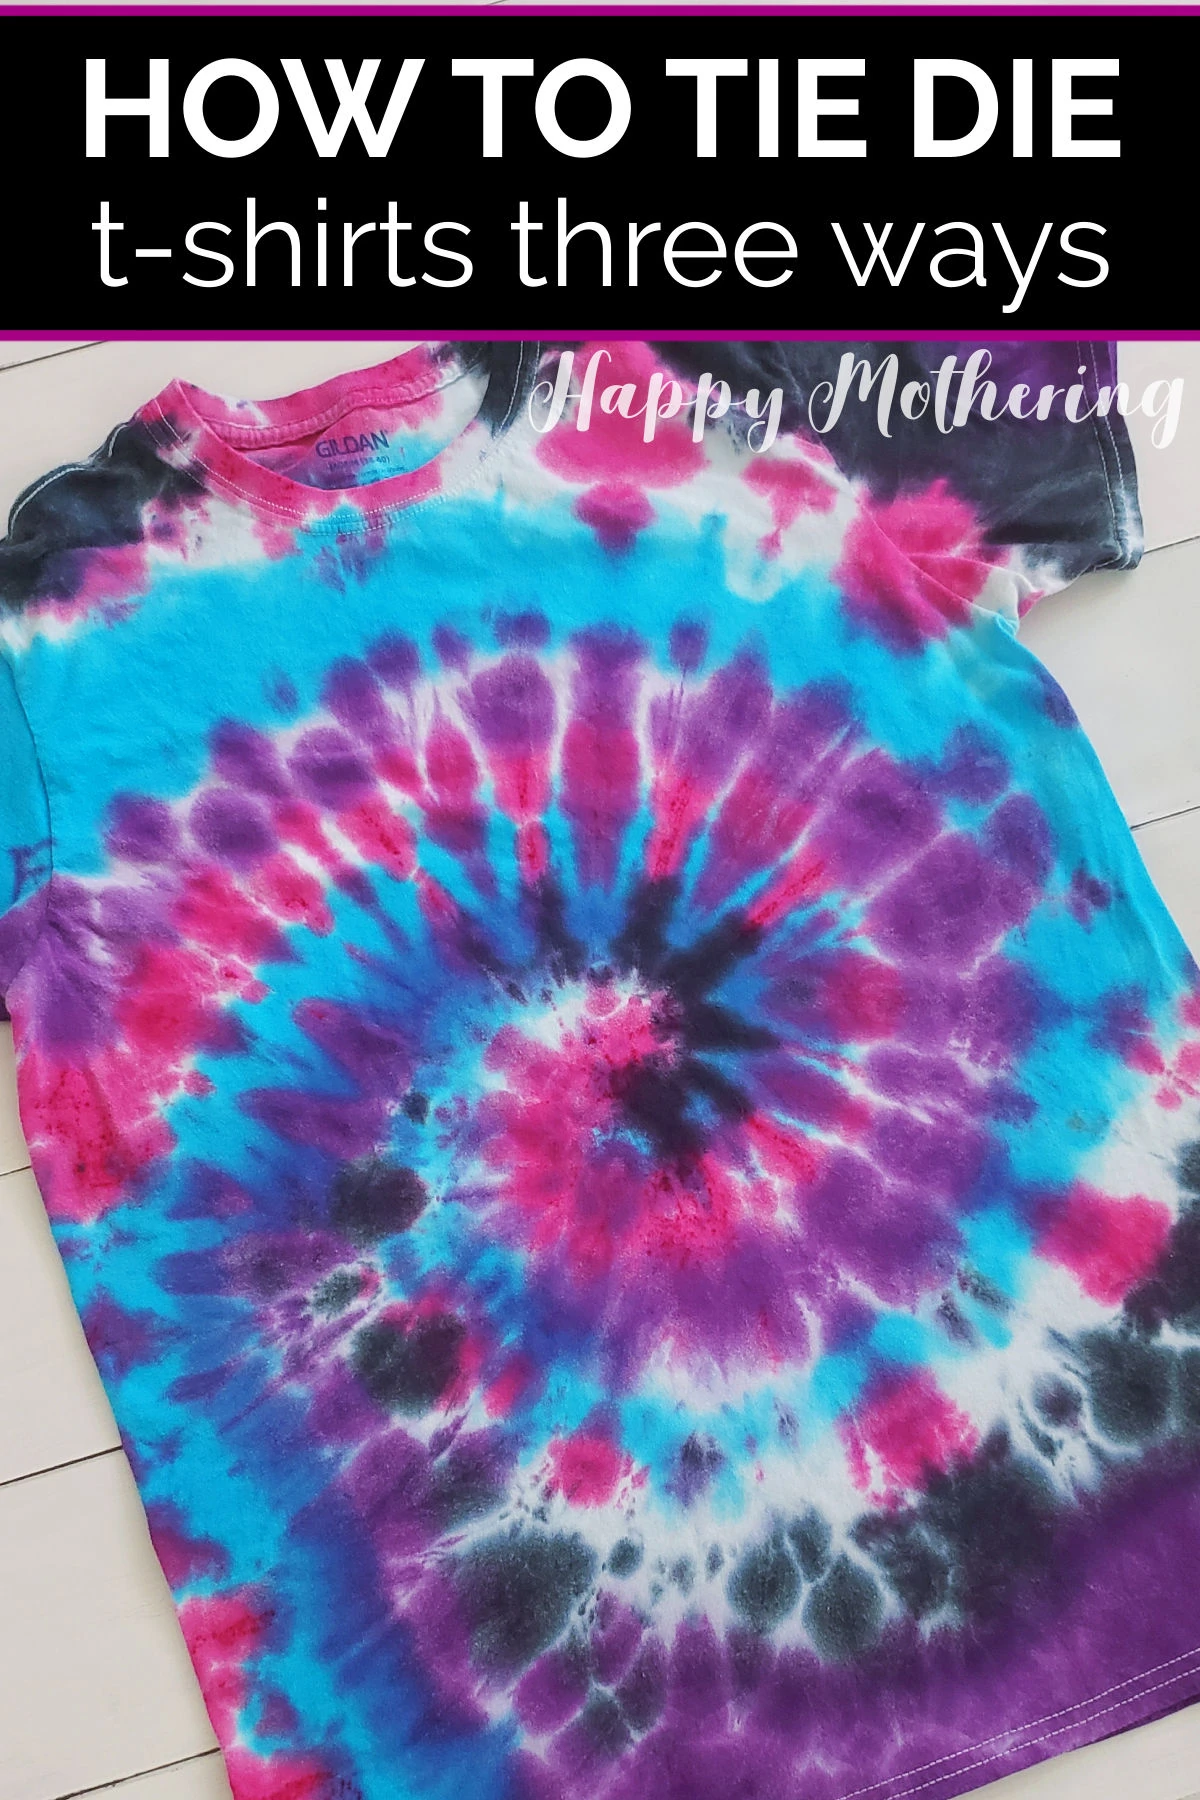
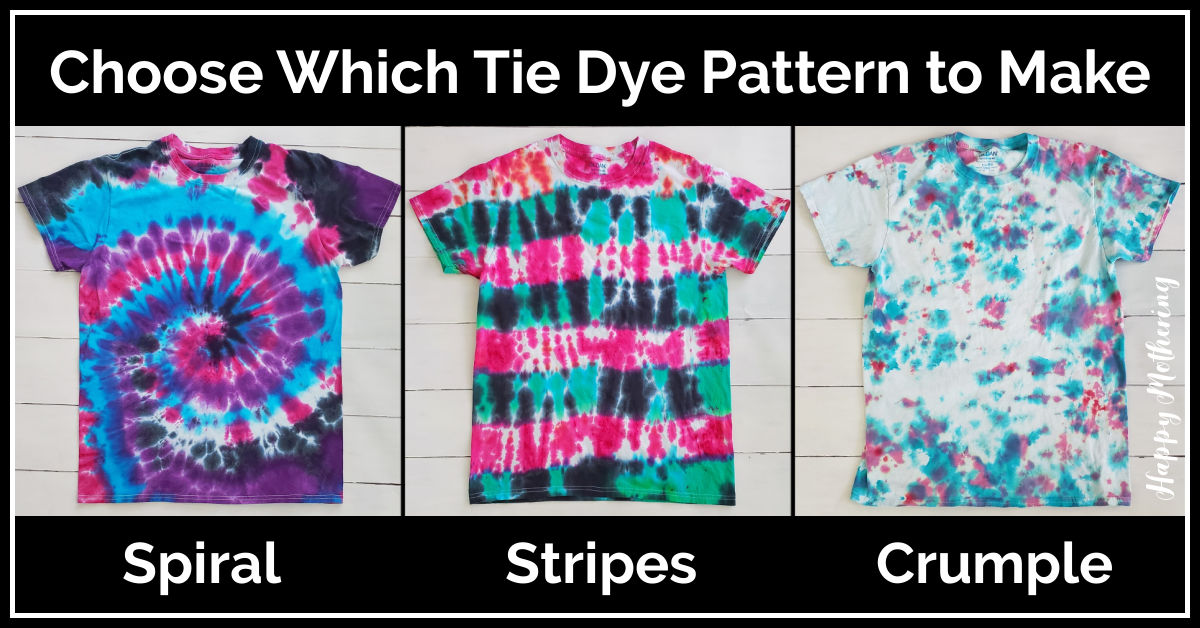
For a classic spiral, pinch the center of your shirt and twist it into a tight swirl. It's like making a cinnamon roll, but way more colorful and less edible.
Once you've twisted it up, secure it tightly with rubber bands. The more rubber bands, the more intricate the pattern. Think of them as tiny, rubbery guards protecting your future tie-dye design!
Want a stripey effect? Accordion fold your shirt lengthwise or widthwise. Then, secure it with rubber bands every few inches. It's like creating a funky, fabric caterpillar!
Feeling adventurous? Try crumpling the shirt randomly and securing it with rubber bands. This creates a more abstract and unpredictable pattern. It's the tie-dye equivalent of throwing paint at a canvas, but with more steps!
Dye Time: Unleash the Colors!
Now for the main event: applying the dye! Put on your gloves, because things are about to get messy (in a good way!). Imagine you are a renowned chemist about to conduct a very important experiment, wear your safety gear!
Carefully apply the dye to the different sections of your folded shirt. Don't be afraid to experiment with different colors and combinations. It's like painting with rainbows!
Make sure the dye soaks into the fabric, but don't over saturate it. You want the colors to blend nicely, not run together into a muddy mess. It's a delicate balance, like baking a cake without burning it!
Once you're satisfied with your color masterpiece, place the shirt in a plastic bag or container. This will help the dye set properly. Think of it as giving your tie-dye creation a cozy little spa day!
Wait and See: The Anticipation Builds
Now comes the hardest part: waiting! Let the dye set for at least 6-8 hours, or even longer for more vibrant colors. The longer you wait, the more intense the results will be.
It's like waiting for Christmas morning, but instead of presents, you get a totally awesome tie-dye shirt!
Rinse and Repeat: The Grand Reveal
After the waiting game, it's time for the grand reveal! Rinse the shirt thoroughly with cold water until the water runs clear. This is where you'll see your tie-dye creation come to life!
Remove the rubber bands and marvel at your handiwork. It's like unwrapping a surprise gift from yourself! And don't worry if it doesn't look exactly like you imagined, that's the beauty of tie-dye! Each shirt is unique and one-of-a-kind, just like you!
Wash the shirt separately in cold water and then dry it. And there you have it! A brand new, totally awesome tie-dye shirt that you made yourself!
Now go forth and spread the tie-dye love! Wear your creation with pride and prepare for compliments. You're officially a tie-dye master!