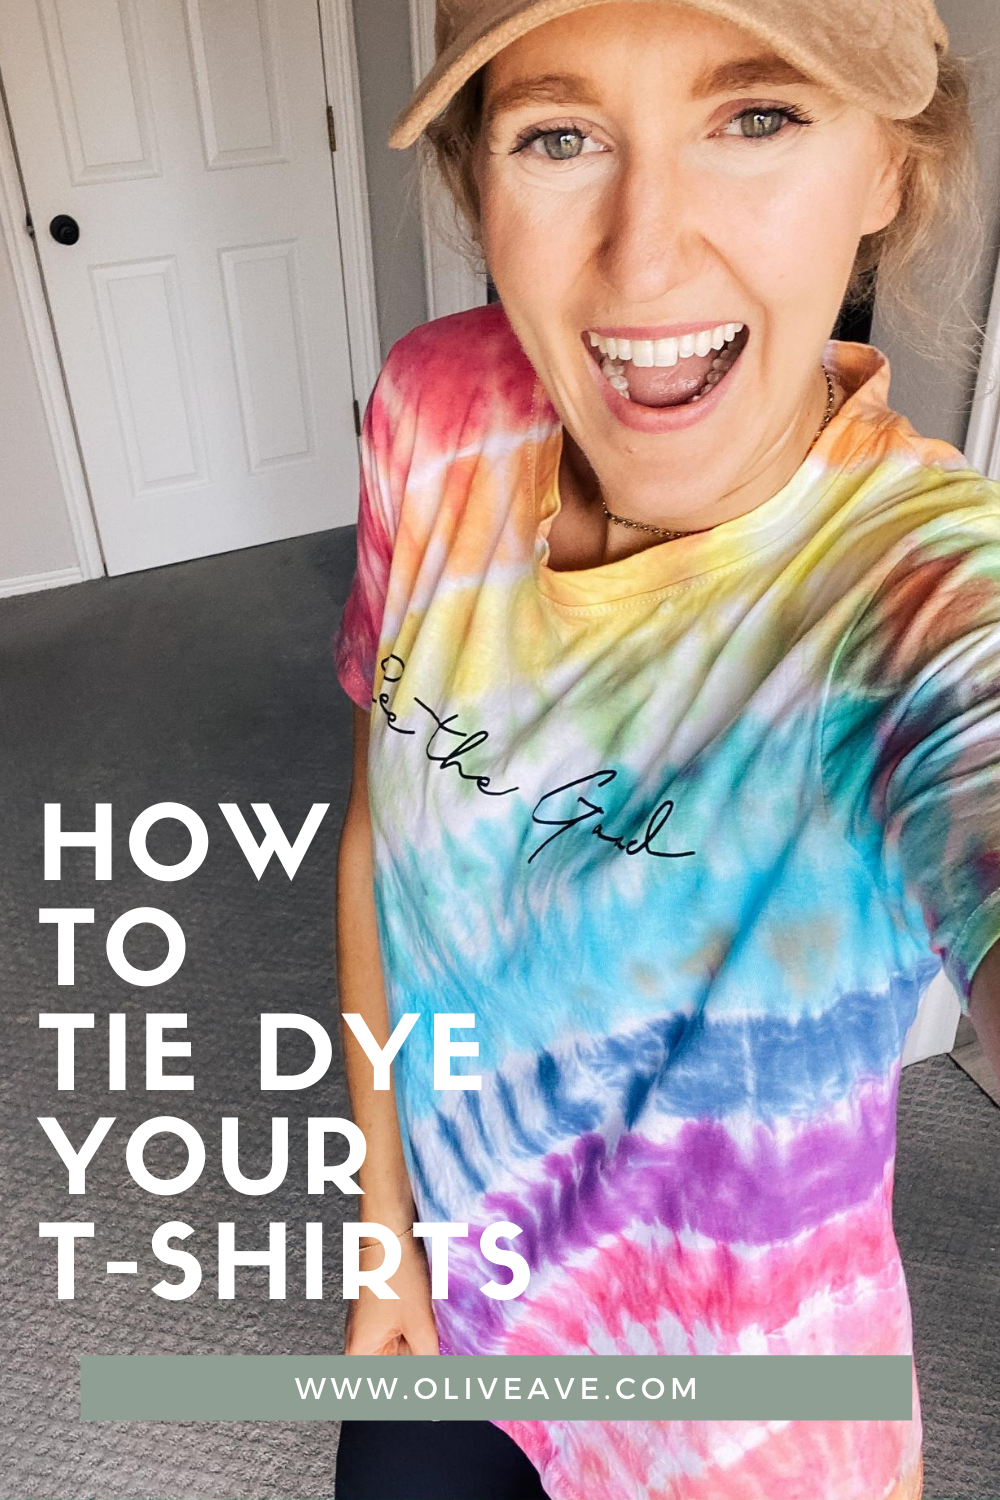
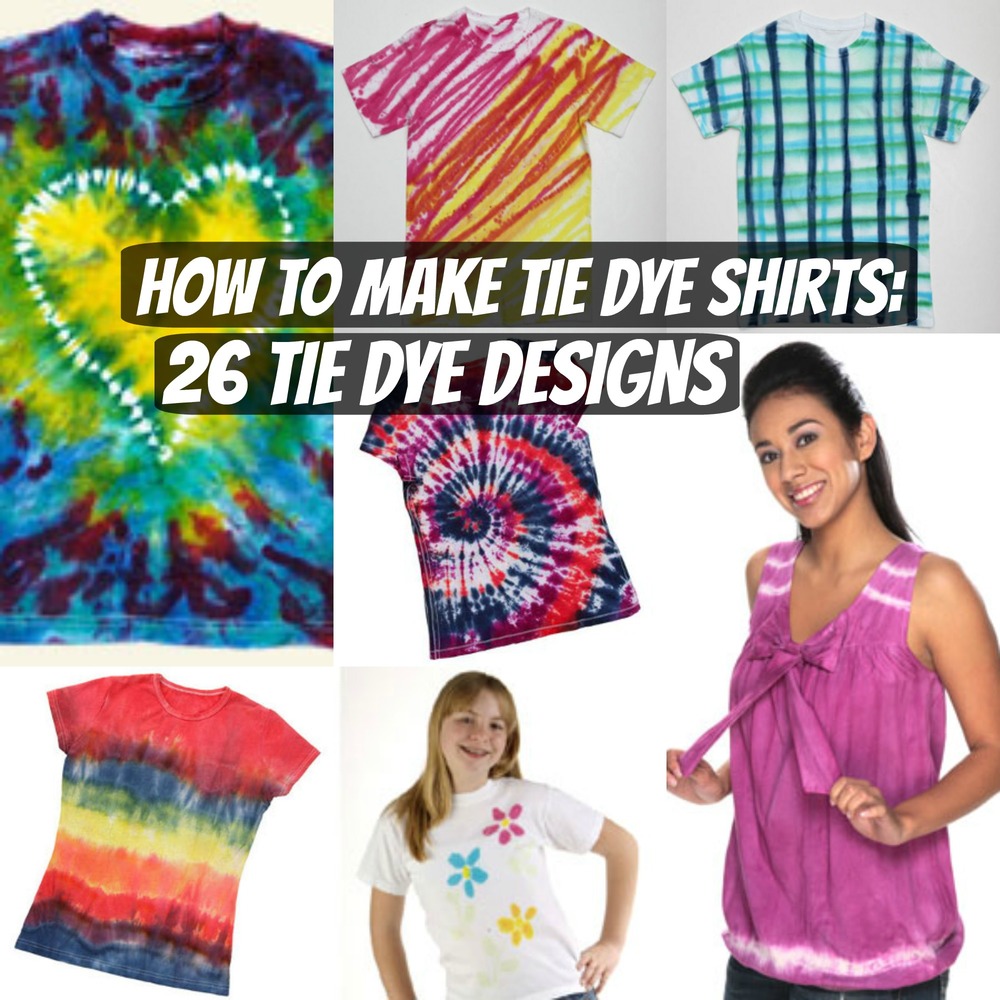
Alright, friends, buckle up because we're about to dive headfirst into a world of swirling colors and tie-dye triumphs. Prepare to transform that plain, lonely shirt into a wearable masterpiece! You will love this and get addicted to it.
Gather Your Supplies (aka The Rainbow Crew)
First things first, round up your posse of tie-dye essentials. Think of it like assembling your superhero team, but instead of capes, we're dealing with dye!
You'll need a white shirt (the blank canvas for our artistic explosion). Rubber bands are a must, the more the merrier because they're our architectural support.
Dye, of course (liquid or powder, your choice, like picking your favorite superpower). Gloves are a must. Then squirt bottles are our paintbrushes, ready to unleash the vibrant hues.
Don't forget a plastic tablecloth to protect your workspace. Think of it as your artistic shield against rogue dye splatters!
Get Ready to Twist and Shout (and Tie!)
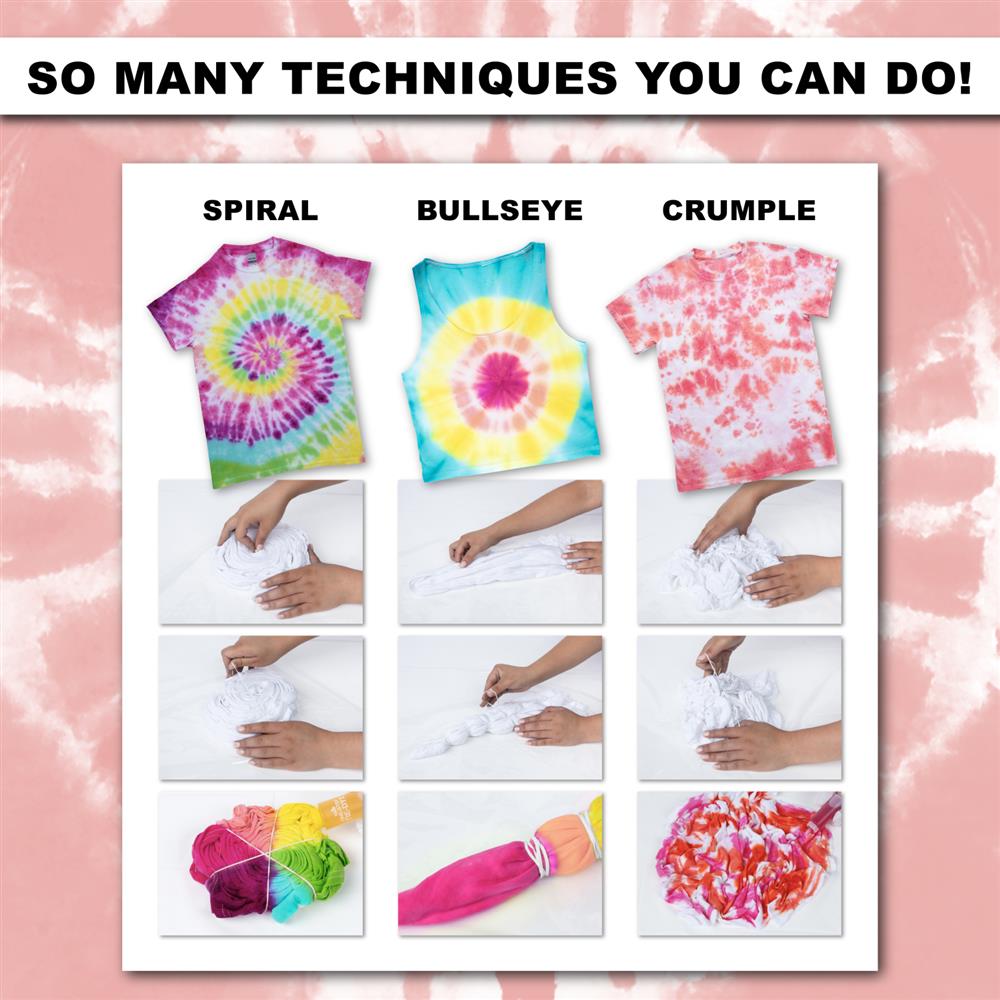
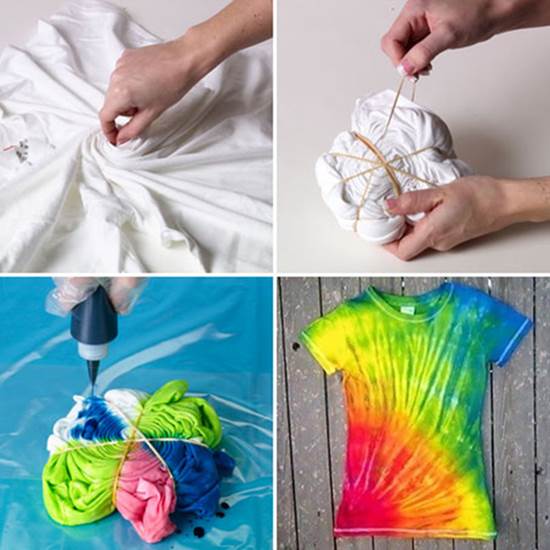
Now, the fun begins! Choose your tie-dye destiny with a folding technique.
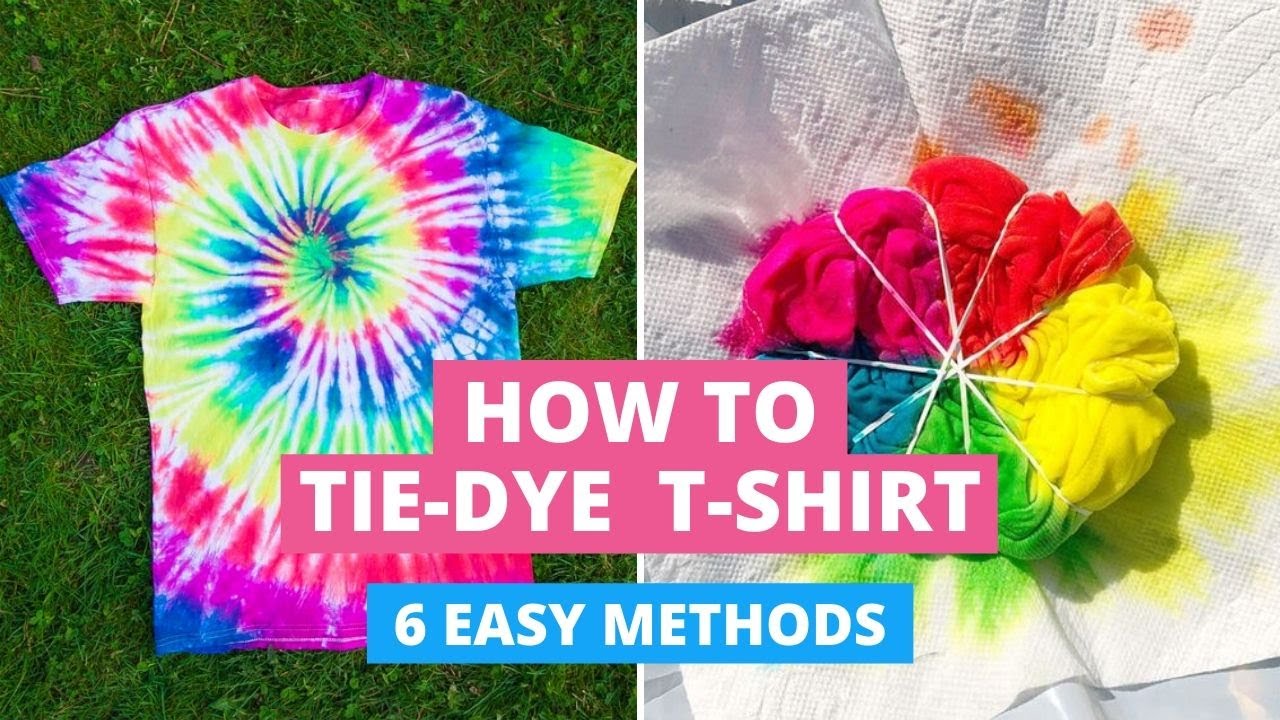
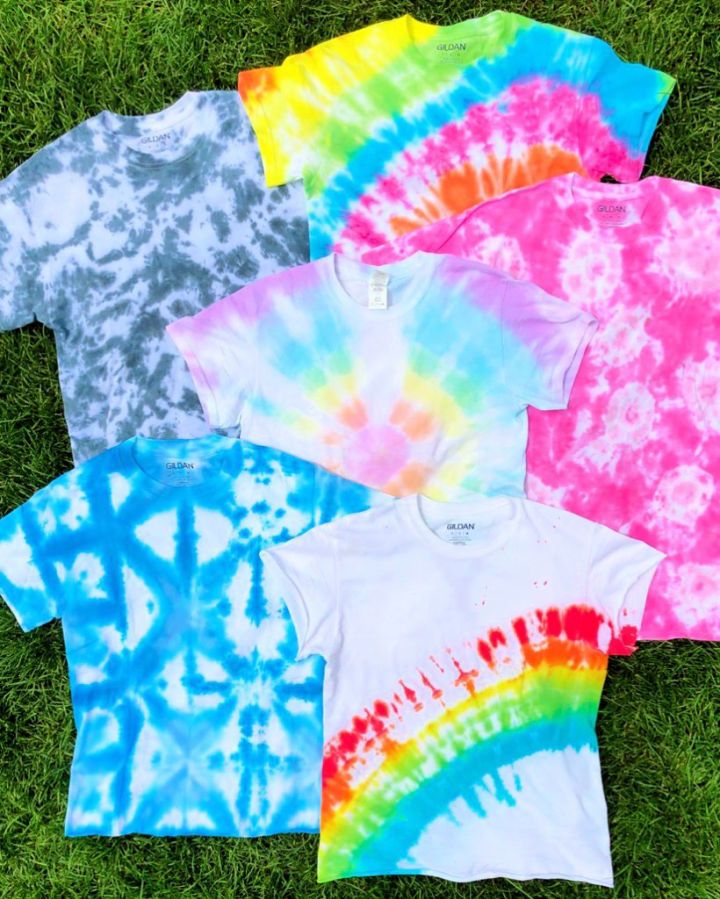
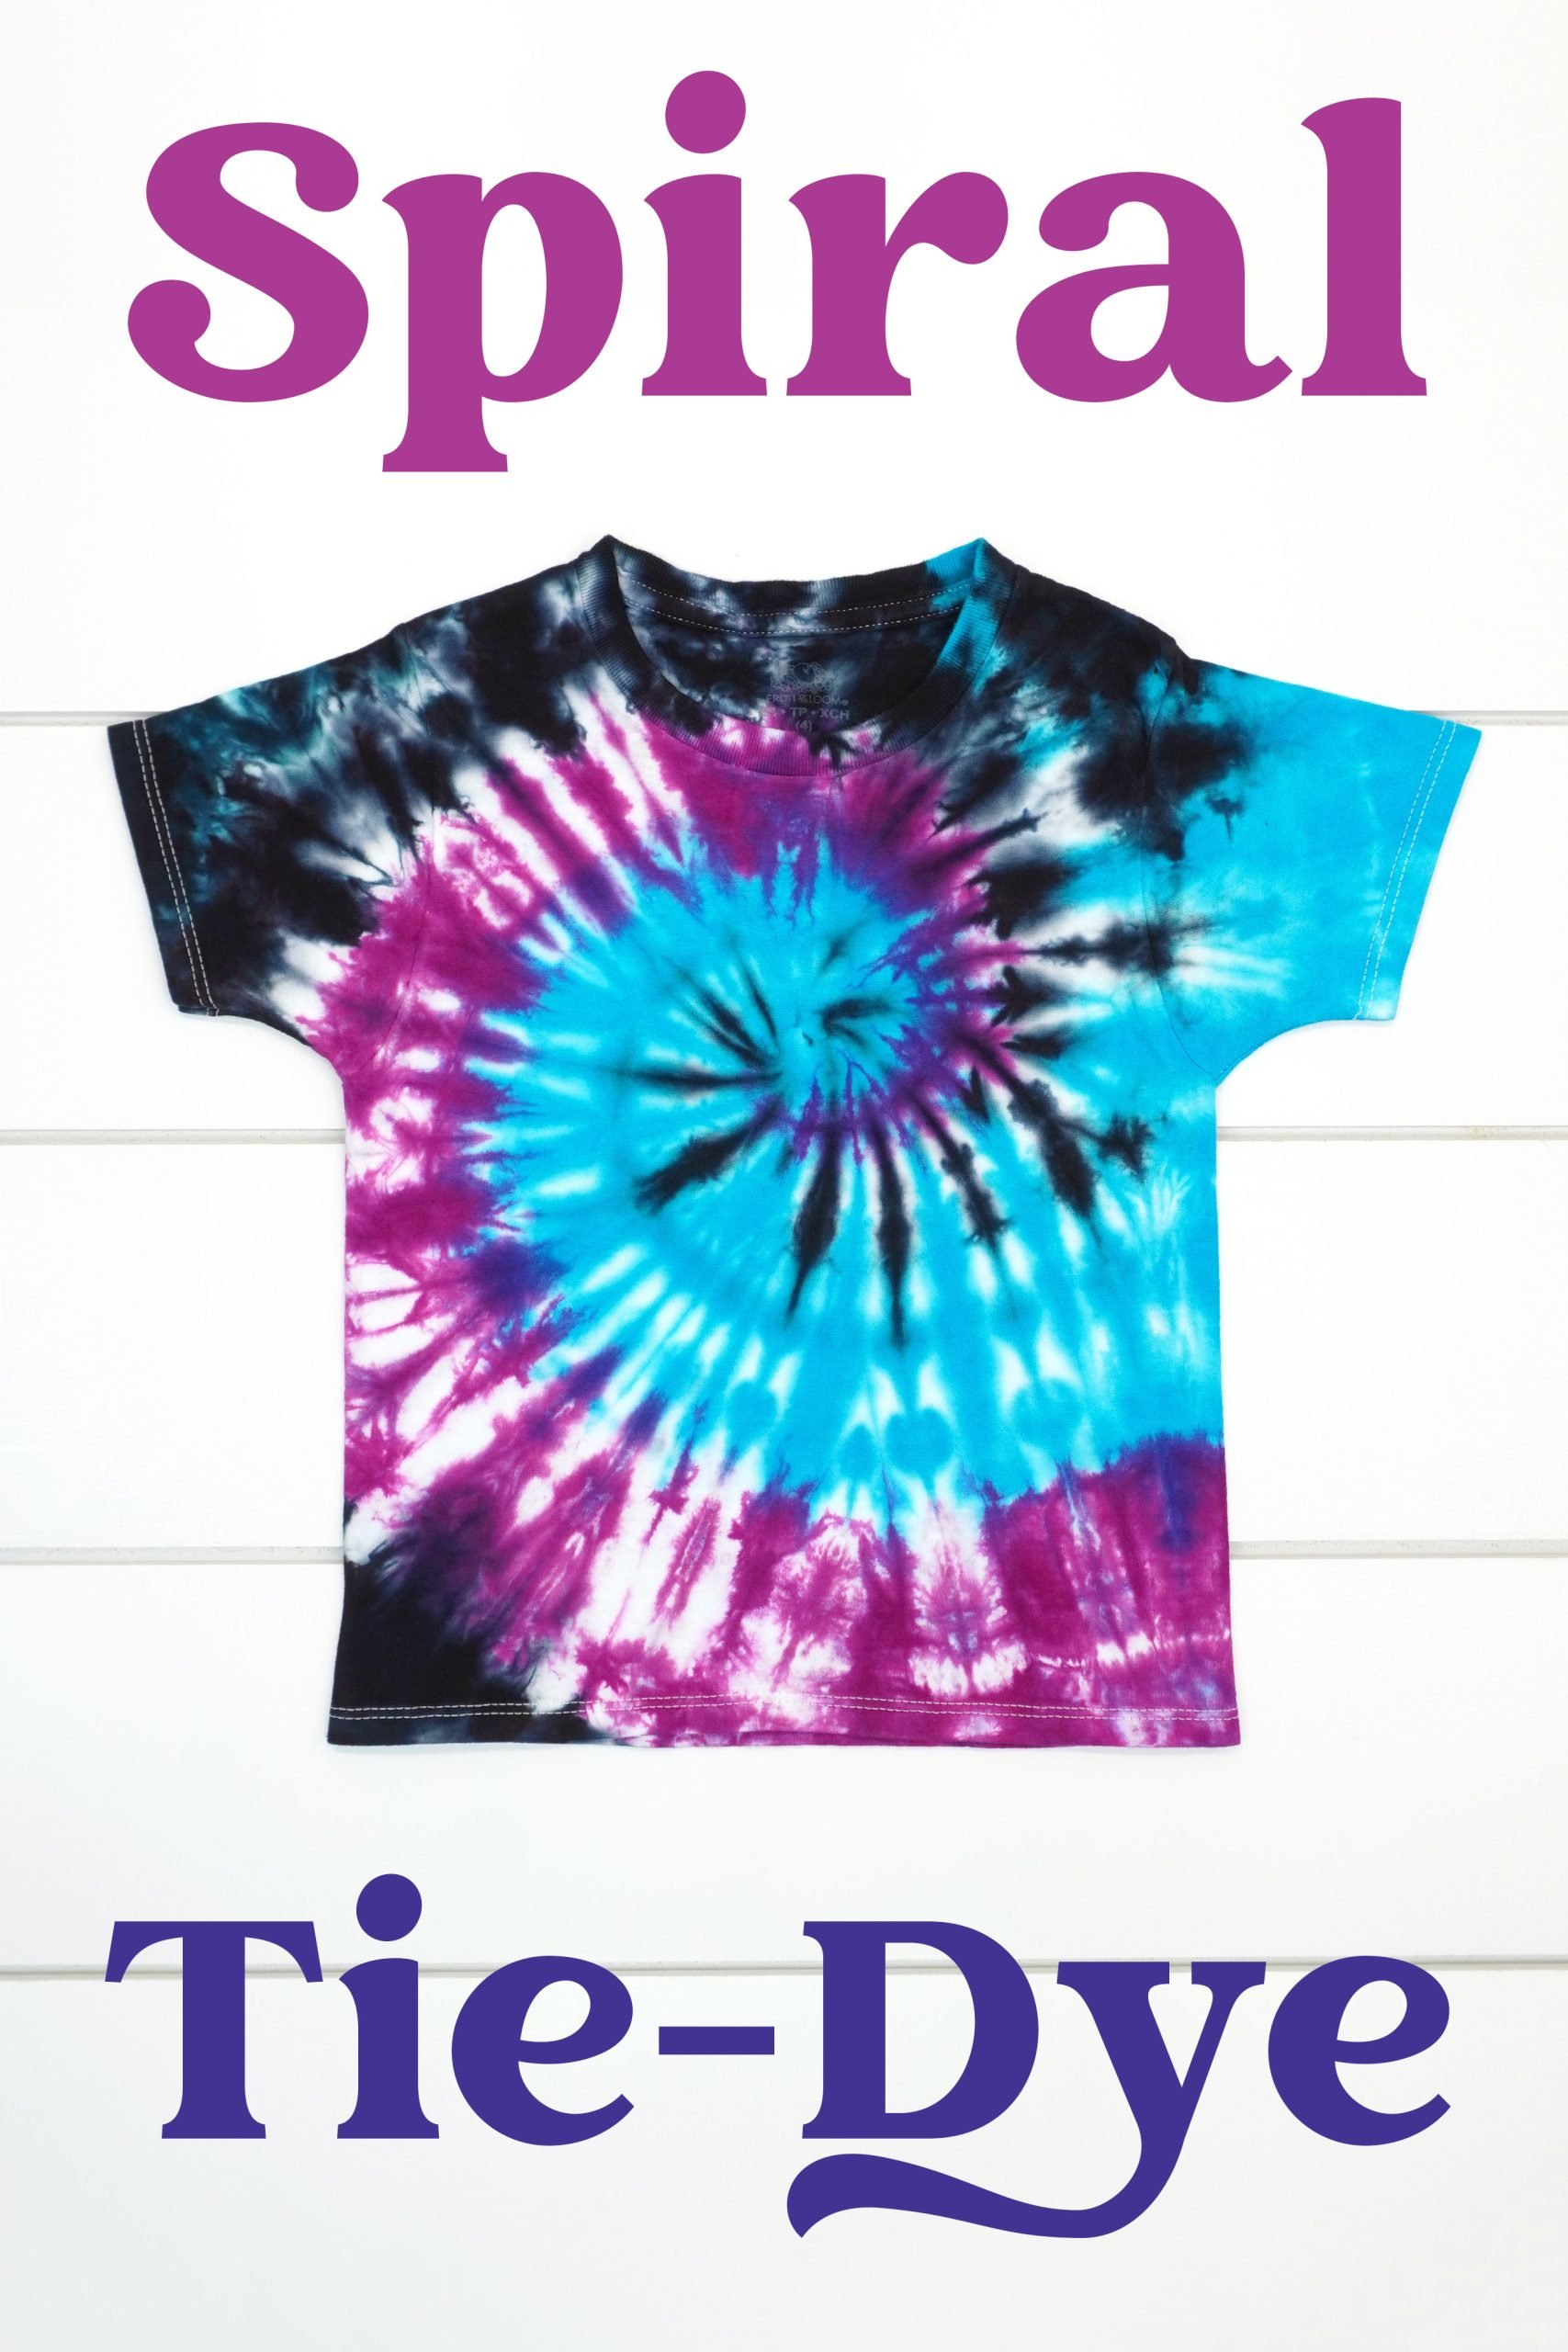
The Classic Spiral
Pinch the center of your shirt and twist, twist, twist until it resembles a cinnamon roll. Secure it tightly with rubber bands.
Imagine you're creating the world's most fashionable snail. Embrace the twist!
The Crumple
Just grab sections of the shirt and scrunch it randomly together. Add rubber bands to hold the chaos in place.
The crumple is for those who love to embrace spontaneity. Let the shirt dictate the pattern, it's an adventure in textile art!
The Stripes
Fold the shirt like an accordion, then secure it with rubber bands at intervals. Prepare to be amazed by the clean lines.
Stripes offer a simple and classic look. Channel your inner fashion designer for this technique!
Dye Time (Let the Colors Rain!)
Now, the moment of truth! Put on those gloves, my friend. We don't want Smurf hands for the next few days.
Squirt dye onto the different sections of your tied shirt. Don't be shy, but don't flood it either, you want the colors distinct.
Flip the shirt over and repeat. Make sure to get all the nooks and crannies.
Pro-tip: Want a vibrant explosion? Use contrasting colors next to each other. Want a dreamy, muted effect? Stick to similar shades.
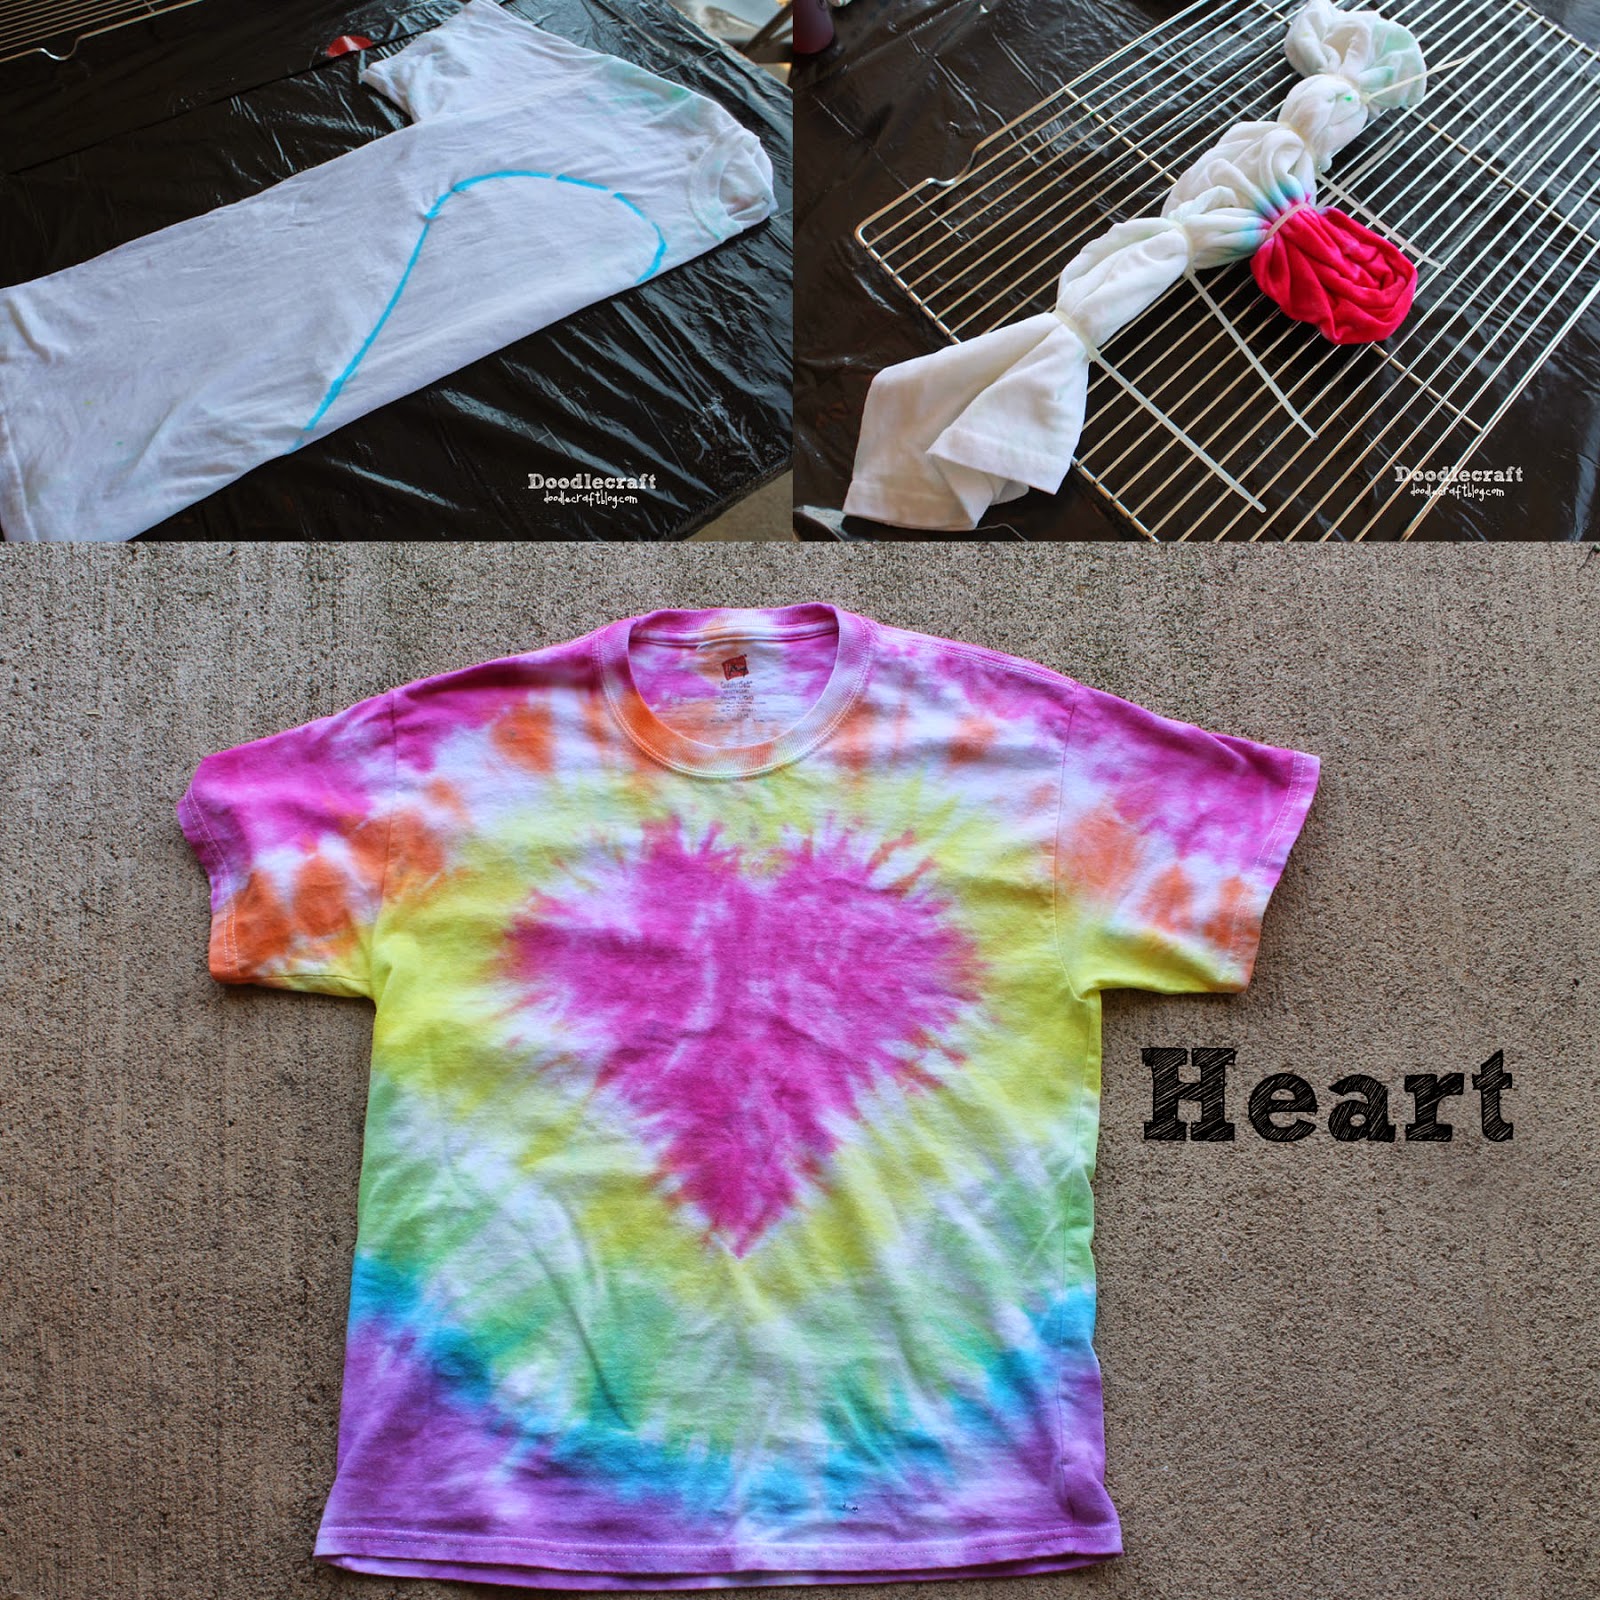
Wait (Patience is a Virtue, Especially When Dyeing)
Place your newly dyed masterpiece in a sealed plastic bag. Now, wait. Six to eight hours minimum, or even overnight for maximum color saturation.
This is like letting your shirt marinate in a rainbow of deliciousness. The longer it sits, the bolder the colors become.
Rinse and Reveal (The Grand Unveiling!)
This is the moment we've all been waiting for. Take your shirt out of the bag and carefully snip off the rubber bands. Prepare for a visual spectacle!
Rinse the shirt under cold water until the water runs clear. This is crucial to remove excess dye and prevent future color bleeding.
Wash your tie-dyed shirt separately in cold water with a mild detergent. This is to protect the colors and avoid dyeing all your other clothes!
Tumble dry on low or hang to dry. Your masterpiece is now ready to wear! Prepare for compliments, because you've just unleashed your inner tie-dye artist.
Congratulations! You have successfully tie-dyed a shirt and now can wear it with pride. You now have the magic power to create something unique with just a white shirt and some dye.
Now go forth and tie-dye all the things! The world needs more color and more people like you who aren't afraid to embrace it.


/how-to-tie-dye-1245650_Final-5bbd0c65c9e77c005897b360.png)