Alright, buckle up, buttercups! We're diving headfirst into the wild and wonderful world of rebar in footings. Think of it like adding the secret ingredient to your grandma's award-winning chili – except instead of chili, it's concrete, and instead of flavor, it's SUPER STRENGTH!
Getting Ready for Rebar Fun
First things first, grab your rebar! It's that ribbed steel bar that looks like it just escaped from a construction superhero convention.
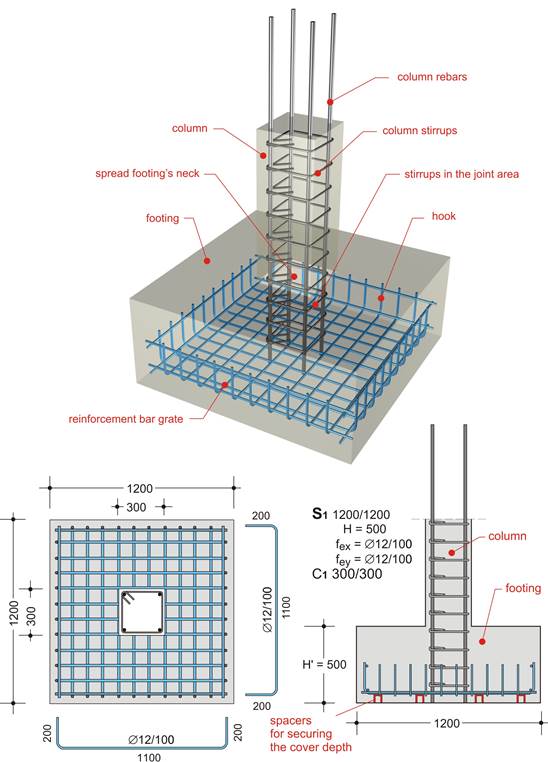
Next, you'll need a plan. Picture your footing as a giant concrete cupcake pan. Now, imagine how you'd strategically place those colorful sprinkles to ensure every bite is pure joy. The same principle applies here, but instead of sprinkles, it's rebar and instead of joy, it's, you guessed it, SUPER STRENGTH!
Cutting the Rebar
Time for some rebar surgery! You'll need to cut your rebar to the appropriate lengths. Now, unless you're secretly a blacksmith, you'll probably want to rent a rebar cutter or use a good ol' angle grinder with a cutting wheel. Safety first, folks! Think of it as wielding a mini-lightsaber, but instead of fighting the dark side, you're conquering concrete… Okay, maybe not, but wear safety glasses and gloves!
Measure twice, cut once, as the wise old carpenters say. Just make sure everything is as precise as possible. We are not cutting corners in this adventure!
Bending the Rebar (Optional, But Oh-So-Stylish!)
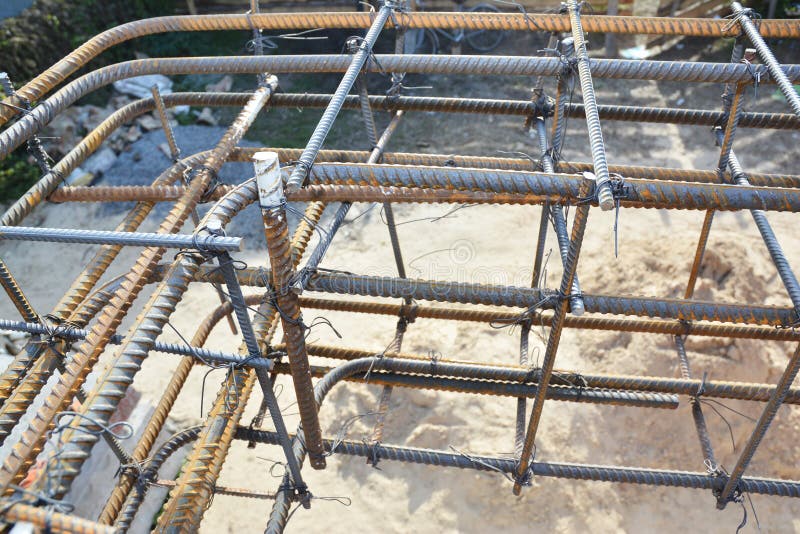
Sometimes, you'll need to bend your rebar into specific shapes. Now, I know what you're thinking: "I'm no metal-bending master!" Fear not! A simple rebar bender or even a sturdy pipe can be your best friend here. Just remember: slow and steady wins the race. It's like yoga for rebar!
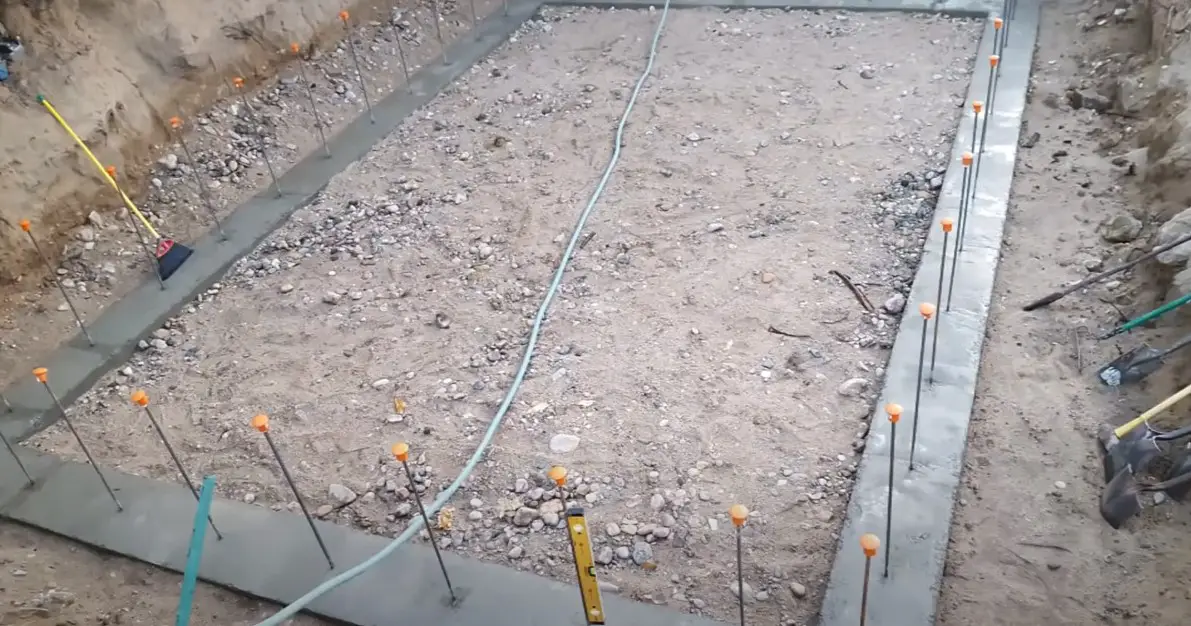
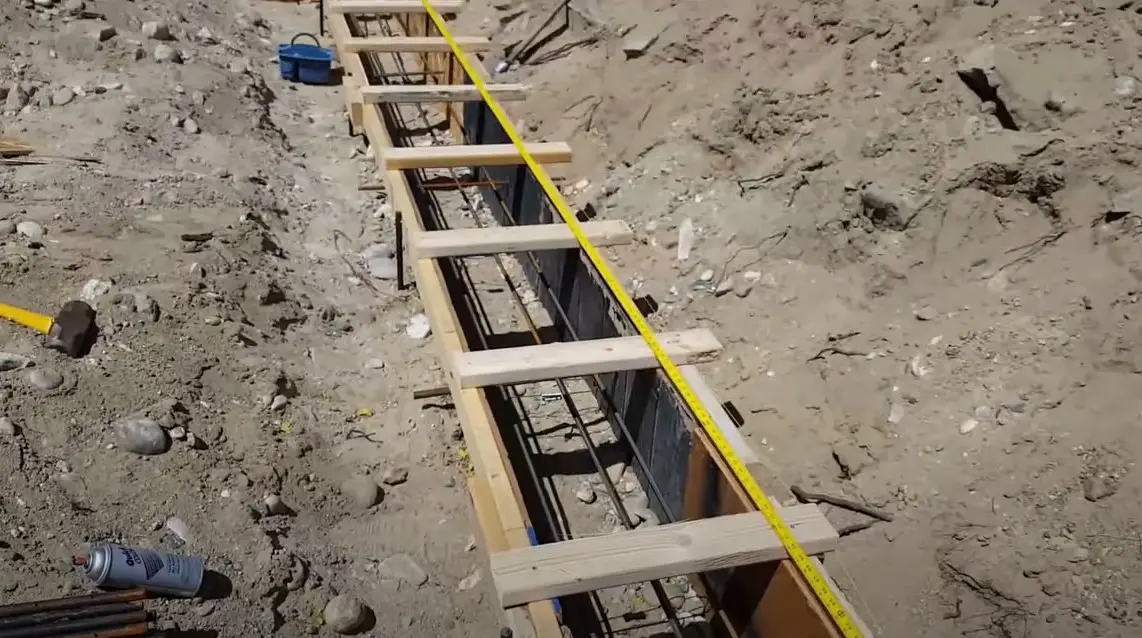
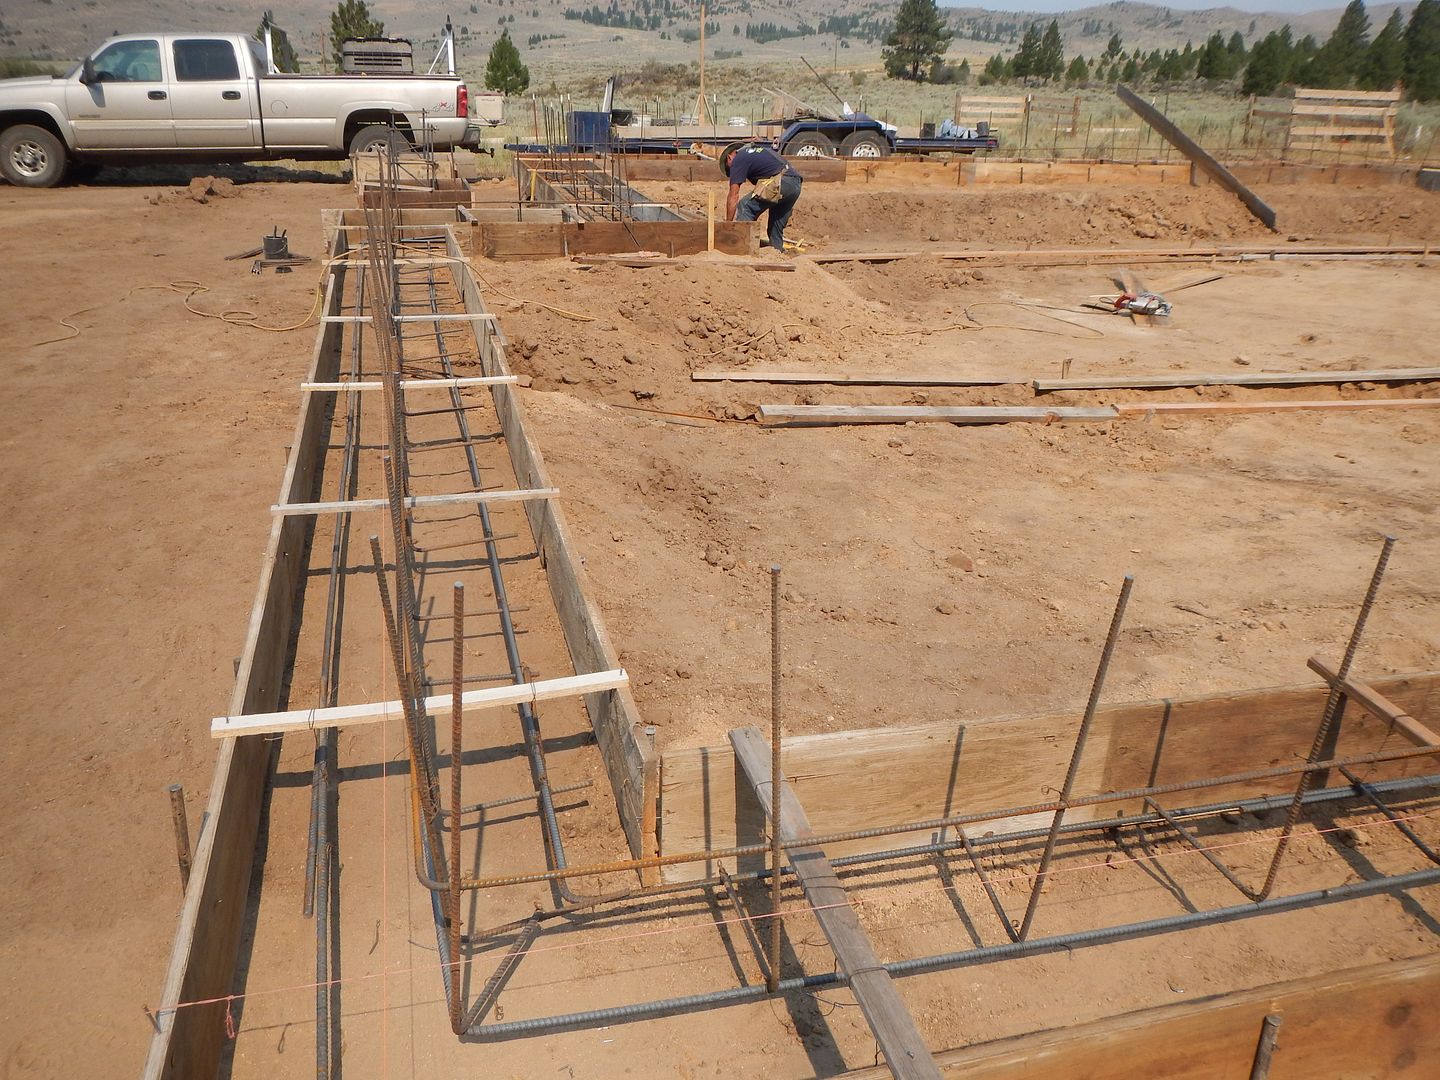
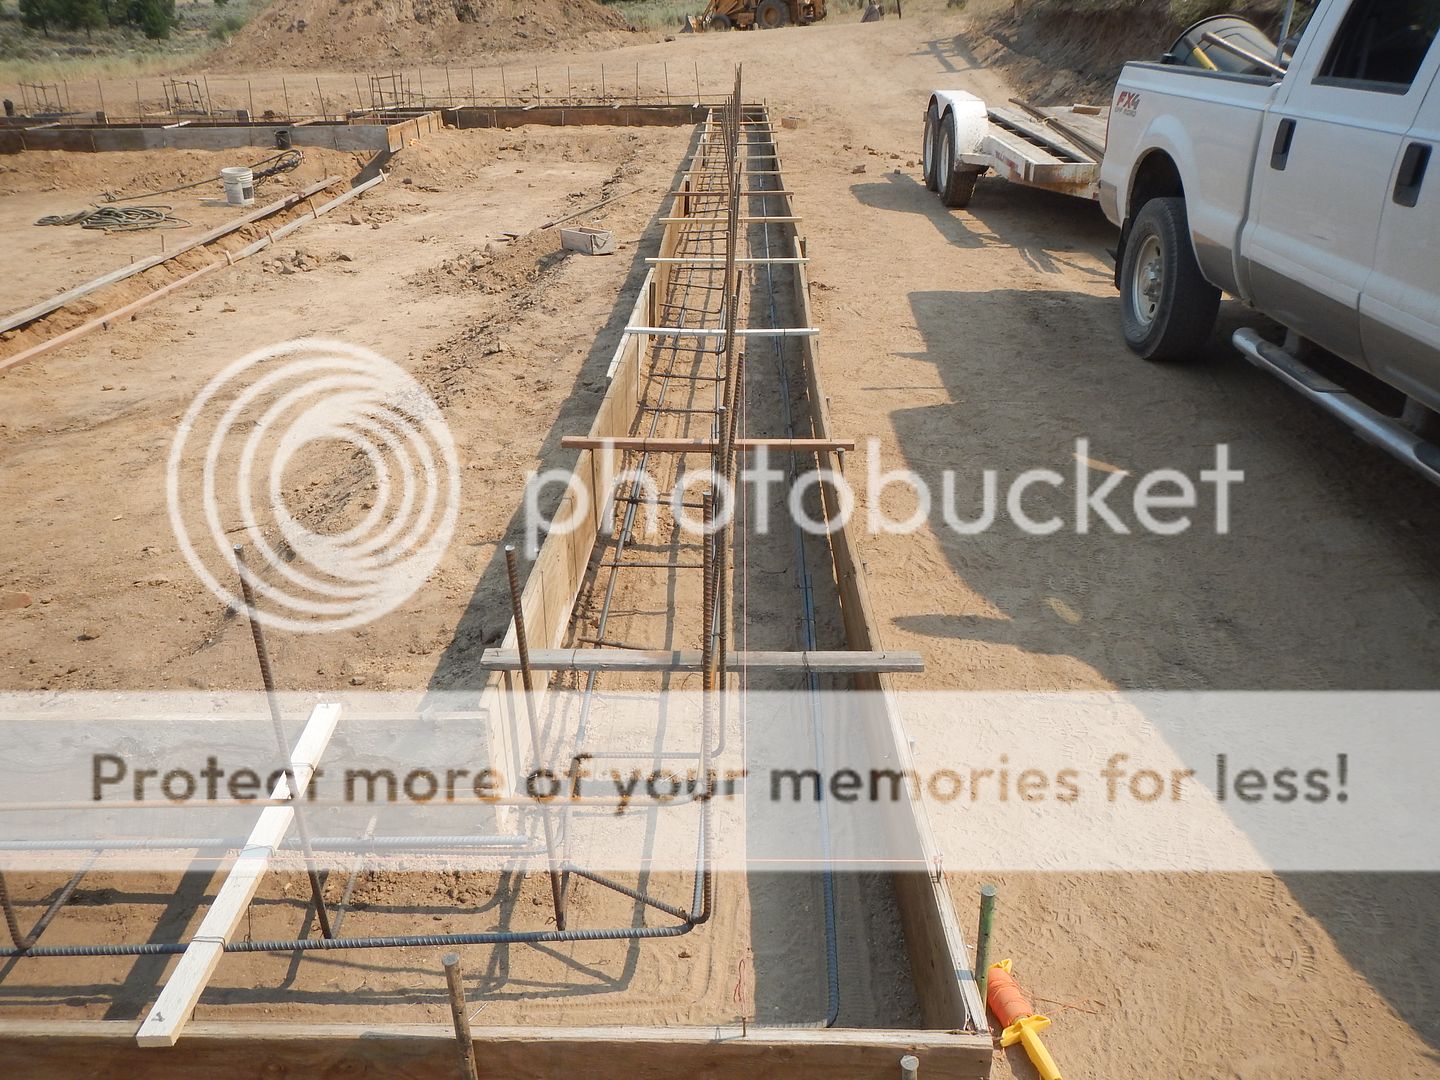
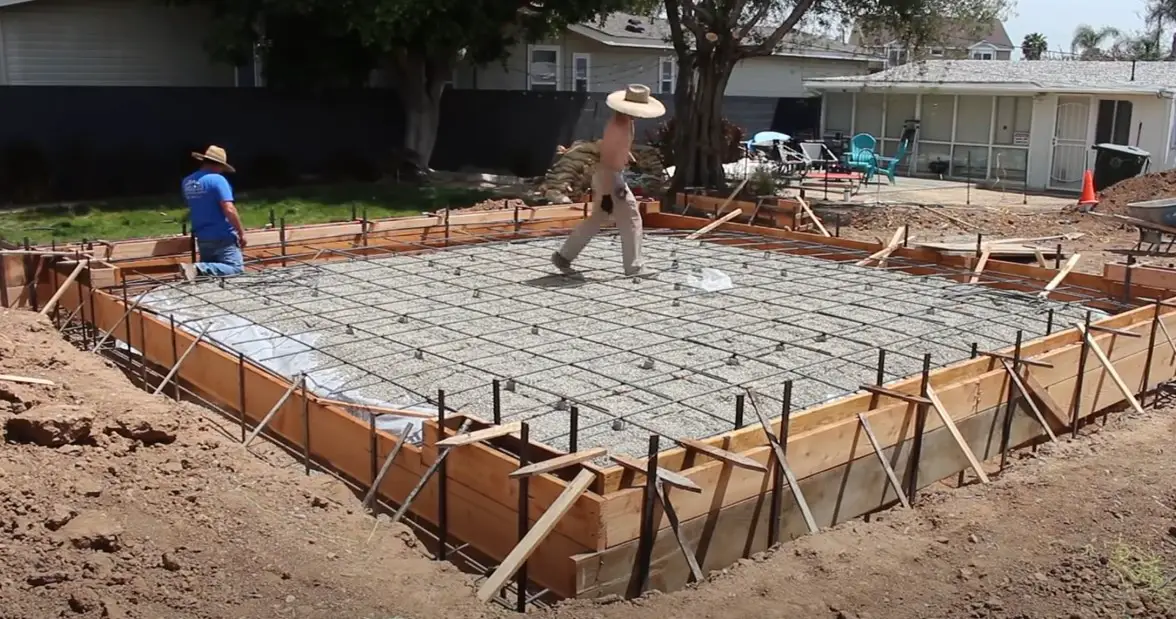
Placing the Rebar
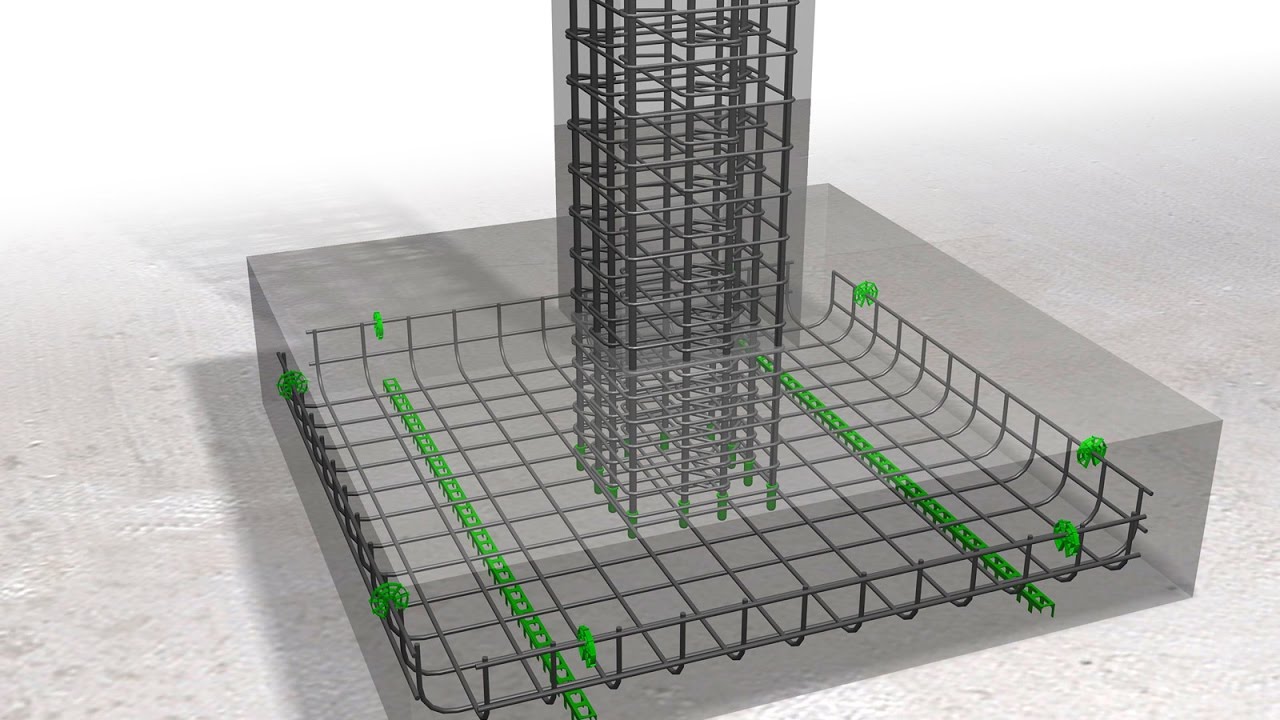
Now comes the fun part: arranging your rebar masterpiece! We're talking grid patterns, cages, and anything else your structural plans call for. Think of it as creating a structural skeleton for your concrete – a superhero skeleton, naturally!
Support is key! Use rebar chairs or dobies to keep your rebar elevated within the footing. This ensures it's properly encased in concrete, maximizing its SUPER STRENGTH potential.
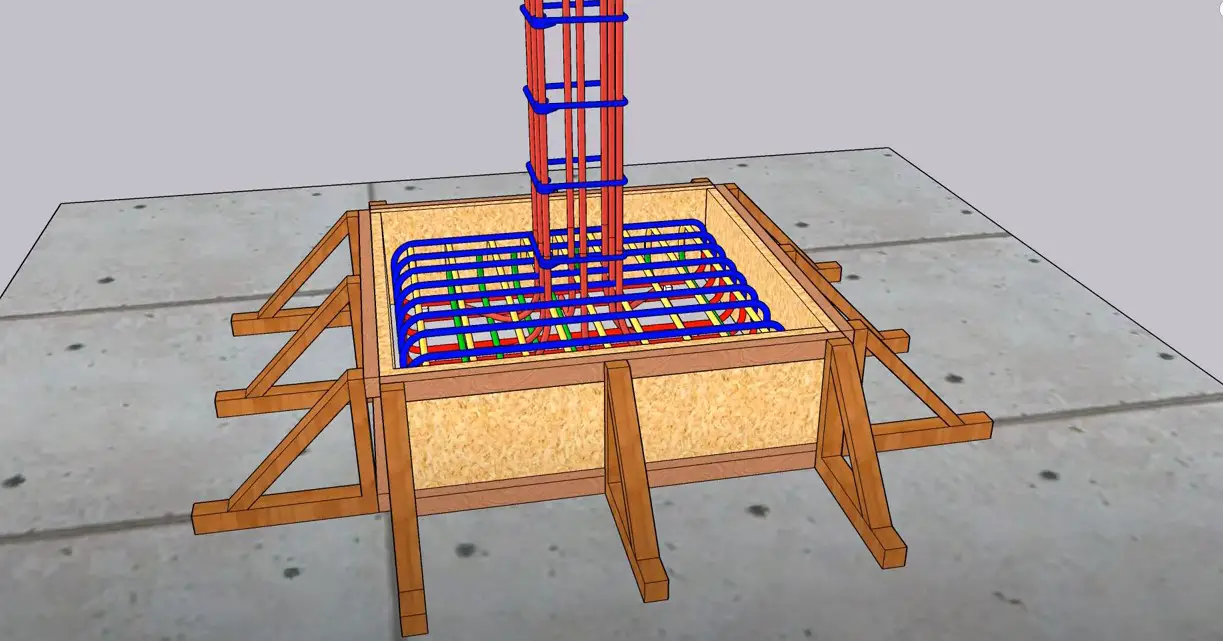
Tying It All Together
Time to get your tying wire and rebar tying tool. This part is actually kinda fun. It is like wrapping tiny metal ribbons around presents of pure SUPER STRENGTH! The ties should be tight and secure, so nothing moves when you pour the concrete.
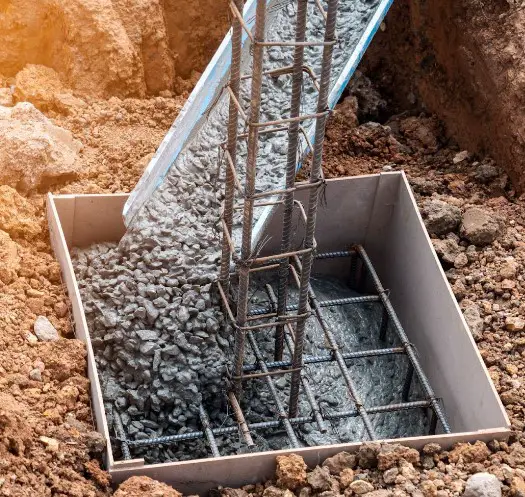
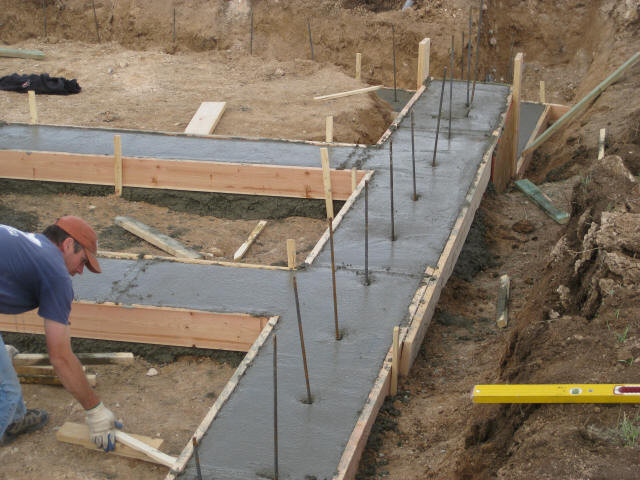
Pouring the Concrete (The Grand Finale!)
Now for the main event! Pour the concrete carefully, making sure to fully encase the rebar. Vibrate the concrete to get rid of air pockets. This is crucial for maximum SUPER STRENGTH! Think of it as giving your concrete structure a good ol' spa treatment, ensuring it's relaxed, happy, and ready to withstand the test of time.
Level it off and give it a smooth finish. Now, step back and admire your handiwork! You've just created a footing that's not only strong but also a testament to your DIY prowess. You are a star! A SUPER STRENGTH star!
And there you have it! You've successfully wrangled rebar into a footing like a pro. Go forth and conquer! And remember, with a little rebar and a lot of enthusiasm, anything is possible!