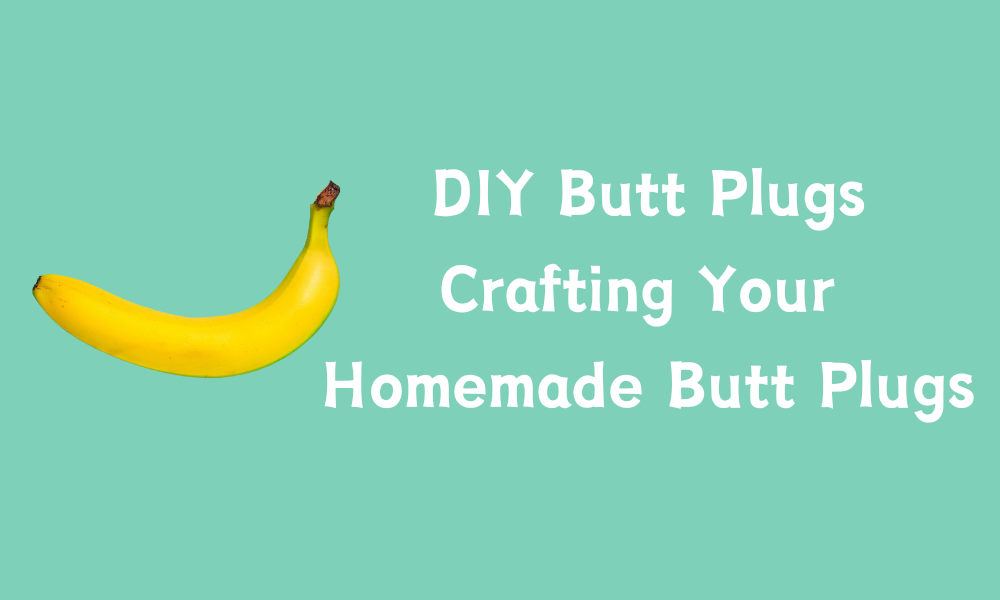
Okay, let's talk about a thing. A personal, potentially giggle-inducing, definitely DIY thing. It involves getting creative, maybe a little messy, and ending up with something… uniquely yours.
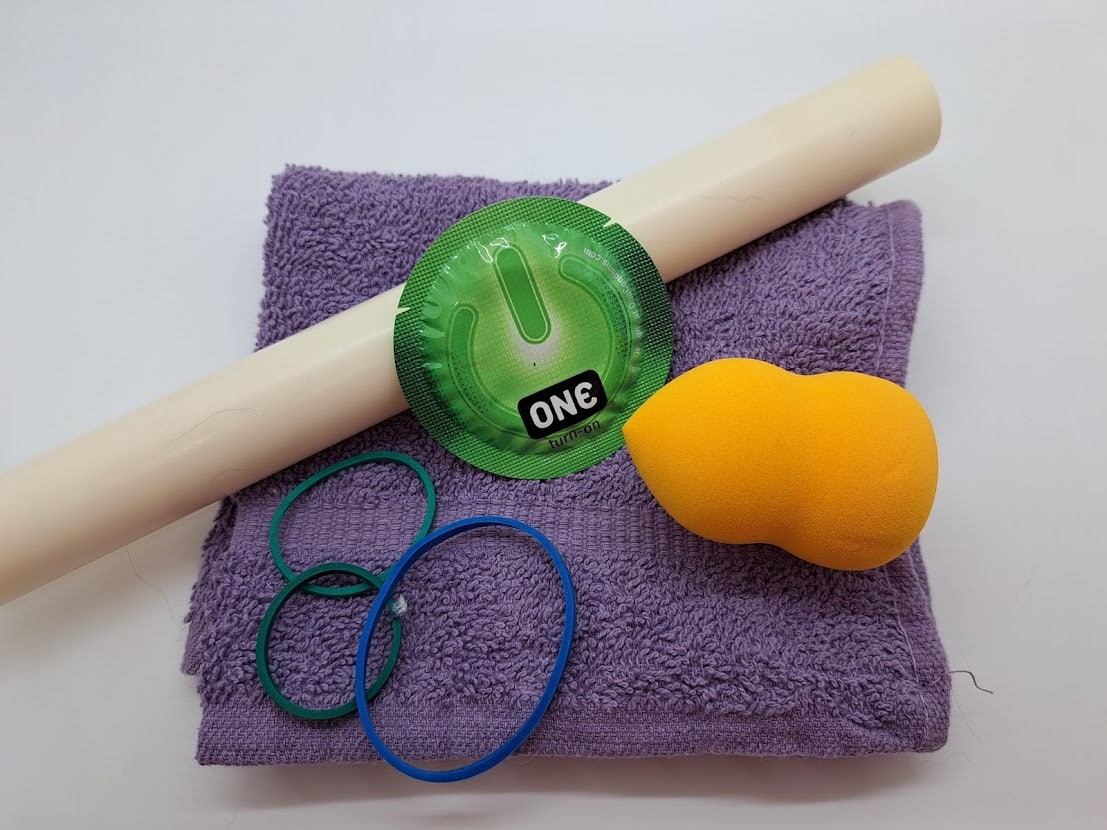
First, the gathering. Raid your kitchen, your craft box, maybe even the garden (with permission, of course!). Think silicone molds. Think smooth stones. Think… well, you'll see.
I remember my first attempt. It involved a slightly-too-large gummy bear mold and some questionable food-grade silicone. The results were… comical. Let’s just say structural integrity wasn't its strong suit.
Hygiene, friends, hygiene! Sterilize everything. Everything needs a good scrub and possibly a boil. We're aiming for fun, not a trip to the emergency room.
The Mold Makes the Magic
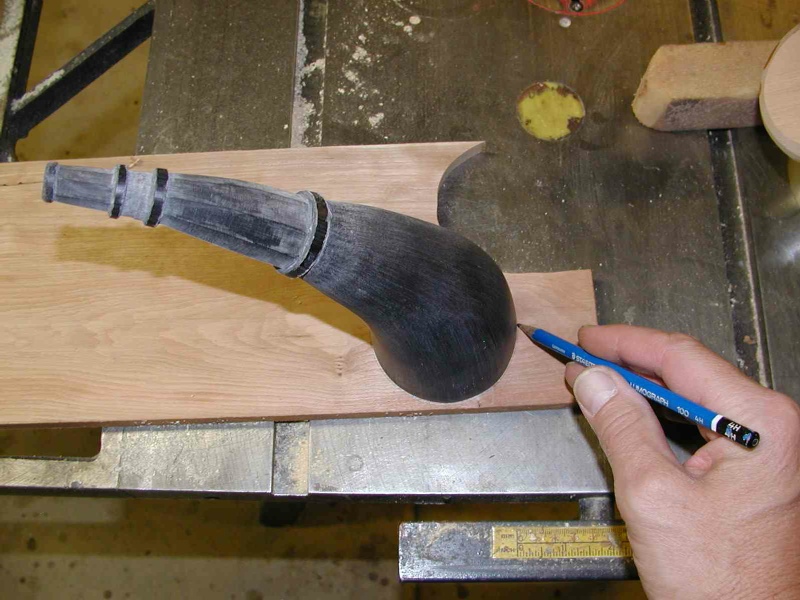
Consider your shape. Smooth curves are your friend. Think teardrops, rounded cones, maybe even abstract sculpture if you're feeling fancy. Avoid sharp edges or anything that looks remotely pointy.
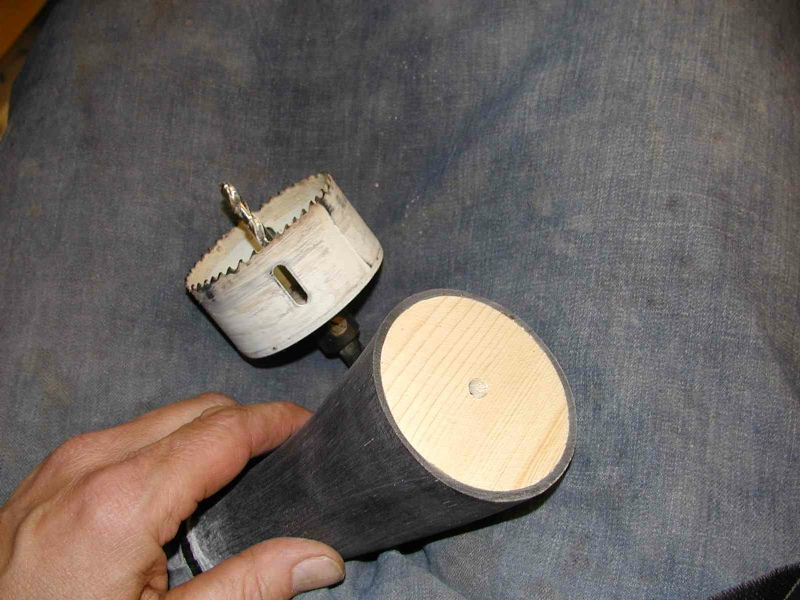
Silicone is generally considered a safe bet. It's non-porous, easy to clean, and relatively inert. But do your research! Not all silicone is created equal. Look for something specifically labeled "food-grade" or "body-safe."
My friend, *Brenda*, once tried using resin. It looked amazing! All sparkly and colorful. Until it shattered. Let's just say she learned a valuable lesson about material science that day.
The Art of the Base
This is crucial. You need a flared base. A very clear and well defined base. Think of it as a safety stop. You don't want anything disappearing where it shouldn't. Trust me.
Experiment with different sizes. Start small. You can always go bigger later. Much, much later. My grandmother always said, "Better safe than sorry," and I think that applies here.
Color! Add some pizzazz. Food coloring, silicone pigments, even glitter (body-safe glitter, of course!) can add a personal touch. Make it rainbow! Make it glow in the dark! Express yourself!
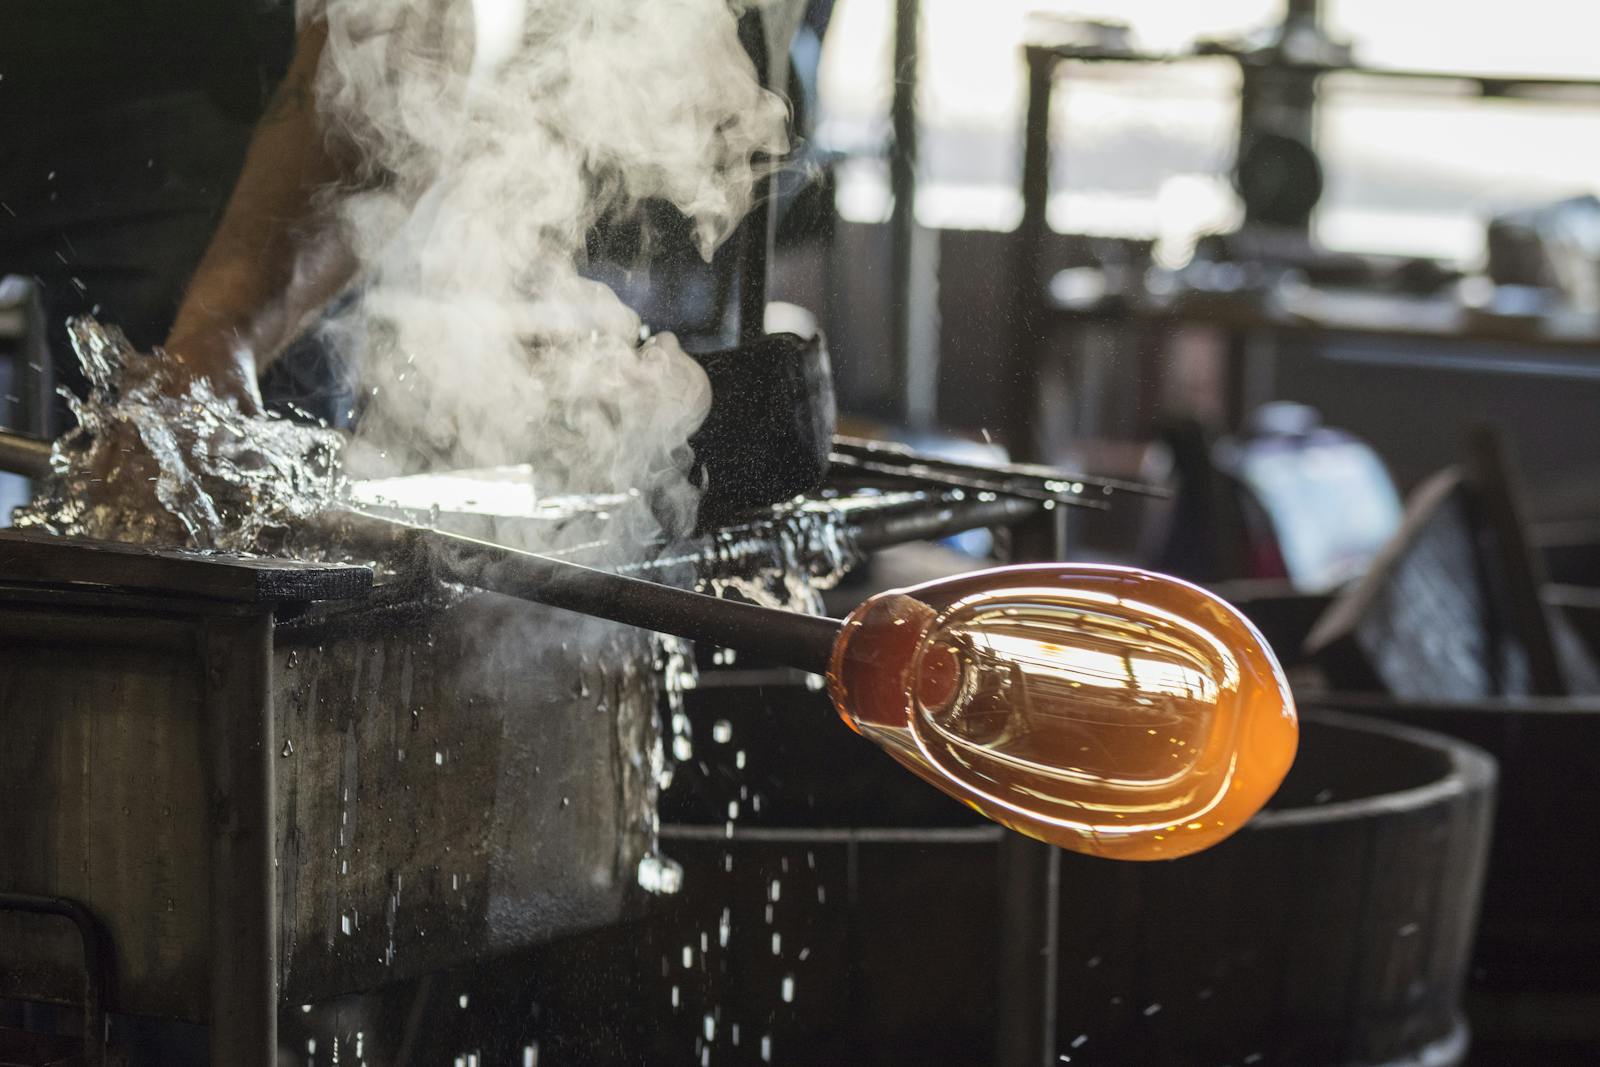
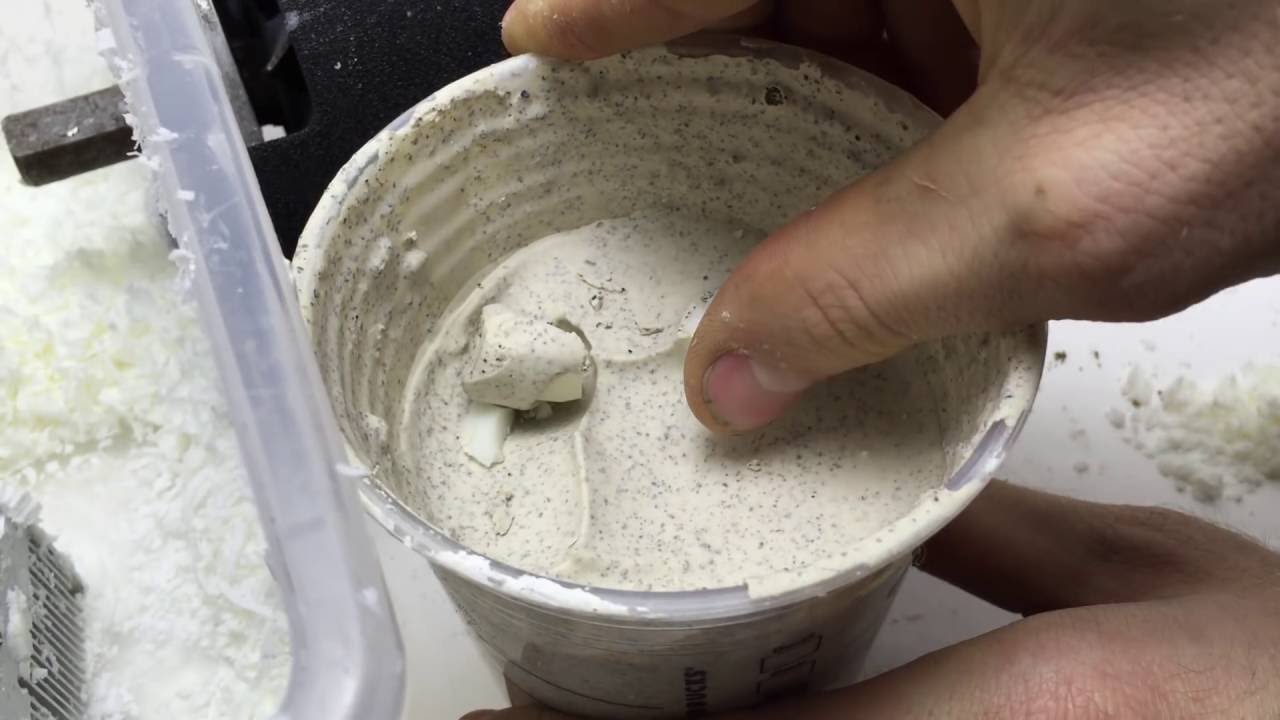
The Pour and the Cure
Follow the instructions on your silicone (or whatever material you choose) very carefully. Mixing ratios are important. Curing times are critical.
Bubbles are the enemy. Gently tap your mold to release any trapped air. A toothpick can be helpful for coaxing stubborn bubbles to the surface. I used to use a tuning fork, creating a slight vibration to shake the air loose.
Patience is key. Don't rush the curing process. Let your creation sit undisturbed for the recommended time. Resist the urge to poke and prod. Trust the science!
Finishing Touches
Once cured, carefully remove your masterpiece from the mold. Inspect it closely. Look for any imperfections. Trim any sharp edges or rough spots with a craft knife or sandpaper.
A good cleaning is essential. Wash your creation with soap and water. Then sterilize it again, just to be sure.
And there you have it! Your very own, handcrafted… thing. Use with caution. Use with lubricant. And most importantly, use with a sense of humor. My friend, *Carl*, makes them exclusively for his role-playing group.
Remember, safety first! Do your research. Choose your materials wisely. And always, always prioritize your well-being. Have fun, get creative, and explore your own… personal artistry. Enjoy!