Ever wanted to sprinkle a little sunshine onto your drawings? The secret? A smile! Forget Mona Lisa's mysterious smirk, we're going full-blown, ear-to-ear happiness today!
The Basic Curve: Your Foundation of Fun
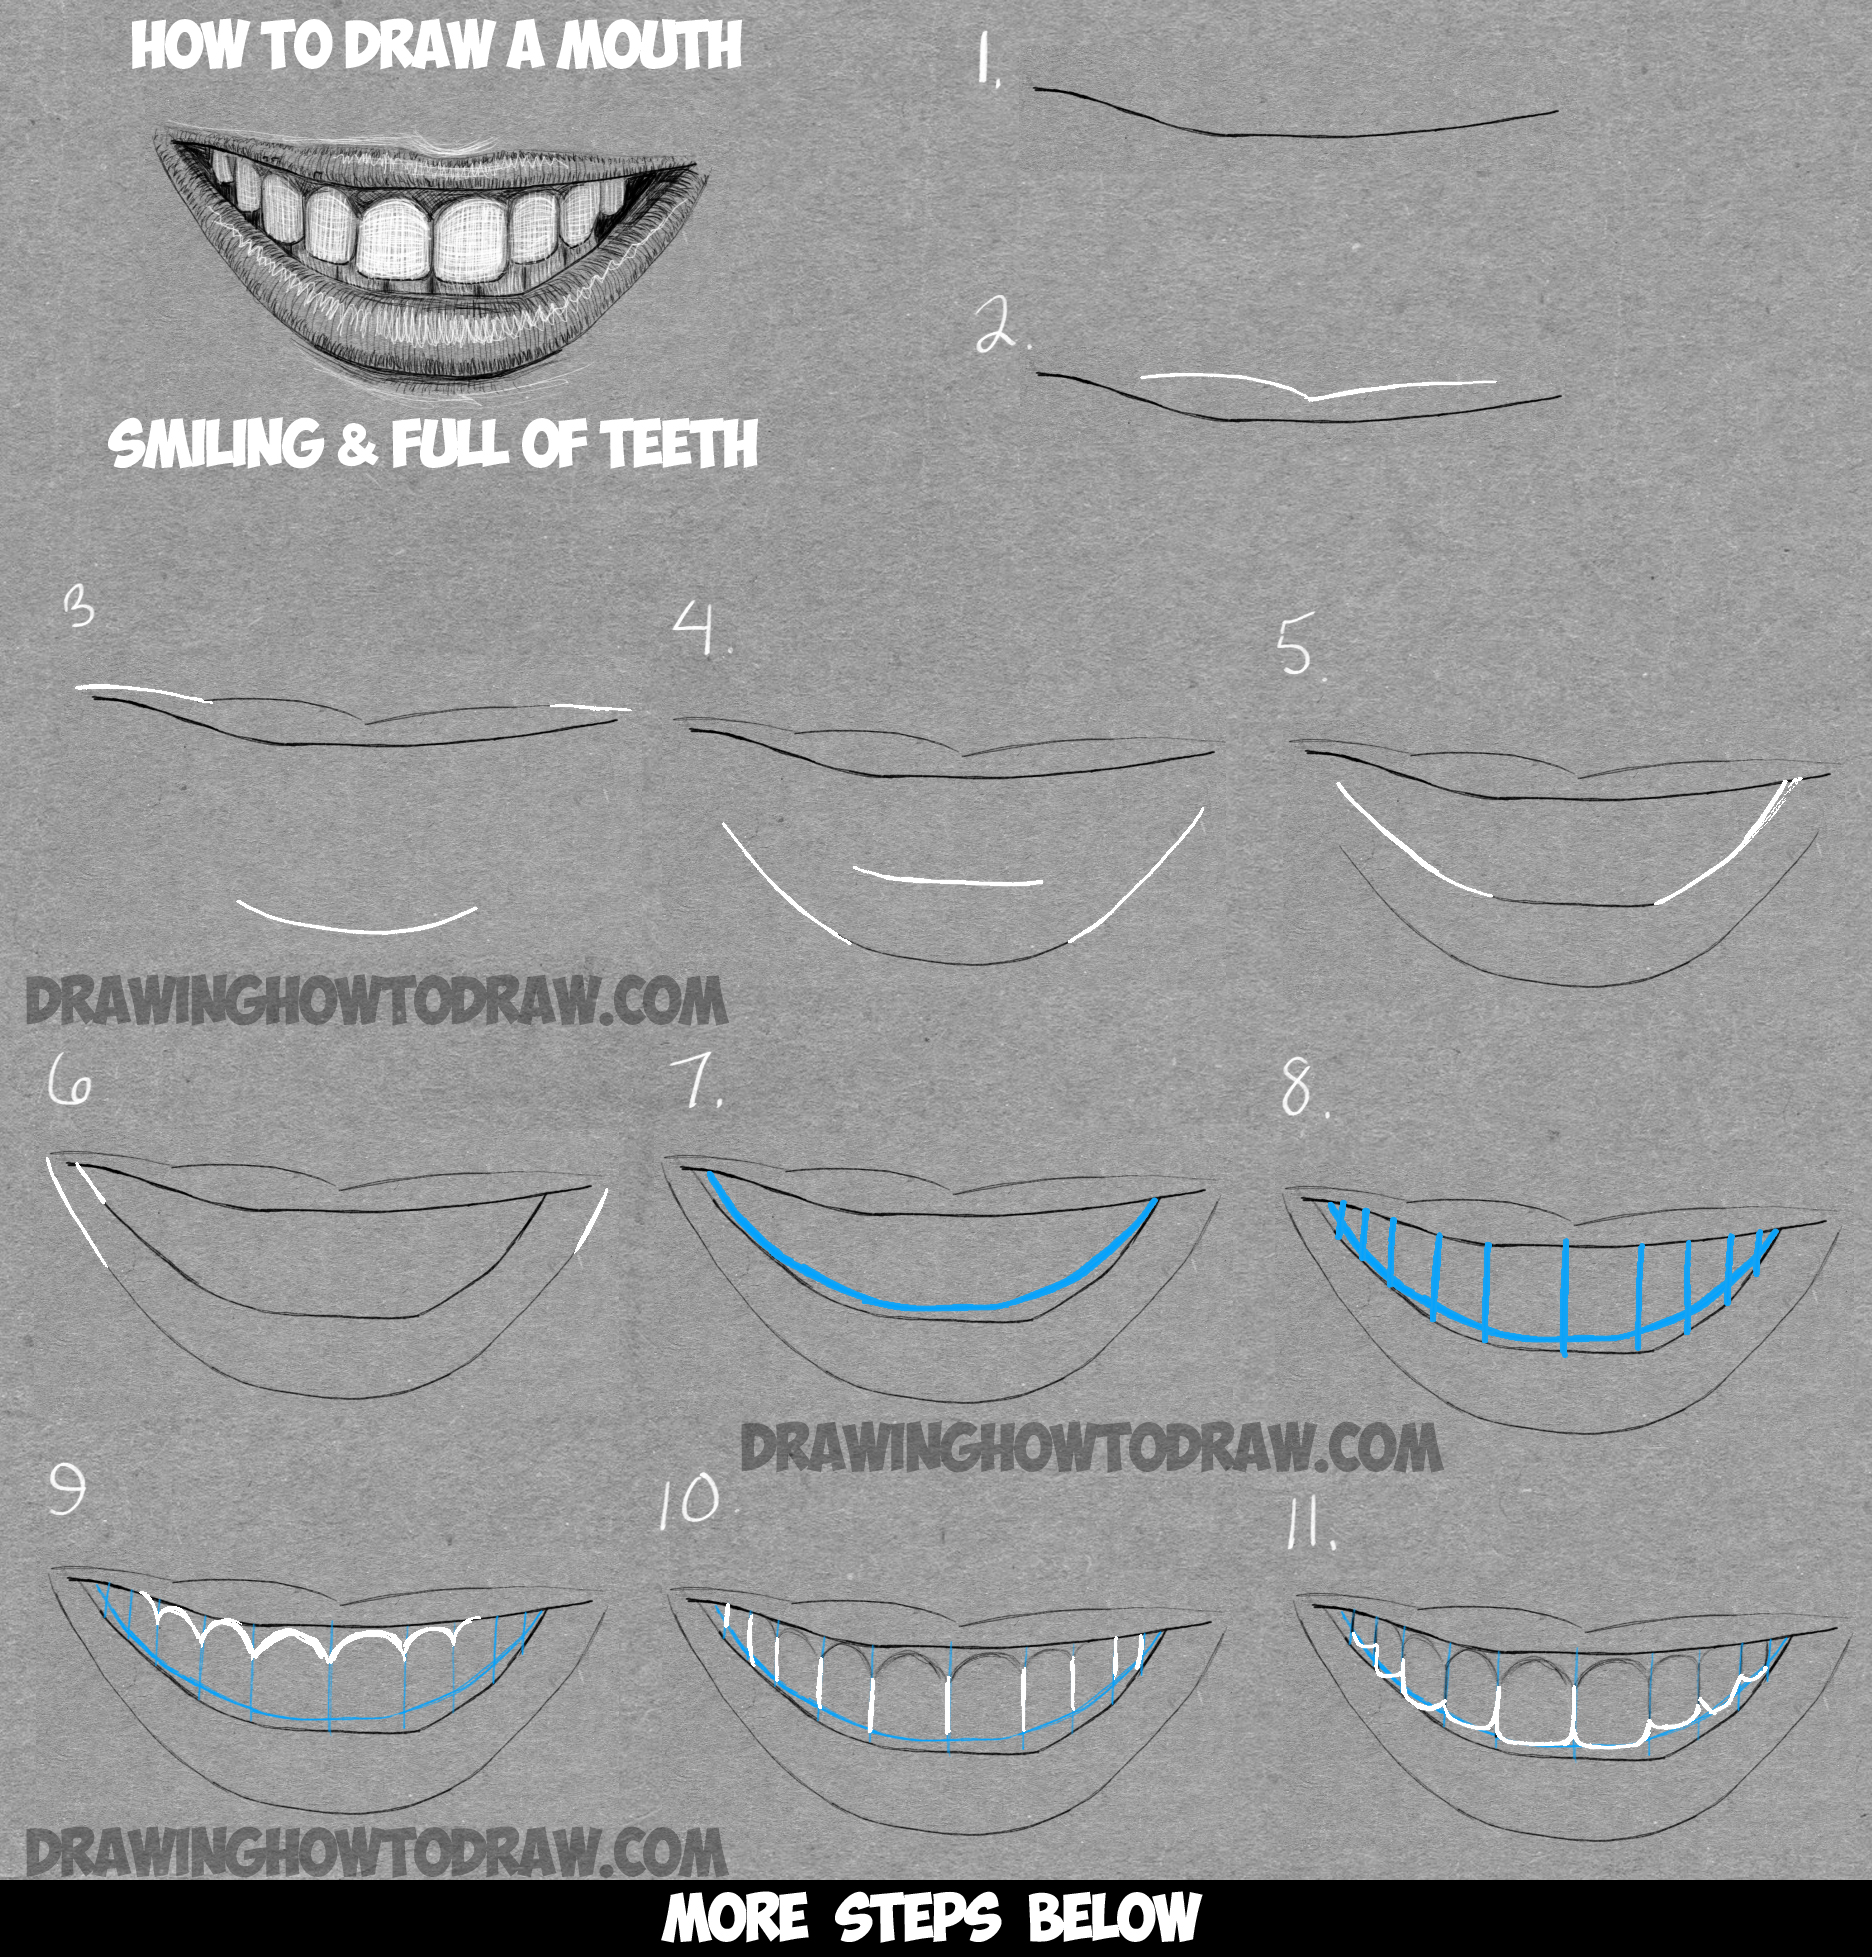
First, let's ditch the straight line. Unless you're drawing a robot who's *trying* to smile (and failing miserably!), we need a curve.
Think of it like a gentle hill, or the bottom of a super-happy rainbow. That's the base of our smile right there.
Turning the Curve Upwards
Now, this isn't just *any* curve. We're going for upwards! Think "U" for "Upbeat!" We want that mouth pointing towards the sky.
The more upwards the curve, the bigger, goofier, and generally more enthusiastic the smile becomes. Feel free to experiment!
Imagine the curve is a rope and you're pulling it upwards at the center. That's the kind of lift we are aiming for.
Adding the Corners: Where the Magic Happens
Okay, we've got our curve. But a smile isn't just a lone arc floating in space. It needs corners!
These are where the lips meet on the sides, and they're crucial for showing emotion. They also look a bit like commas, which is quite interesting.
Slightly Upward Corners: The Key to a Genuine Smile
Here's the golden rule: make those corners point *slightly* upwards. Just a touch! This is what separates a genuine smile from a forced, "say cheese!" grimace.
Think of the corners as tiny little wings taking flight. Lift them gently, and watch your smile come alive!
Even a subtle upward flick can make all the difference. It's like adding a pinch of magic to your artistic recipe.
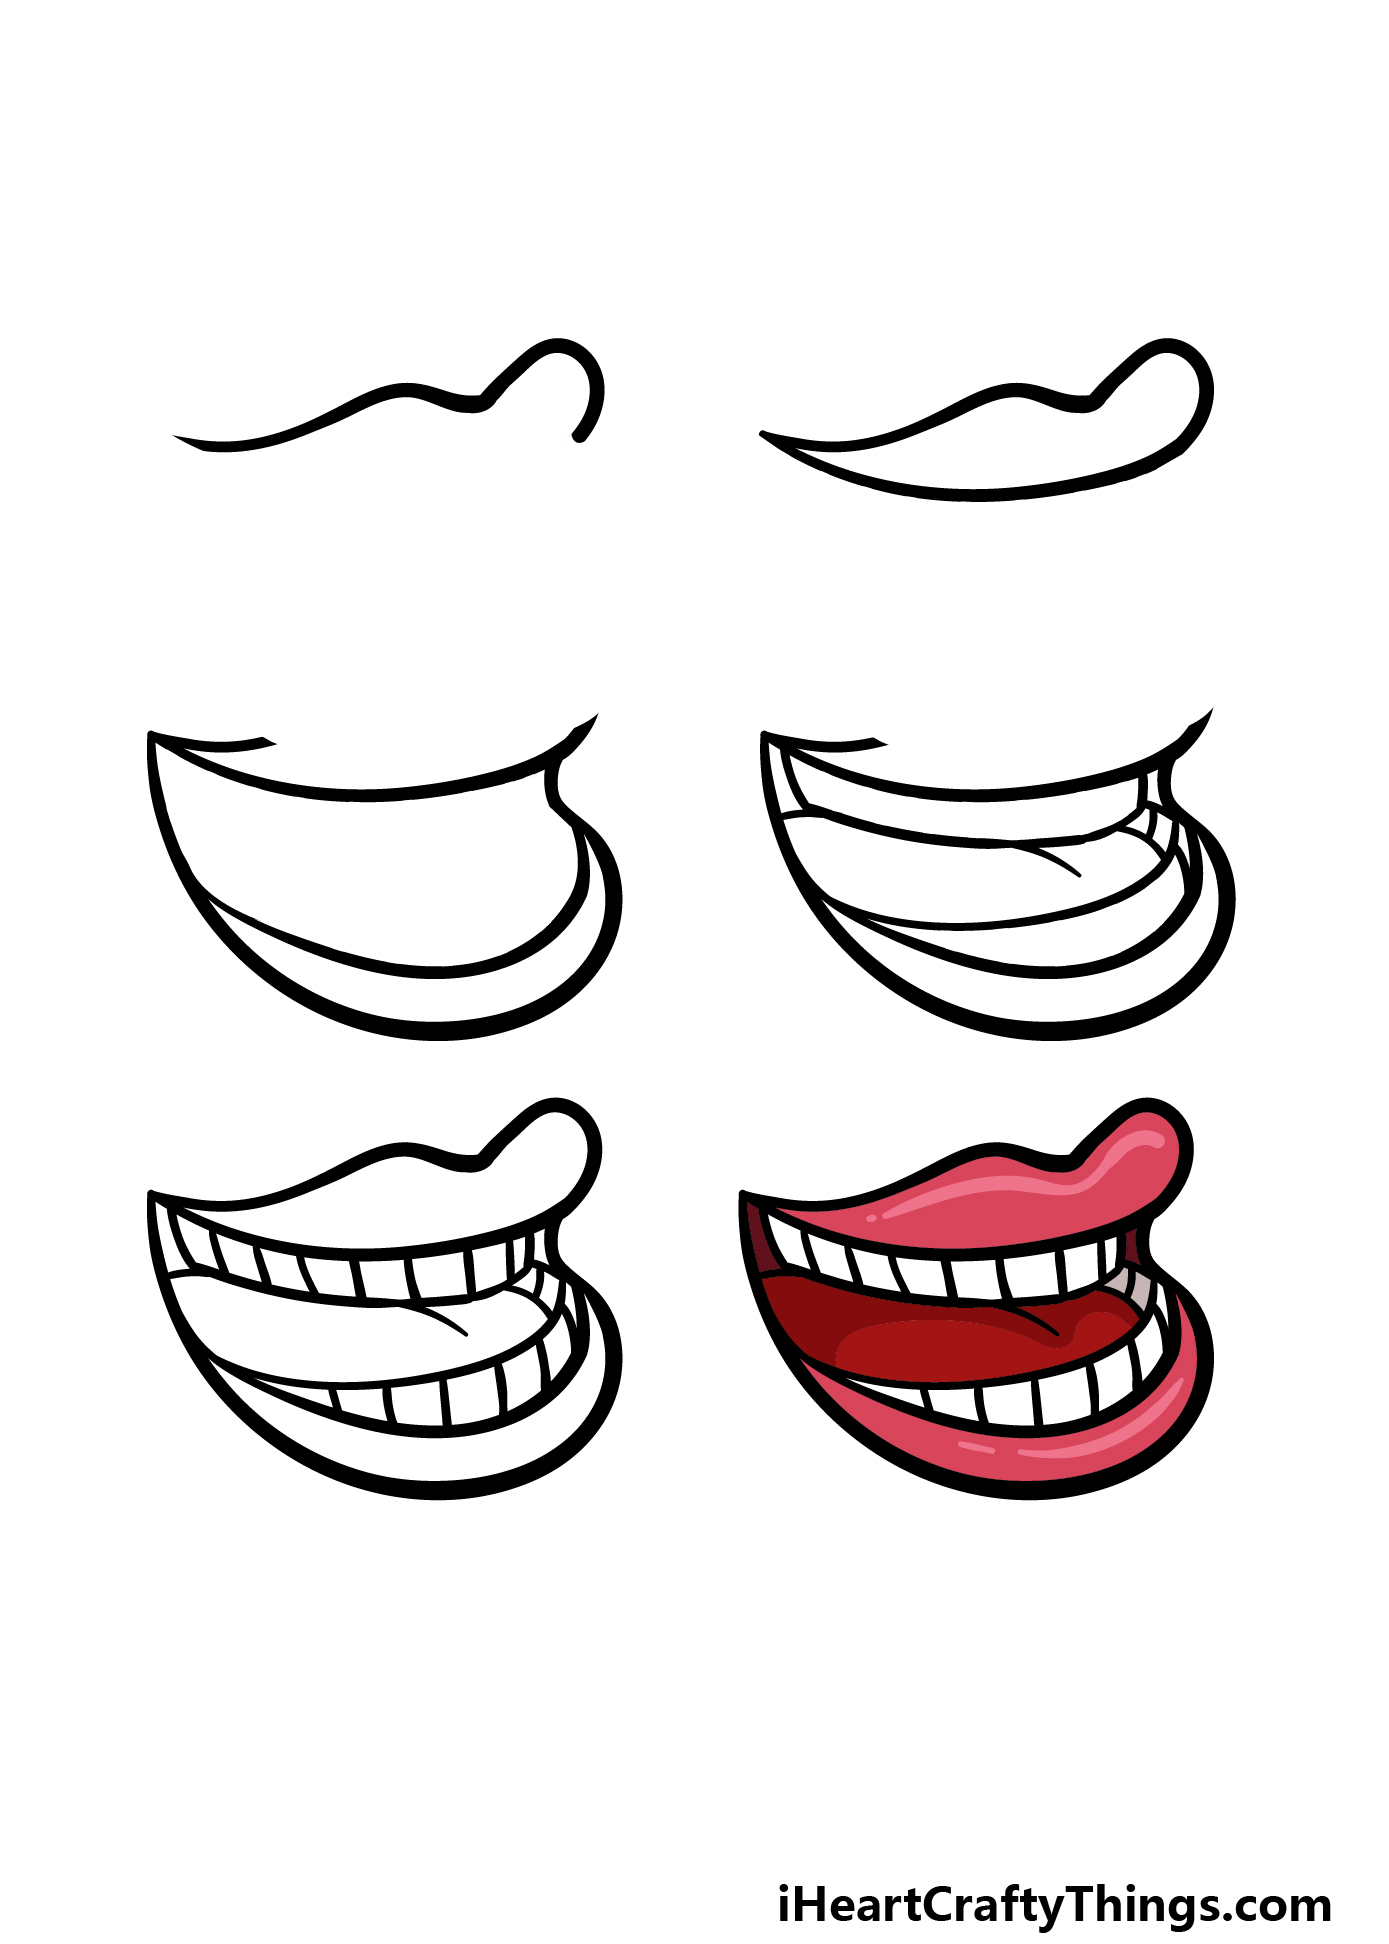
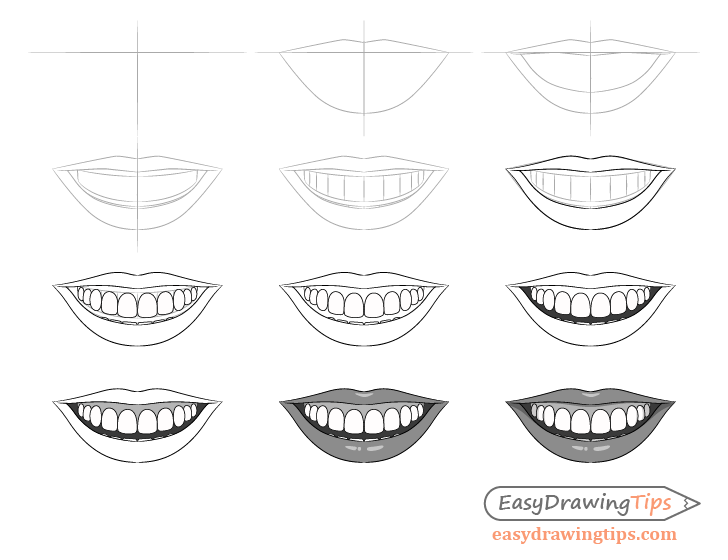
Adding Depth: Hinting at the Lips
We don't want our smile to look like it's just painted on. Let's give it some dimension! A little hint of the lips goes a long way.
Draw a very light line just above the curve. This represents the top lip and adds a touch of realism.
Experiment with Lip Shape
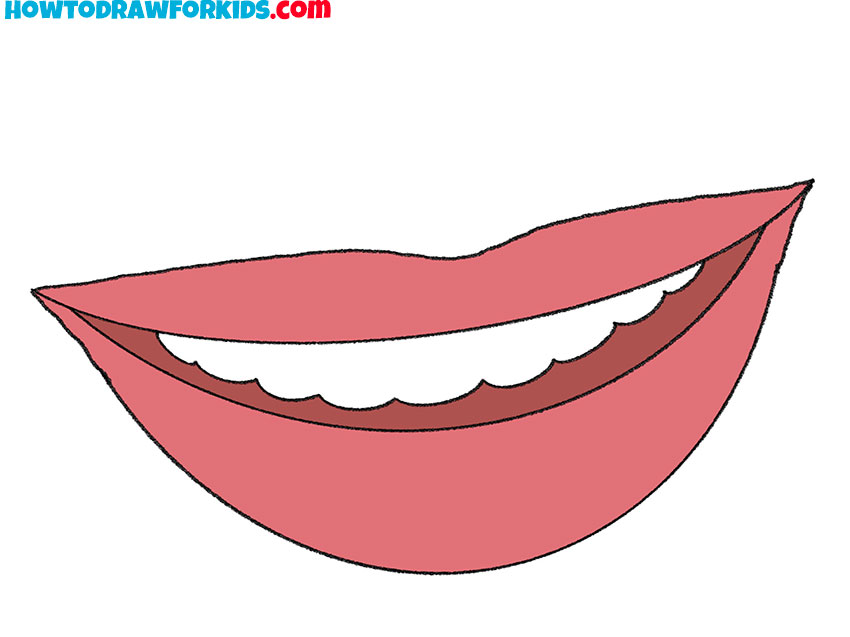
Thin lips? Thicker lips? It's your drawing, your rules! Play around with the thickness of that top line to change the character's look. Maybe they are wearing lipstick, then the thickness would be more significant.
A slight curve can also be added under the main smile line to indicate the lower lip, but only add this if the smile is very wide, revealing the lower lip.
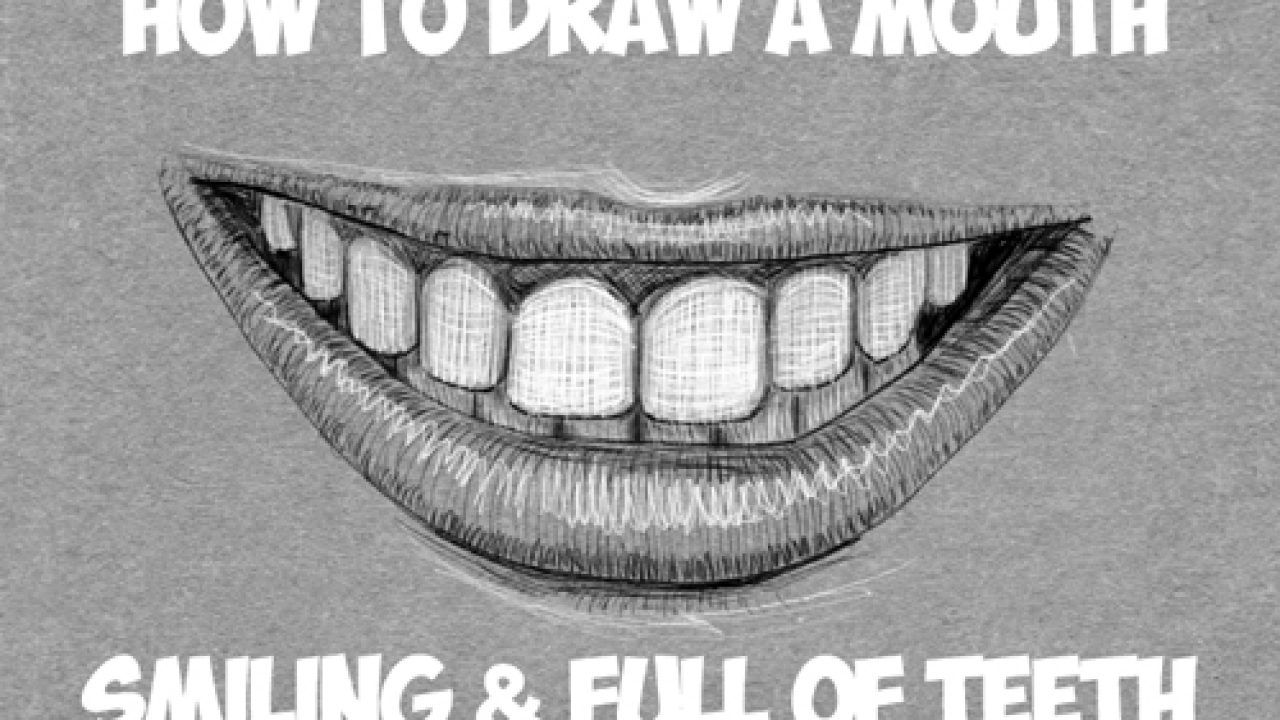
Teeth or No Teeth? The Million-Dollar Question
Ah, the age-old debate! To show teeth, or not to show teeth? That is the question!
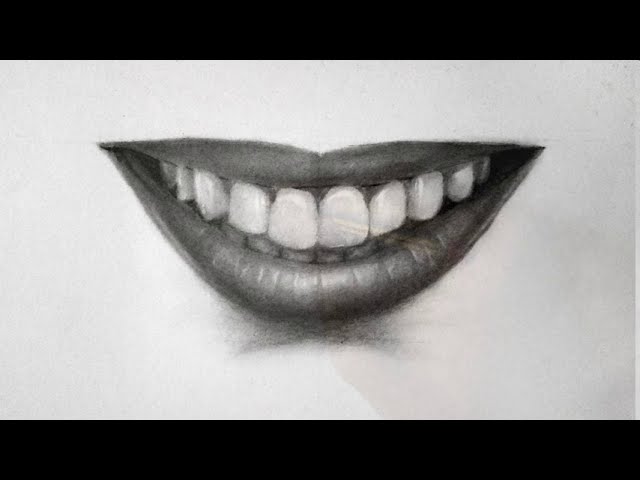
If you're going for a big, bold, super-happy smile, showing a row of pearly whites can be a great idea.
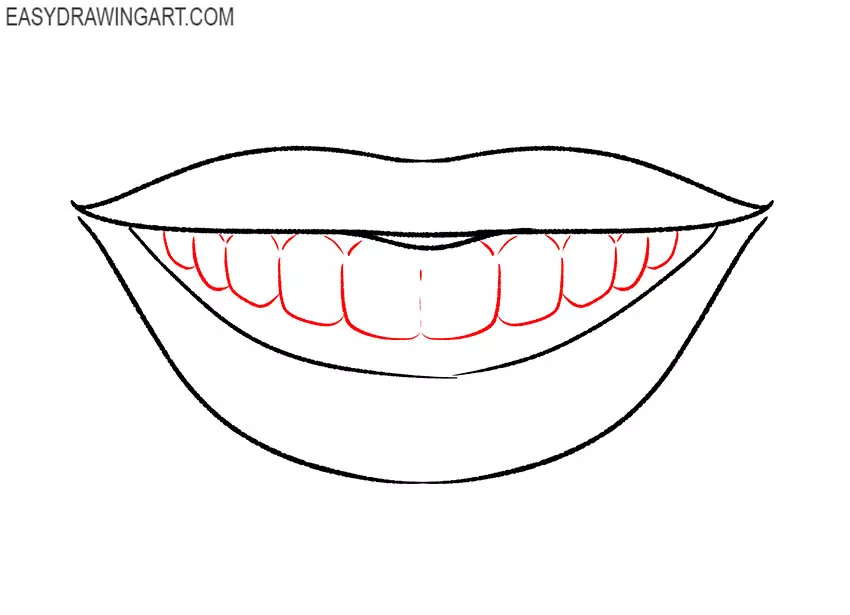
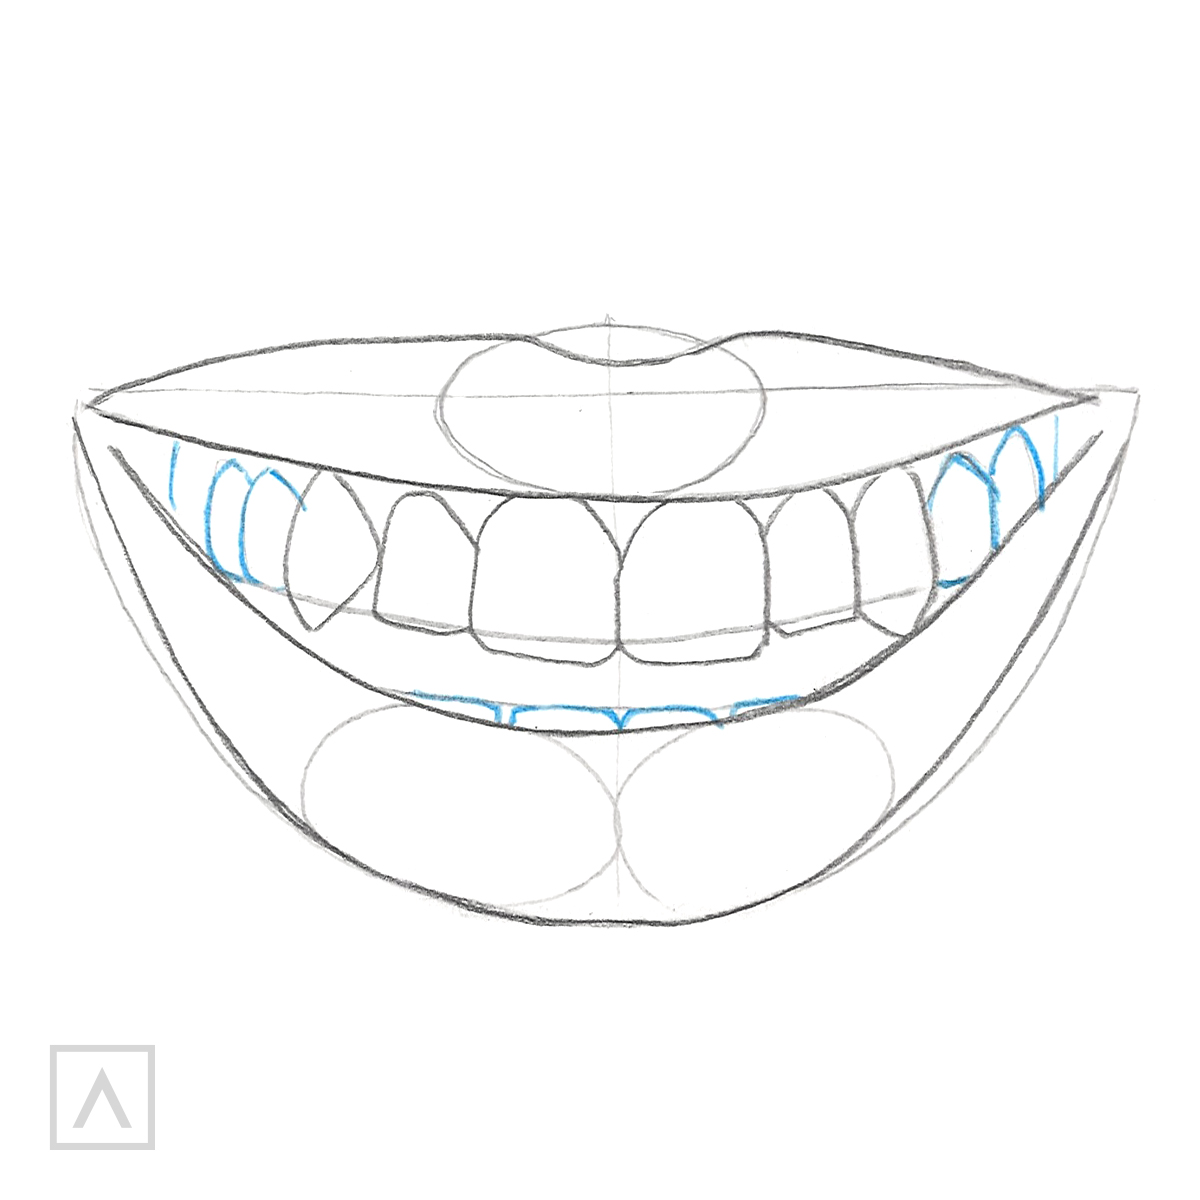
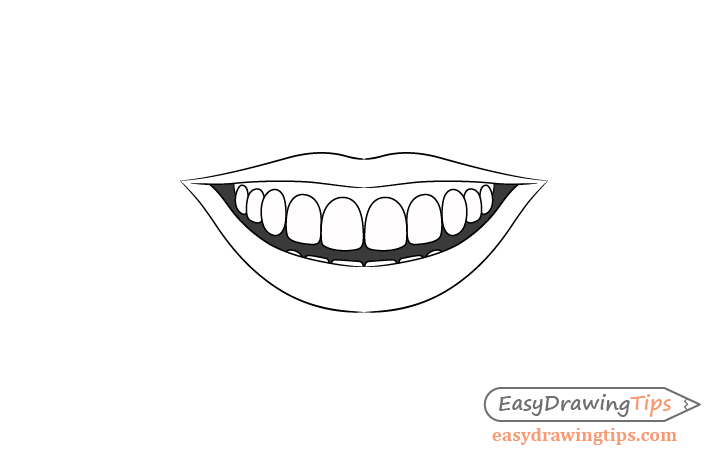
Simple Teeth: A Row of Rectangles
Don't overthink it! Teeth don't have to be perfectly sculpted masterpieces. A simple row of slightly rounded rectangles will do the trick.
Just make sure they're roughly the same size and evenly spaced. You want "adorable grin," not "terrifying dental nightmare."
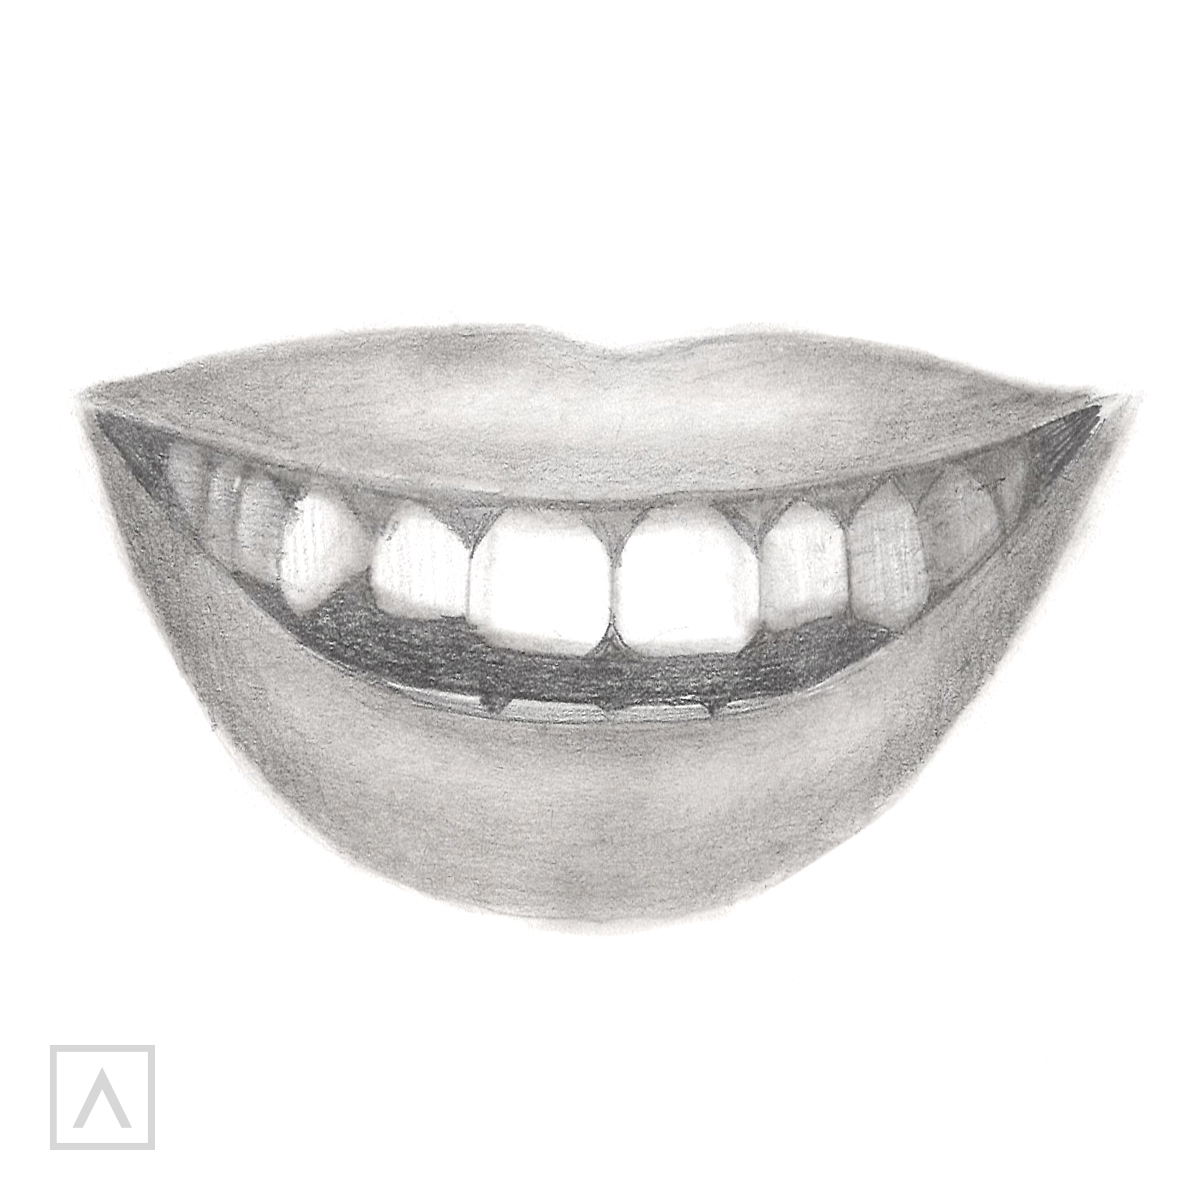
If you want to get even more detailed, adding a little shadow between the teeth can make them pop, but you don't need to feel pressured to do so.
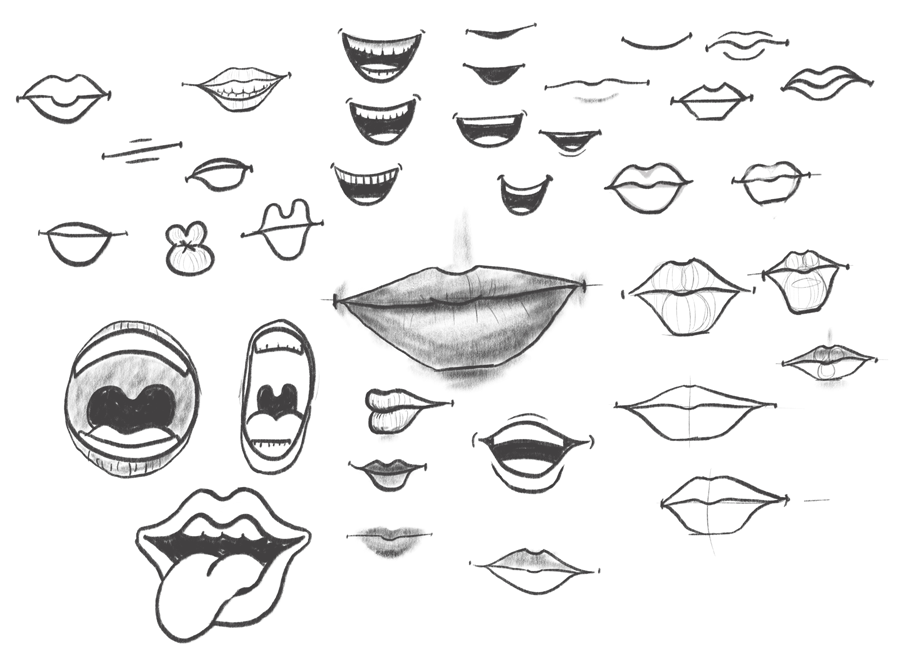
Practice Makes Perfect (and Happier!)
The best way to master the art of drawing a smile is to practice. Lots and lots of practice! Don't be afraid to experiment with different curves, corners, and lip shapes.
The more you draw, the more comfortable you'll become, and the happier your drawings will look. Now go forth and spread the joy!
Grab your pencil and paper, and let's turn those frowns upside down (into even bigger smiles!). Remember, every artist starts somewhere, even
Vincent Van Goghstarted with a simple line.