Okay, let's talk about drawing kissing lips. Sounds romantic, right? Maybe a little intimidating? Don't worry, we're diving in headfirst (or maybe lips-first?).
The Dreaded Symmetry
Here’s my hot take: symmetry is overrated. I know, I know! Artists are supposed to strive for perfect balance. But who actually *is* perfectly symmetrical? No one!
Kissing lips? Even LESS symmetrical. They're smooshed, angled, and generally having a good time. Embrace the wonkiness. It's charming.
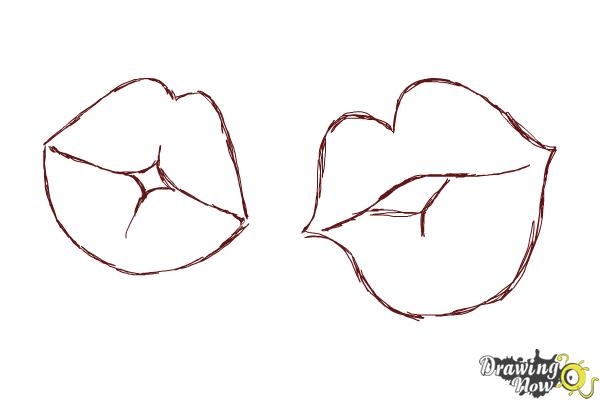
Step 1: The Bean (Seriously)
Start with a bean shape. Yes, a bean! Don't overthink it. Just a slightly lopsided kidney bean. It's the base for the upper lip.
Now, under the bean, draw another, flatter bean. This is your bottom lip. See? We're already kissing! (Sort of.)
Make sure these beans are touching. This creates that crucial connected look. Think of them as two friends, sharing a hug.
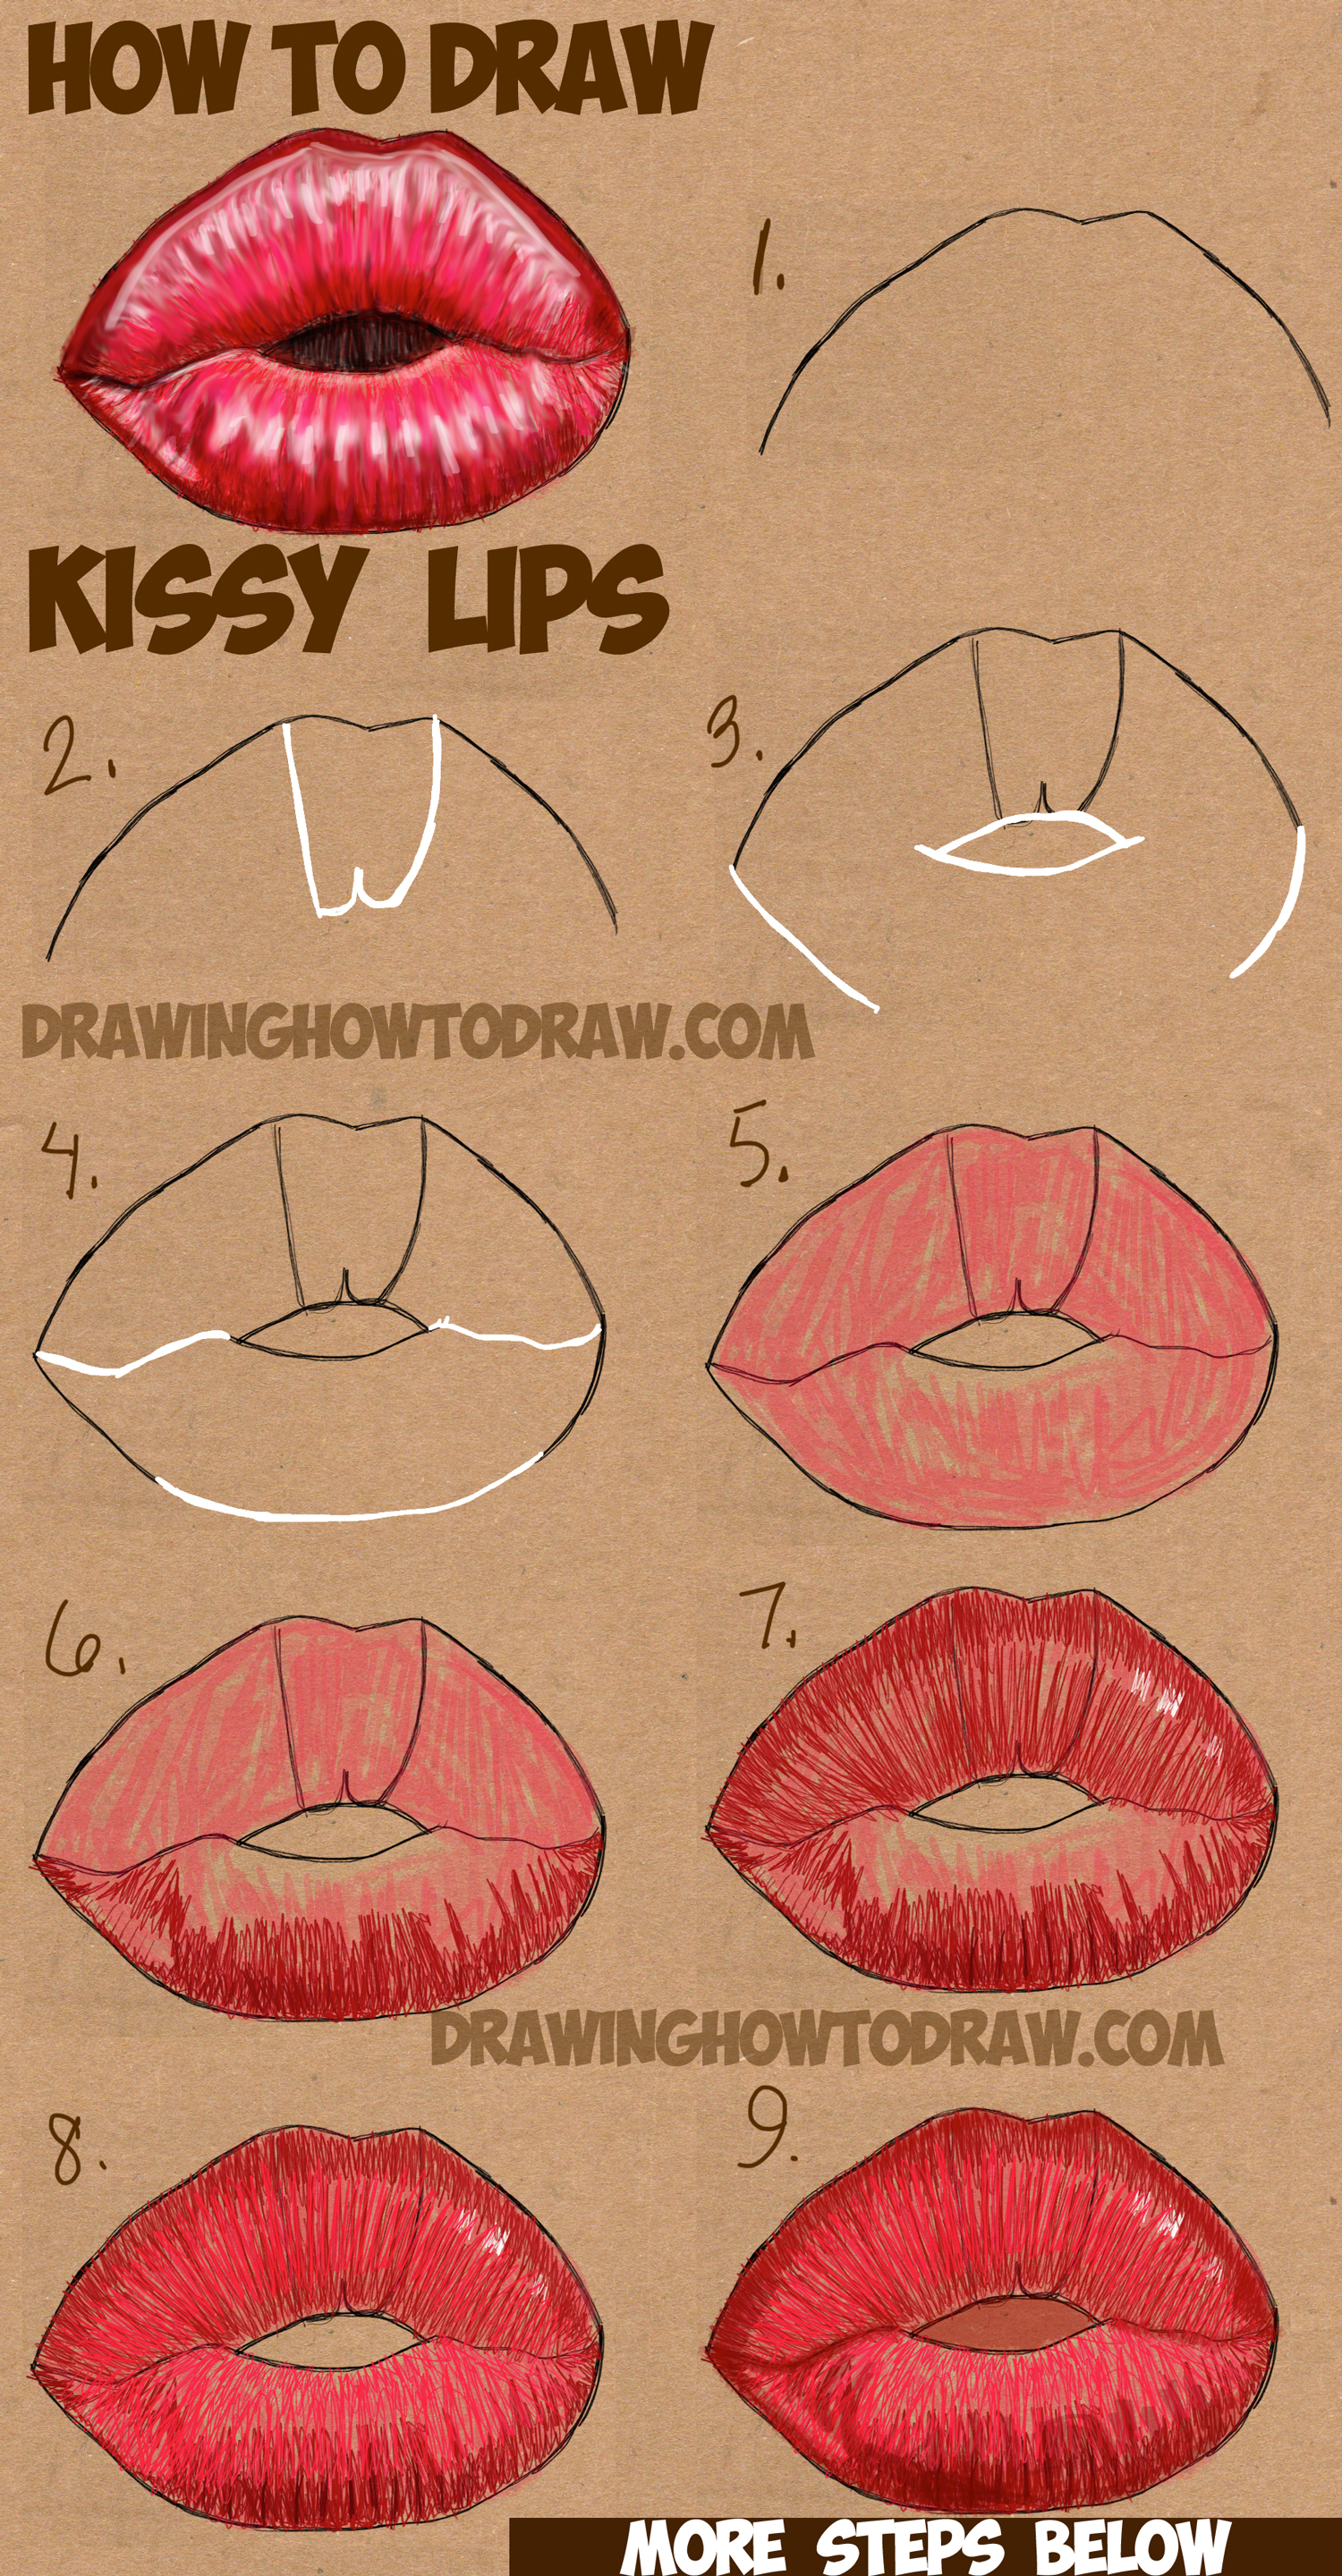
Step 2: The Cupid's Bow (Or Lack Thereof)
The Cupid's Bow. Some people swear by it. Some people (like me!) think it's a bit… fussy. Feel free to include it, but a gentle curve works just as well.
Don't try to make it perfect. A slight dip or a couple of subtle humps does the trick. Remember, imperfection is your friend!
My unpopular opinion? Sometimes, a subtly defined upper lip looks better than an aggressively arched Cupid's Bow. Just saying.
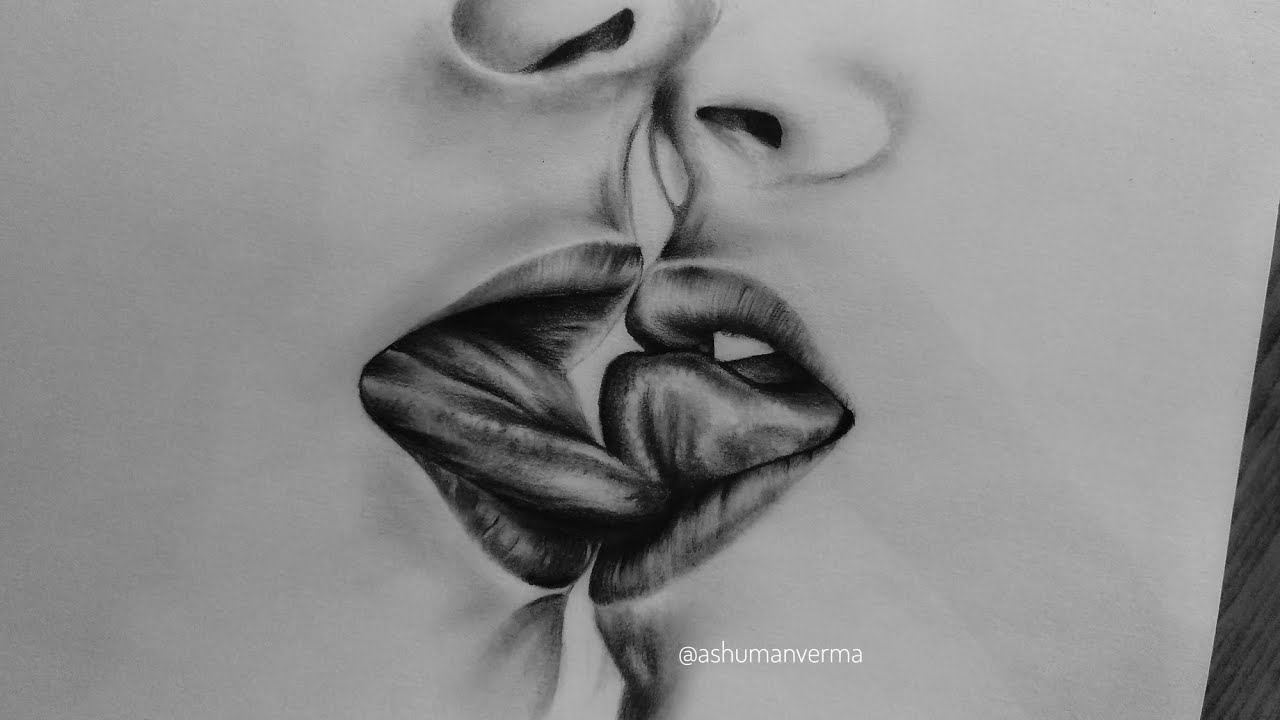
Step 3: The Line of Contact
This is where the magic happens. This line defines how the lips are pressing together. Too straight? It looks stiff. Too wobbly? They look… well, like they're vibrating.
A gently curved line works best. Vary the pressure along the line. Make it thicker in some areas, thinner in others. This creates depth and realism.
Don't be afraid to experiment! Try different curves and see what looks best to you. Drawing is all about trial and error, my friend.
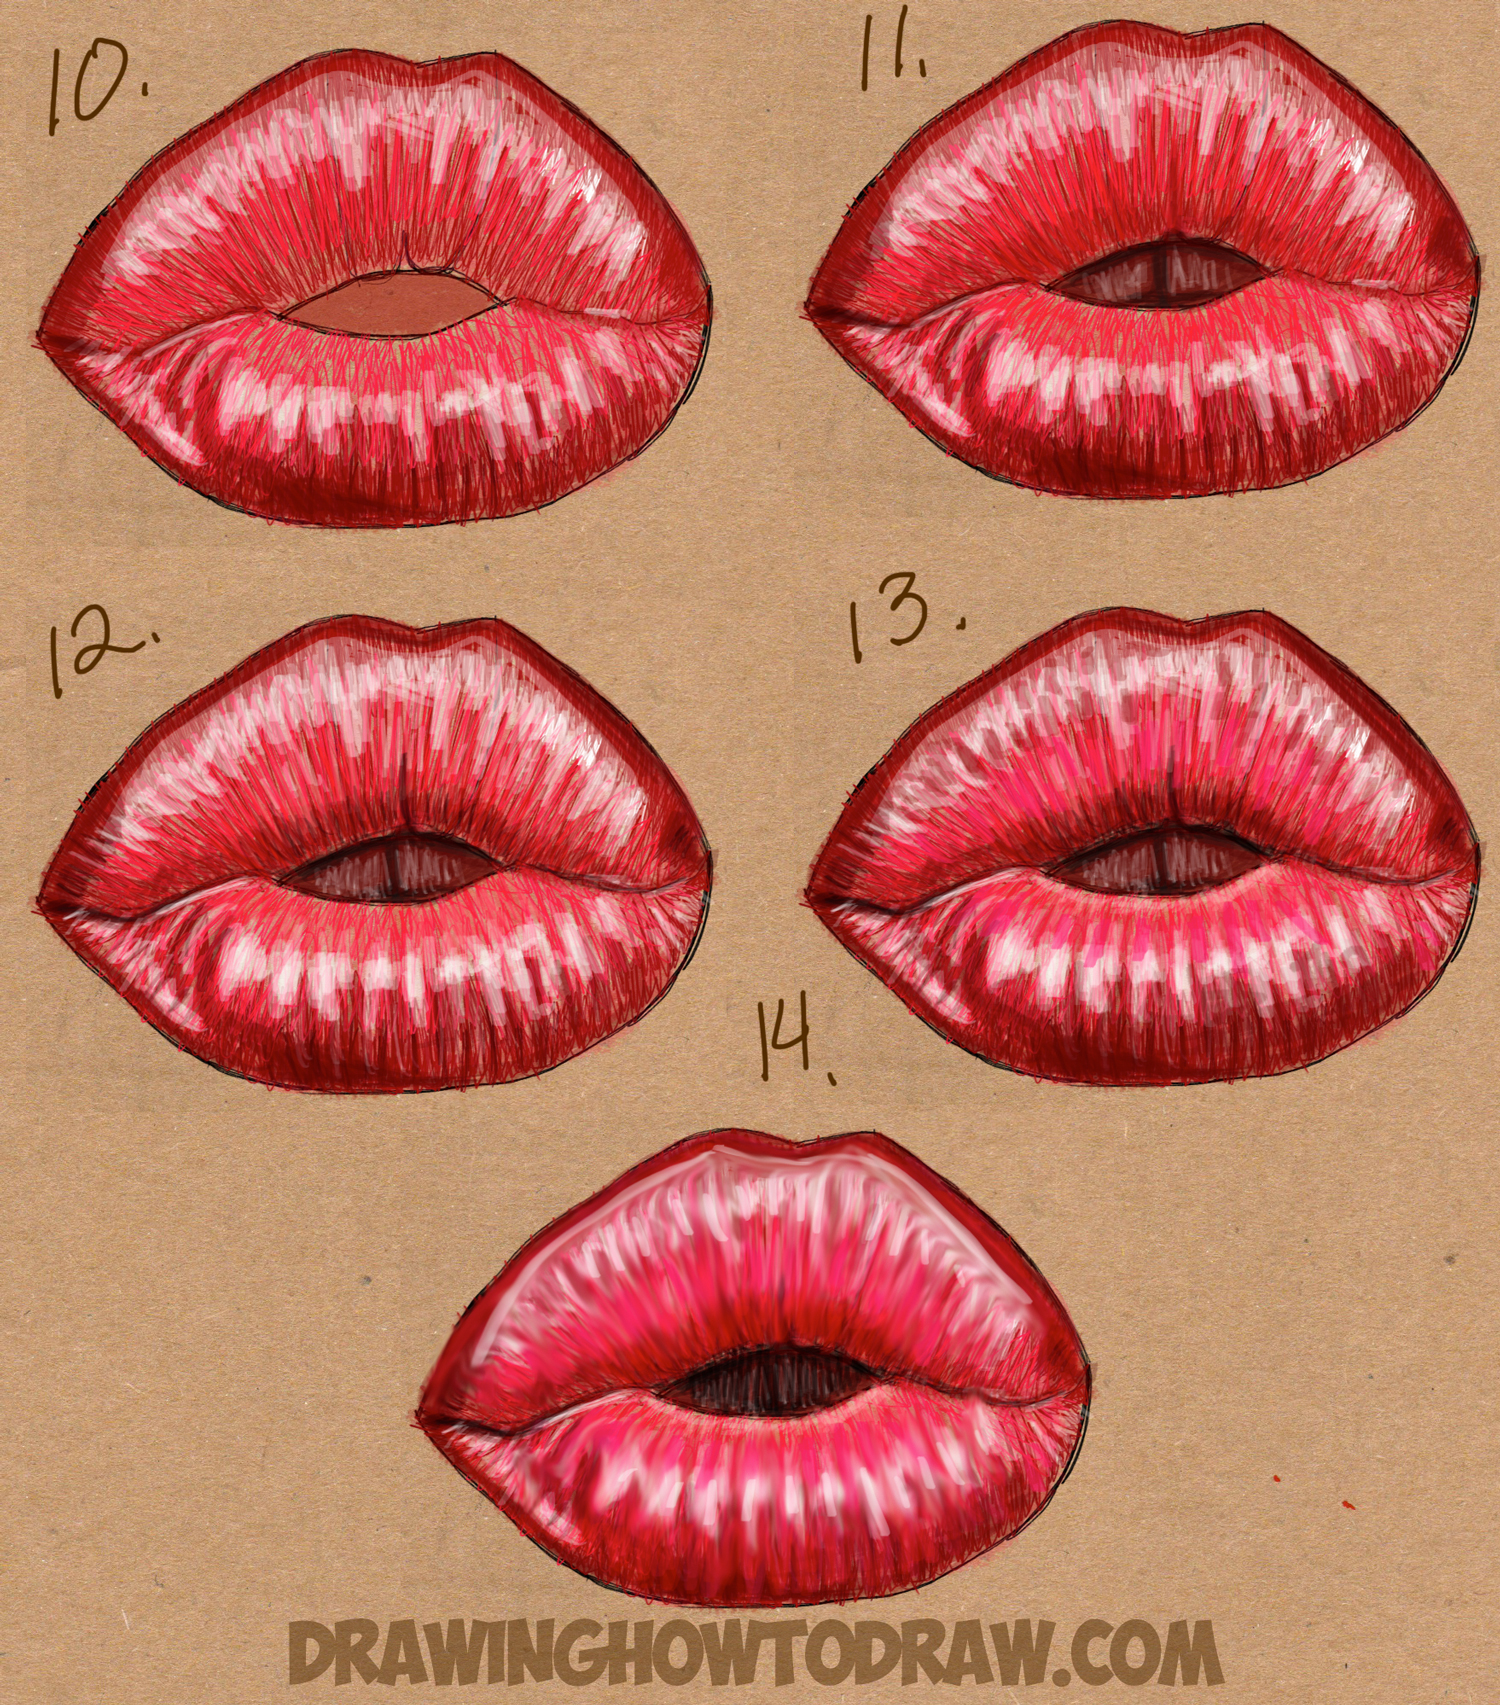
Step 4: Shading and Highlights
Shading gives your kiss life! Think about where the light is coming from. The bottom lip usually catches more light than the upper lip.
Use a light hand! Subtle shading goes a long way. Don't overdo it or your lips will look bruised. Unless that's the look you're going for, of course.
A tiny highlight on the fullest part of the bottom lip makes it look plump and kissable. Just a little dab will do ya!
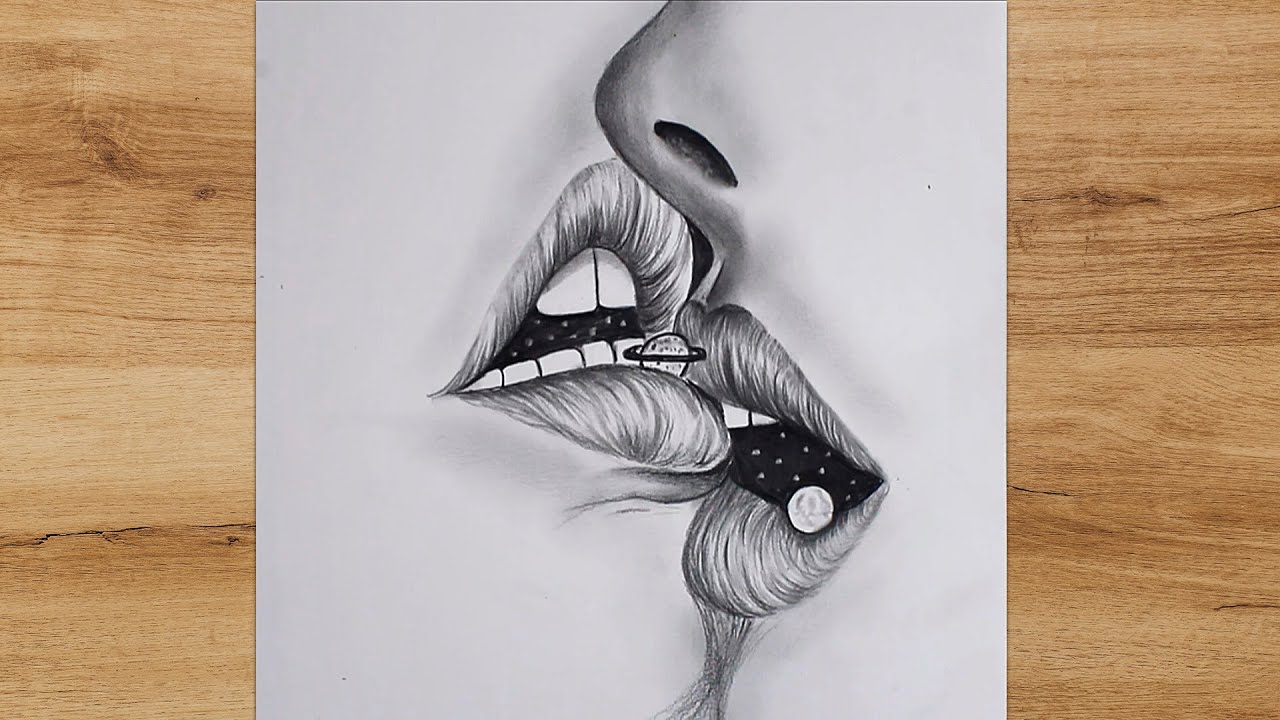
Step 5: Context is Key
Lips don’t exist in a vacuum! Think about the surrounding face. The angle of the nose, the curve of the cheek, the hint of a chin.
Add subtle lines around the mouth to indicate the surrounding skin. These little details make a huge difference in believability. Consider adding slight wrinkle around the lips.
Even a tiny suggestion of teeth peeking through can add a lot of character. But be careful! Teeth are surprisingly tricky to draw.
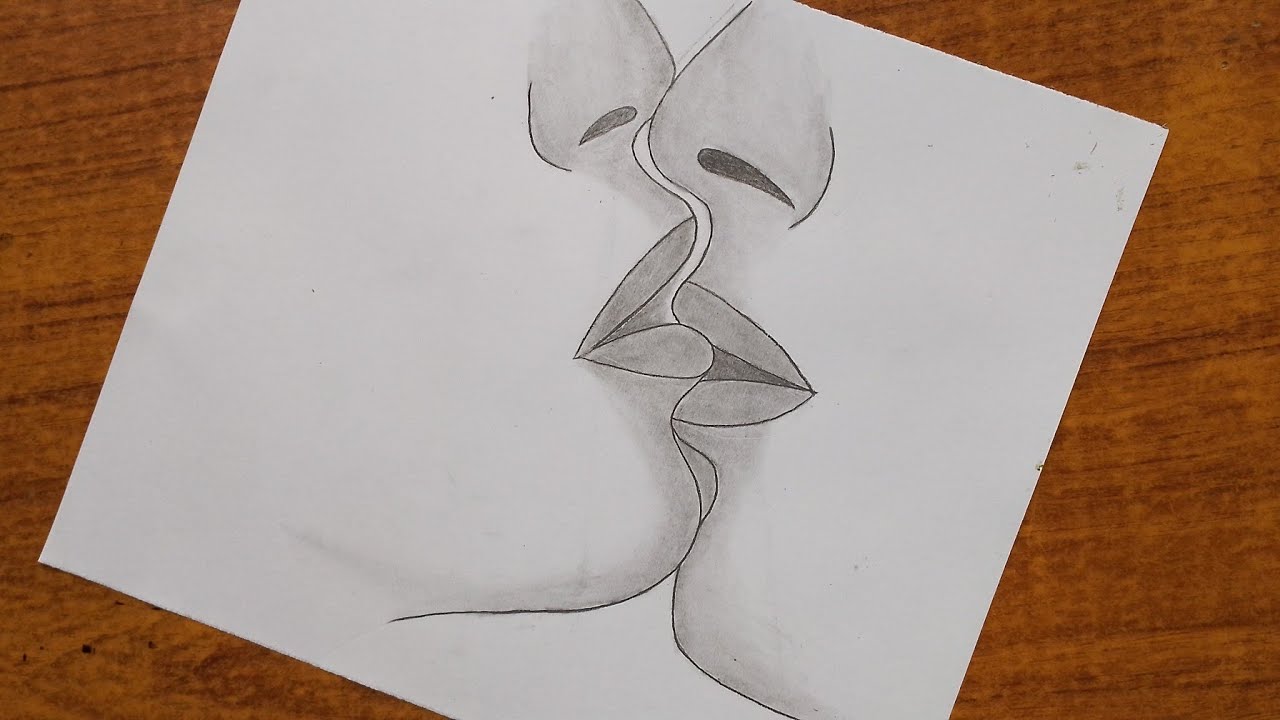
Final Thoughts (and More Unpopular Opinions)
Drawing kissing lips is easier than you think. Ditch the pressure to be perfect. Embrace the asymmetry. Have fun!
And here's one last controversial statement: over-rendering lips is a crime! A simple, stylized look can be just as effective (if not more so) than a hyper-realistic one.
So go forth and draw some smooches! And remember, the best art is art that makes you happy.
Don't let anyone (especially not the symmetry police) tell you otherwise.