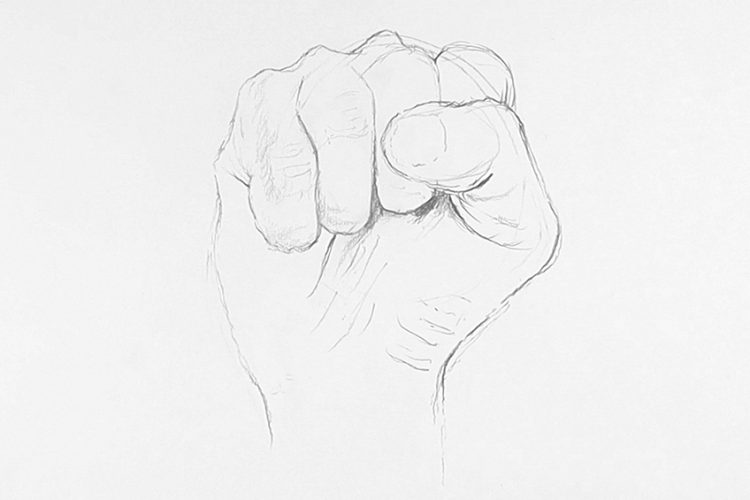
Unleashing the Power of the Drawn Fist (It's Easier Than You Think!)
Okay, let's talk fists! Not for fighting, of course, but for *drawing*! I know, it sounds intimidating. Like, "Oh great, another anatomy lesson I slept through in high school."
But trust me, this is easier than making toast. And way more satisfying. We're going to break it down into simple, giggle-inducing steps.
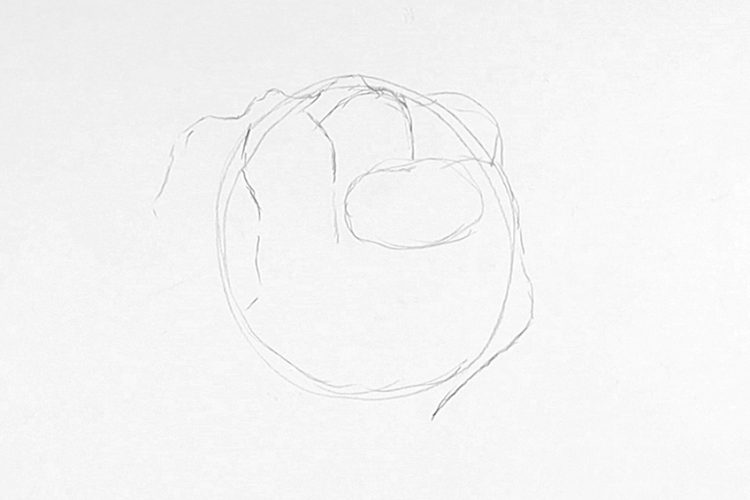
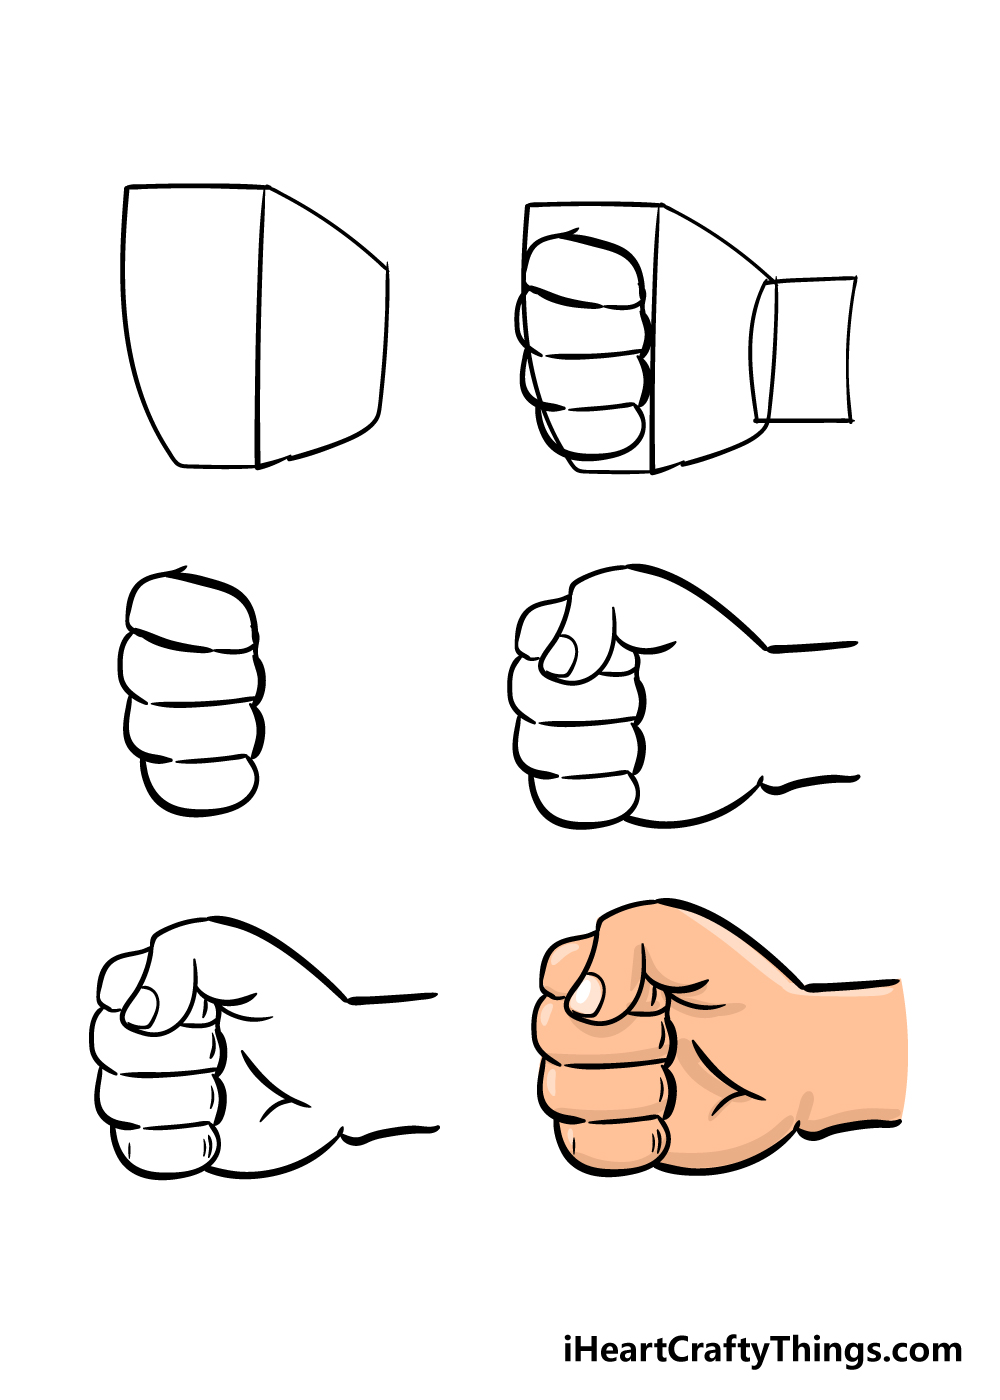
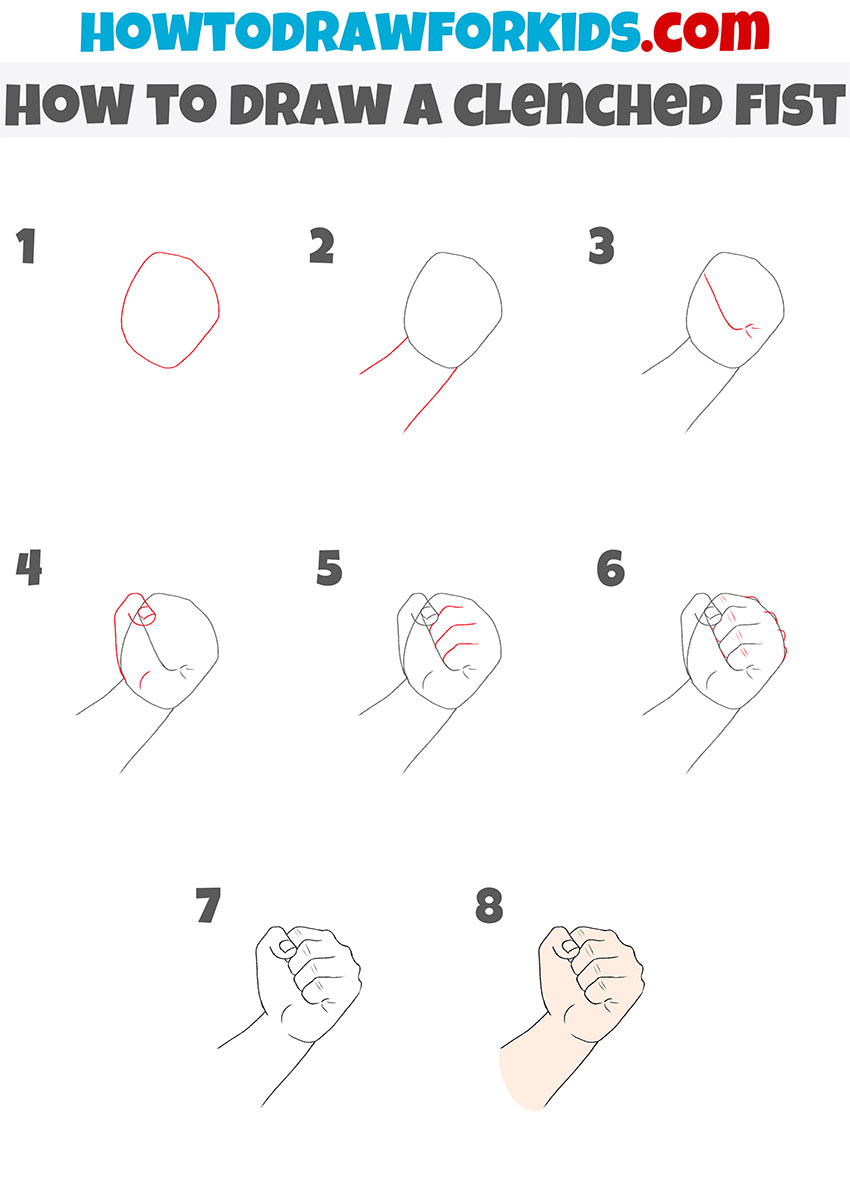
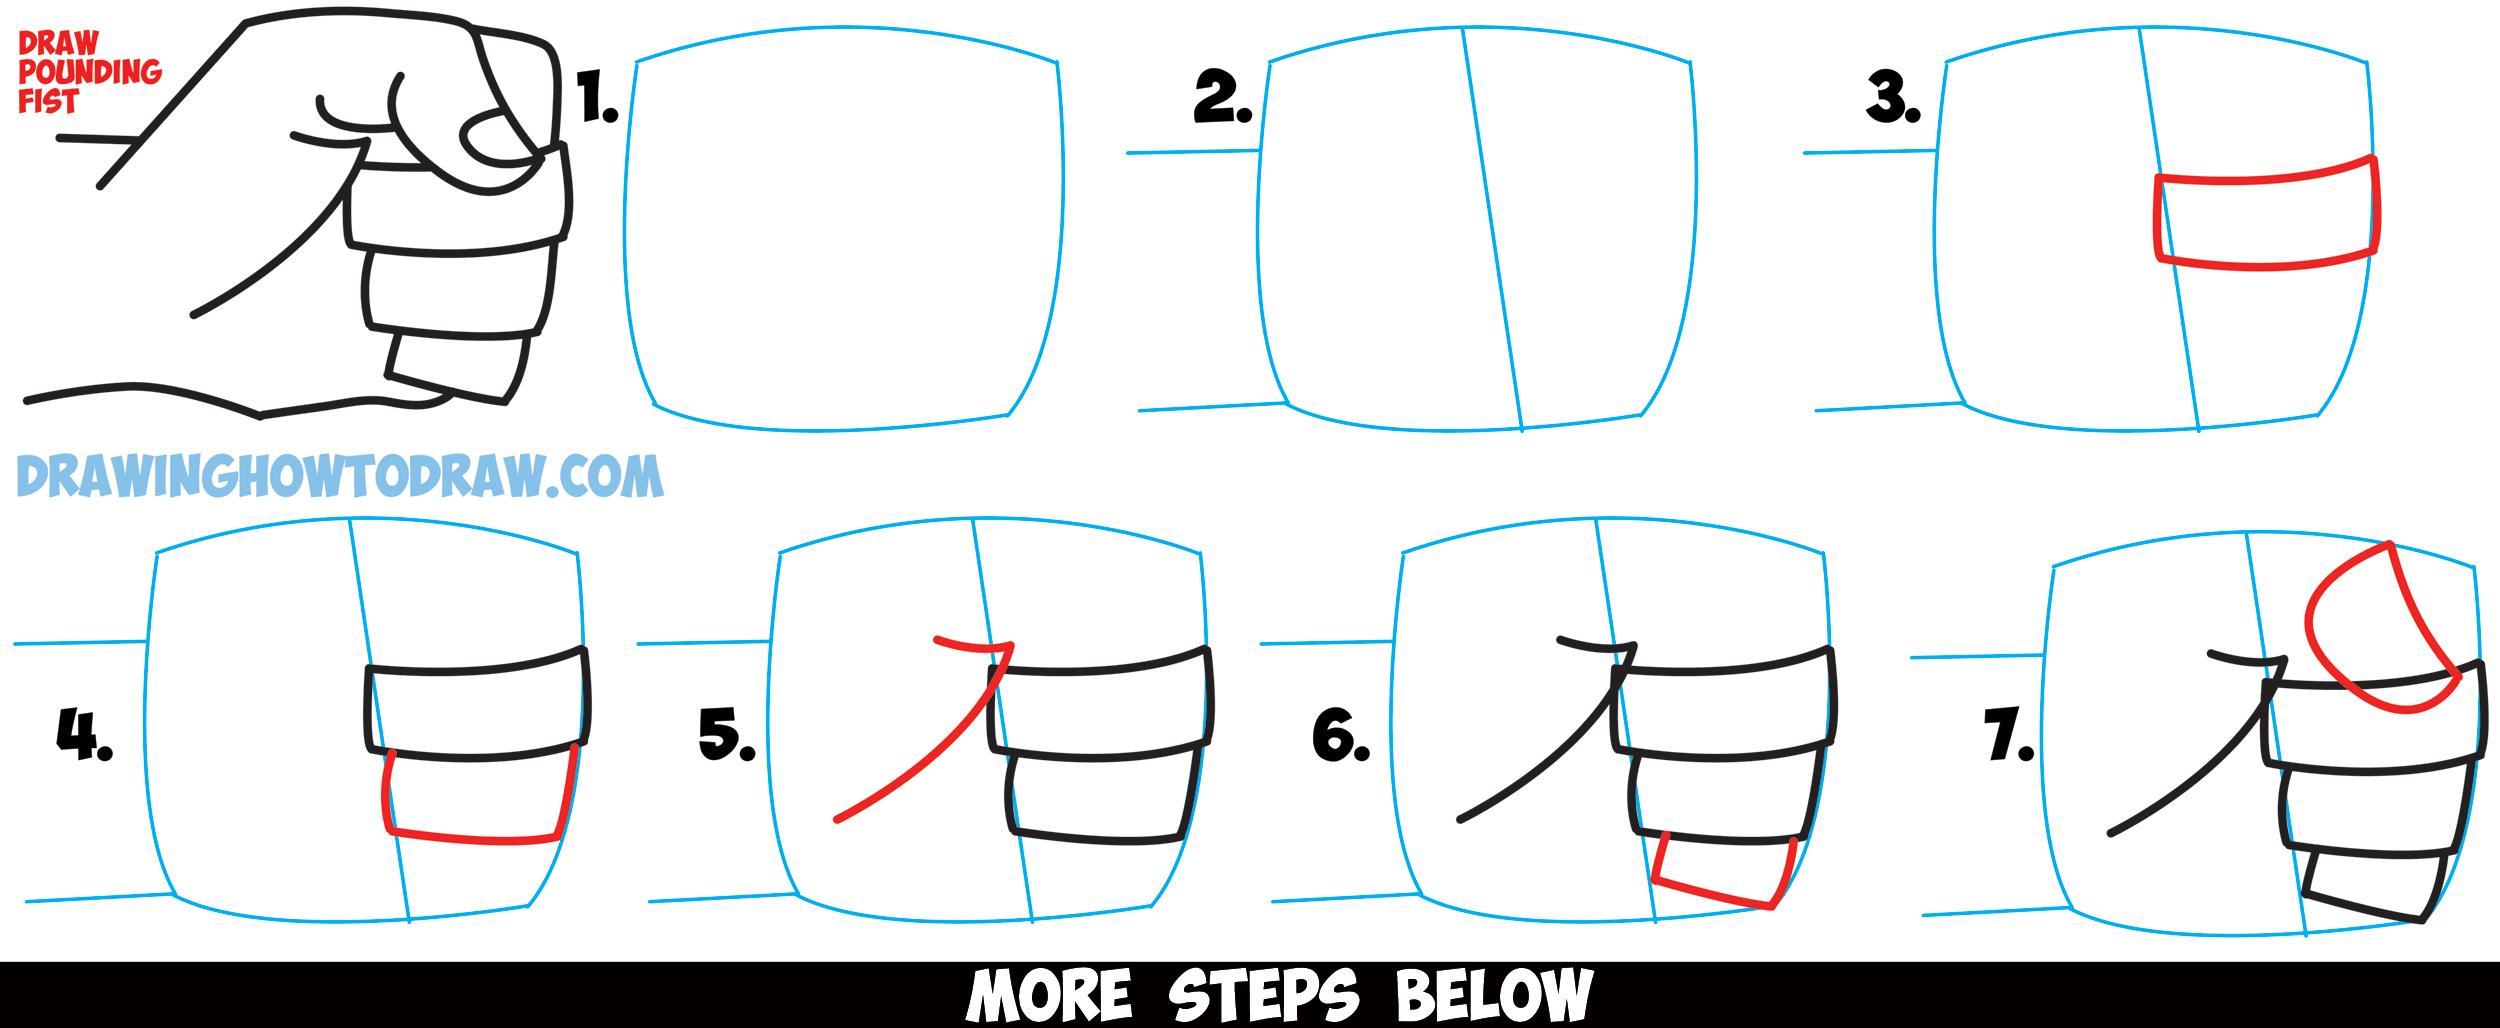
Step 1: The Humble Rectangle
Start with a rectangle. I know, riveting, right? But this humble shape is the foundation. Think of it as the palm of your hand, all cozy and waiting to be filled with power.
Don't worry about perfection. This isn't the Louvre. Wonky rectangles are welcome here!
Step 2: The Sausage Links (aka Fingers)
Now comes the fun part: fingers! Imagine you're stringing together a bunch of adorable little sausage links. These are your knuckles and finger segments.
Draw a gently curving line coming down from the top of your rectangle. Divide that curve into three or four slightly angled sections using little horizontal lines. These will represent where the finger bends.
Repeat this sausage-linking process for the other fingers. Remember that each finger has its own unique curve and length, contributing to the dynamic of your perfectly imperfect clenched fist.
Step 3: The Thumb's Up (Sideways)
Ah, the thumb. The rebel. The thumbs-up turned sideways. Attach a curved shape to the side of the rectangle. It kind of nestles up against those sausage fingers.
Imagine your thumb saying, "Yeah, I'm cool. I do my own thing." It should look like it's firmly holding everything together. Even if it looks a bit like a lima bean, that's okay.
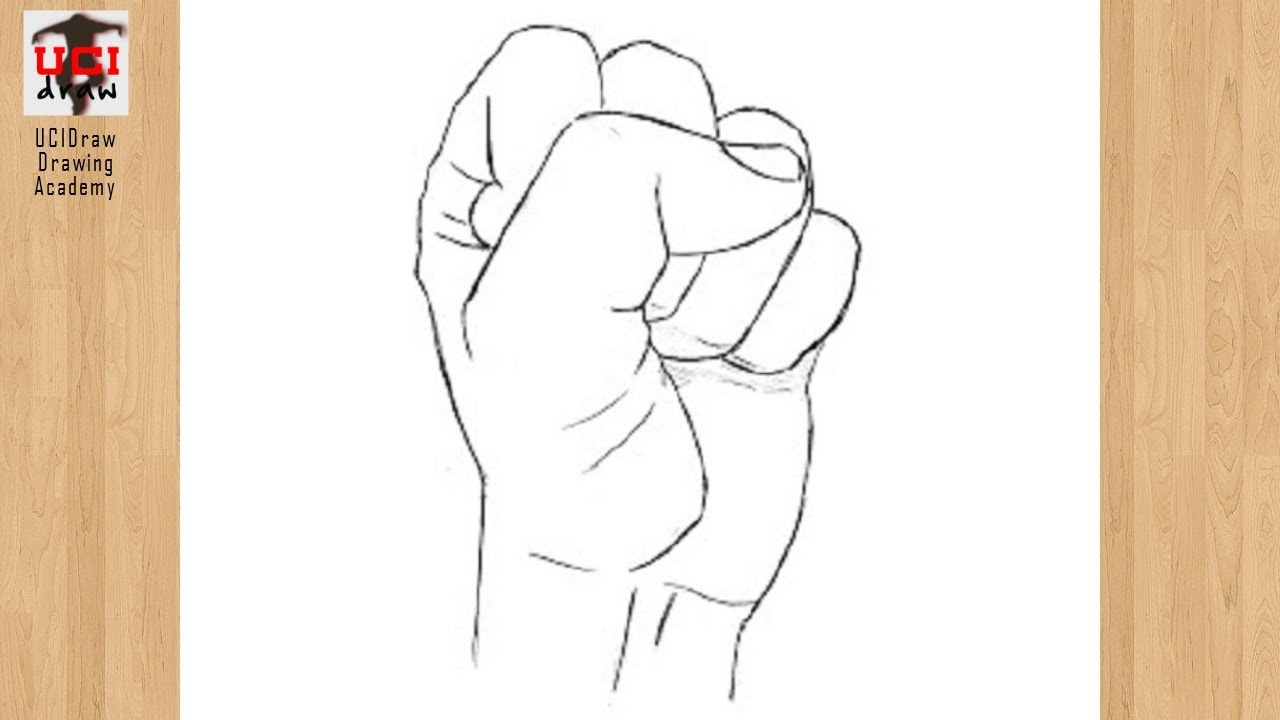
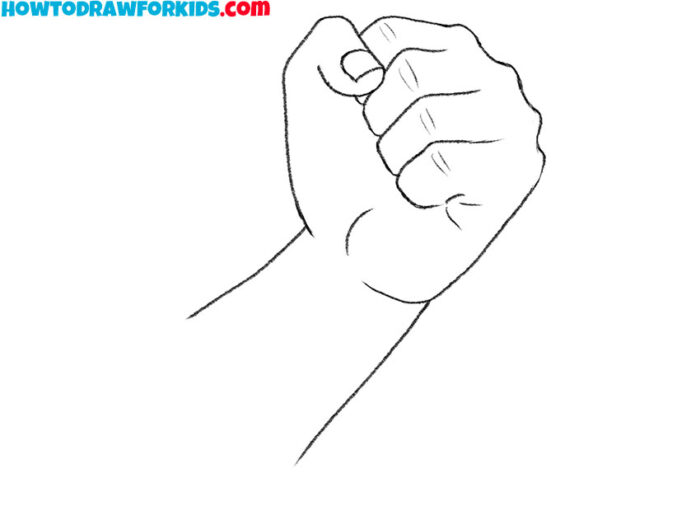
Step 4: Smoothing Things Out (No Pressure!)
Now for the magic touch! Erase those harsh rectangle lines. Gently round out the edges of your finger-sausages and the thumb-bean.
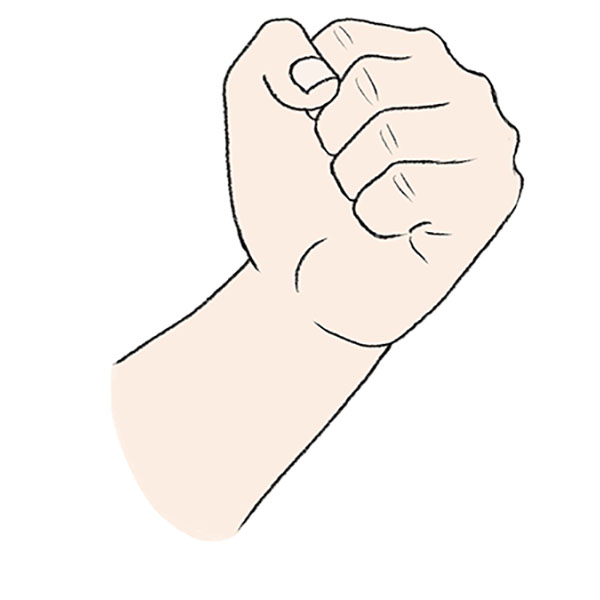
This is where your fist starts to come alive. It's becoming less geometric robot and more... well, a fist!
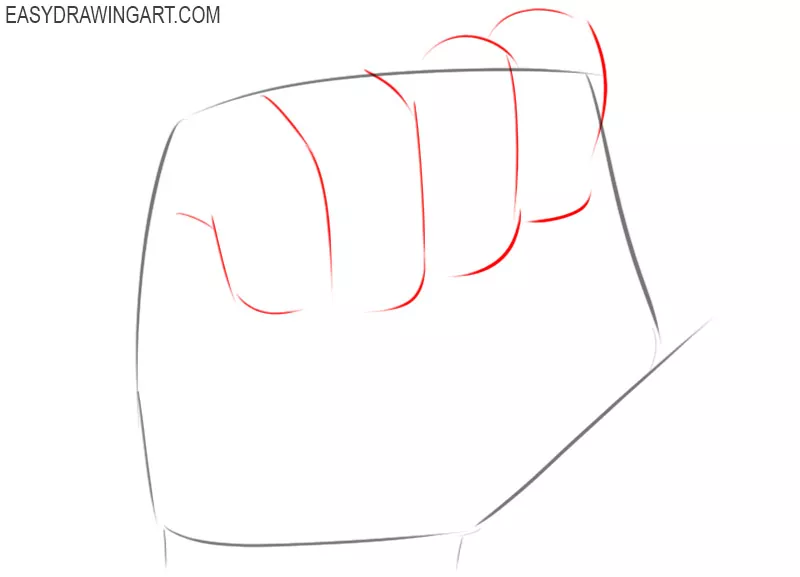
Step 5: Adding Details (The Secret Sauce)
Time for the secret sauce: wrinkles and shadows! These tiny details bring your fist from 2D to glorious 3D.
Add little lines where the fingers bend. A few subtle curves and shadows can define the muscles. Don’t overdo it! Just a hint of detail adds character.
Think about where light might be hitting the fist. Darken the areas that are tucked away in shadow to give your drawing depth. Pretend you're Michelangelo, sculpting with light and shadow!
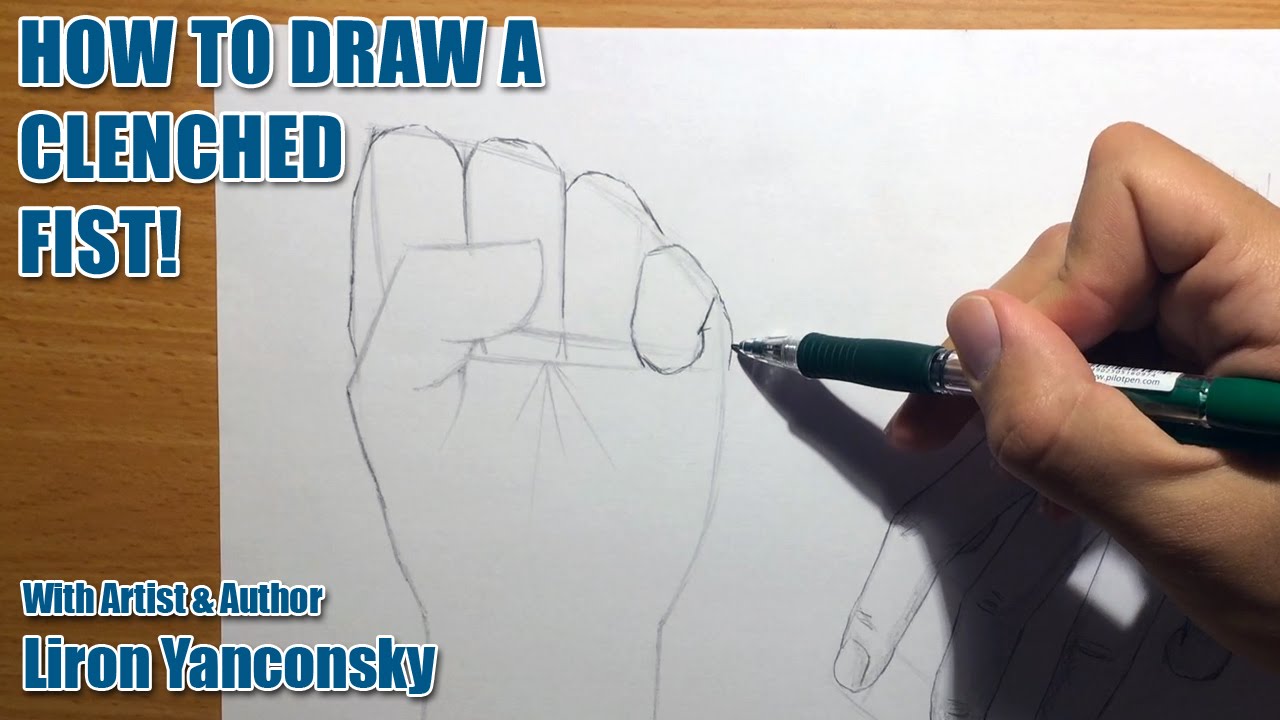
Step 6: Practice (Because Even Superheroes Need Practice)
The most important step of all: practice! Draw fists in different positions, from different angles. Draw your own fist as reference. Even draw your cat's paw curled into a tiny, adorable fist (if they let you!).
The more you practice, the more confident you'll become. And the more amazing your fists will look. So go forth and draw!
"Every artist was first an amateur." - Ralph Waldo Emerson. Keep creating!
And remember, it's not about being perfect. It's about having fun and unleashing the power of your own creativity, one drawn fist at a time. Congratulations, you're a fist-drawing extraordinaire!