So, you've got RetroArch up and running. Awesome! But now it's staring blankly at you, like a fancy, empty picture frame.
It needs some games, right? Let's inject some pixelated joy into its veins!
Getting the Goods (Your ROMs)
First things first, you'll need to acquire some ROMs. This is where things get a little…adventurous. Think of it like going on a digital treasure hunt!
You might find them scattered across the internet. Be warned, though, some "treasure" chests might contain digital gremlins (viruses). Be careful out there!
Let's assume, for the sake of argument, that you already have a legal backup of a game you own. Now, you're ready to proceed to the next stage, legally. Wink wink.
Organize Like a Pro (or at least try)
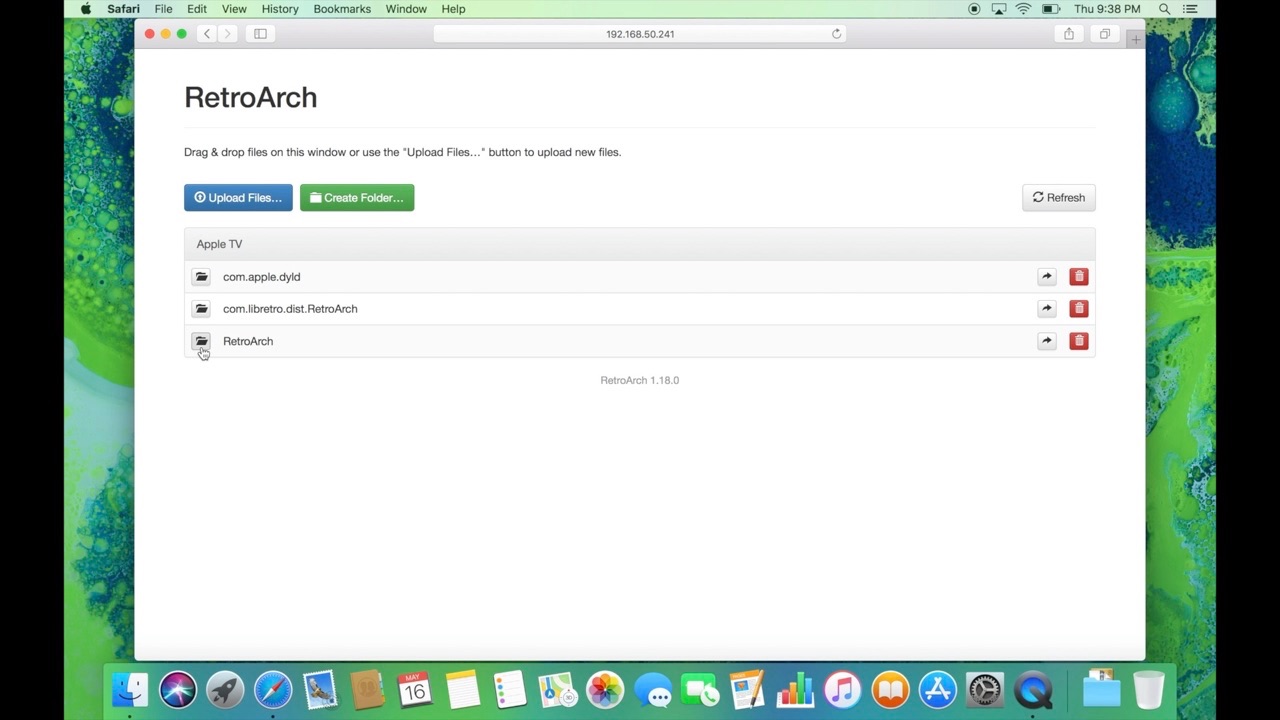
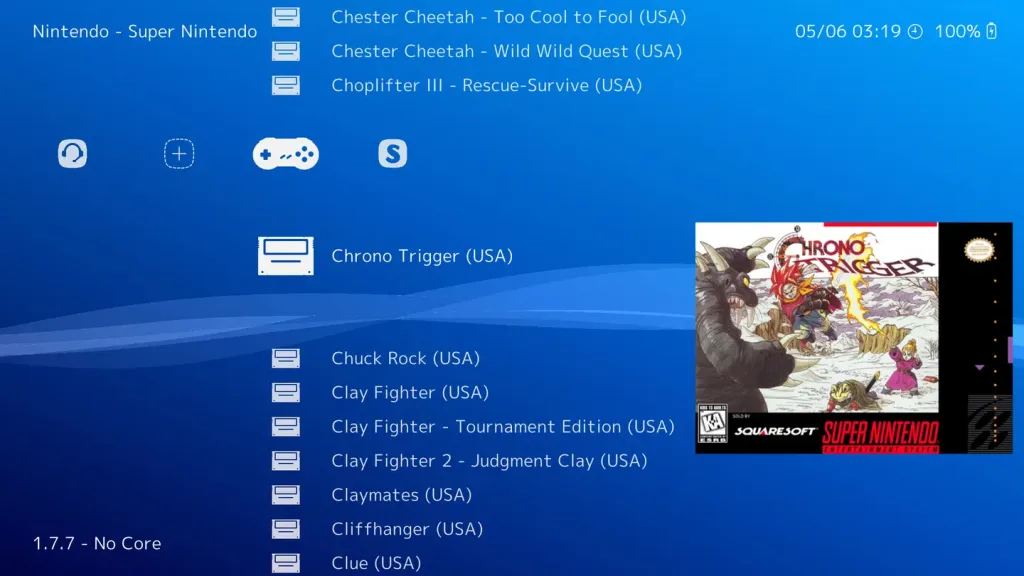
Now, let's get organized. Create a super-organized folder on your computer, something like "My Awesome ROMs" or "The Pixel Palace".
Within that folder, create even more folders, one for each system (e.g., "NES", "SNES", "Genesis"). Imagine you're a librarian, but instead of books, you're archiving digital history! Okay, maybe not history, but definitely awesome games.
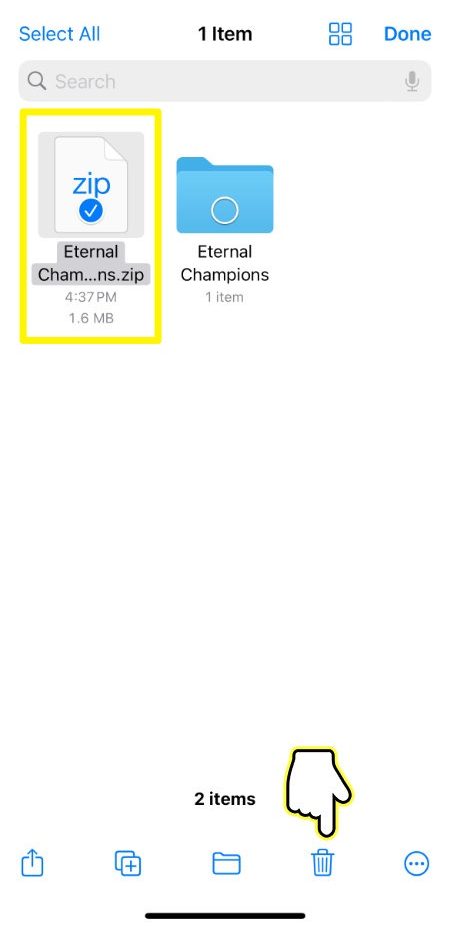
Plop each ROM into its respective folder. This will save you from a monumental headache later.
RetroArch, Meet ROMs (The Big Introduction)
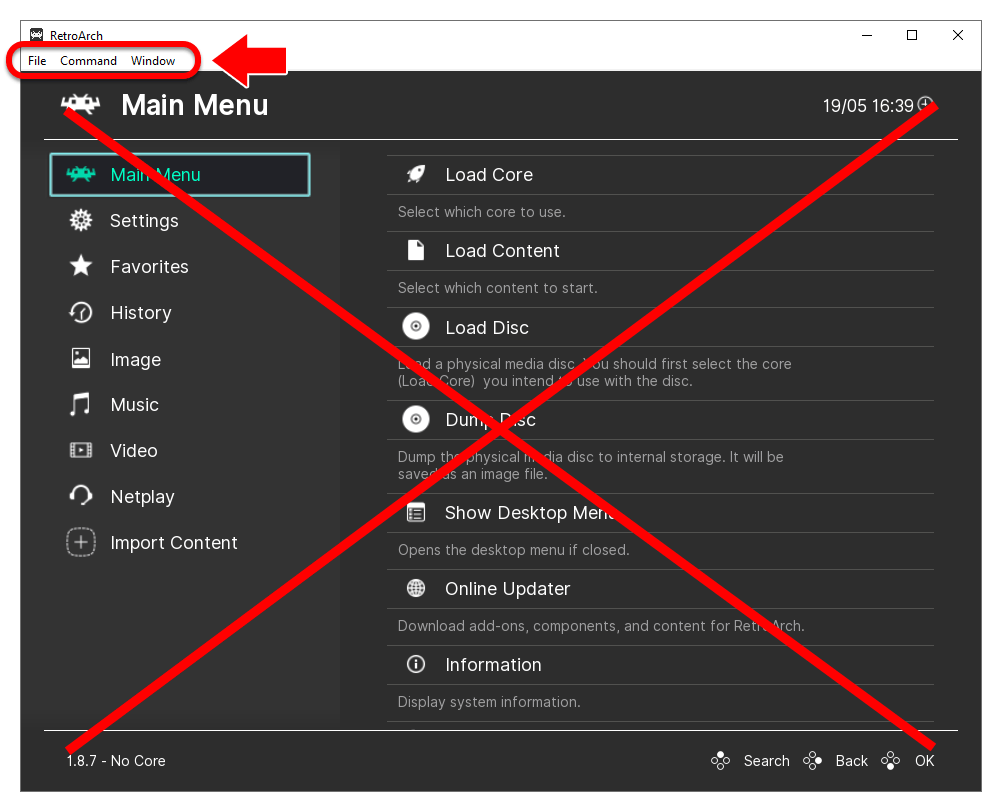
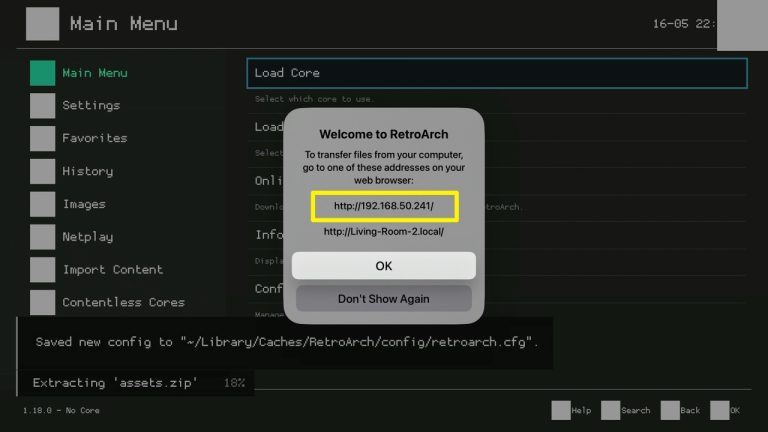
Now comes the moment of truth! Fire up RetroArch.
Navigate the menus using your keyboard or gamepad. It's like piloting a spaceship, but instead of lasers, you're launching Mega Man.
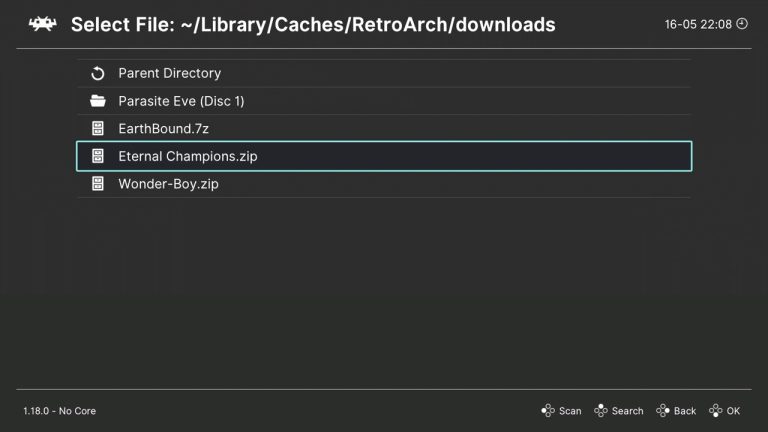
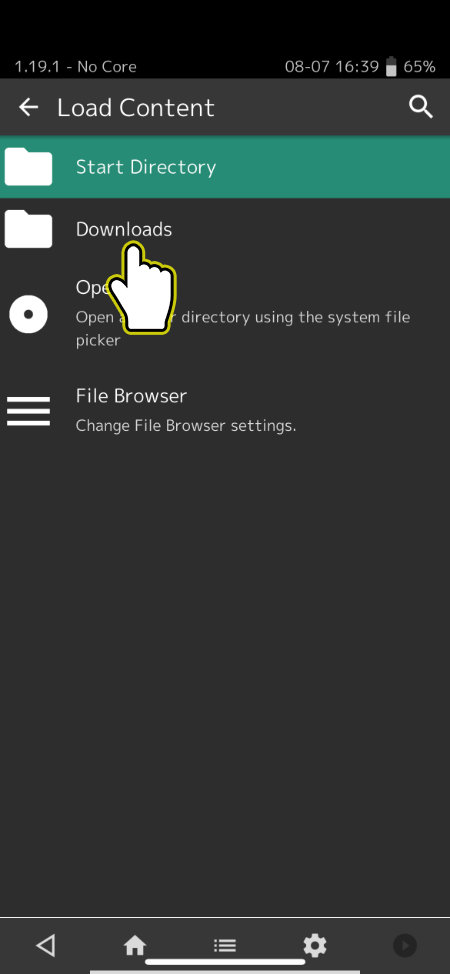
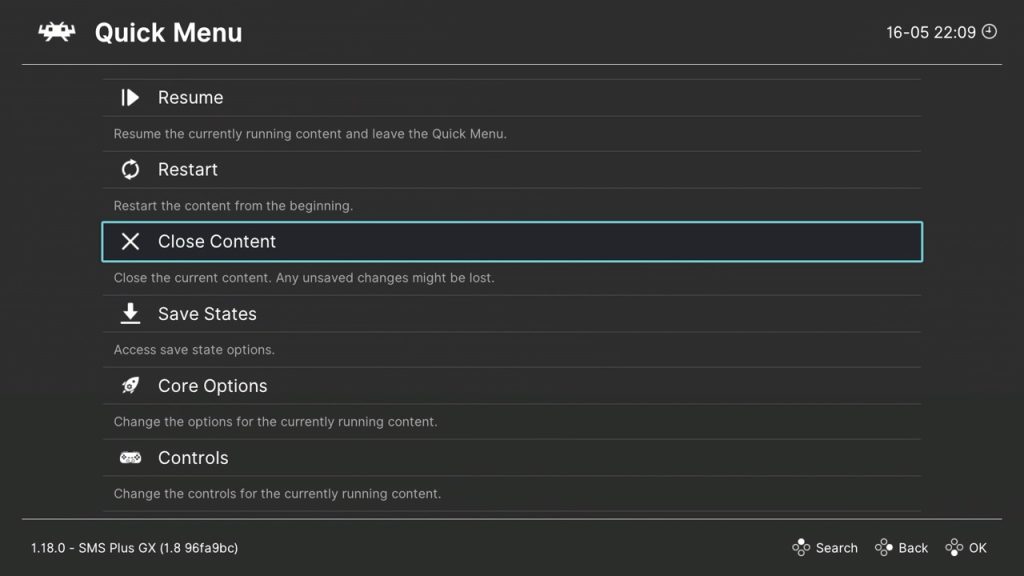
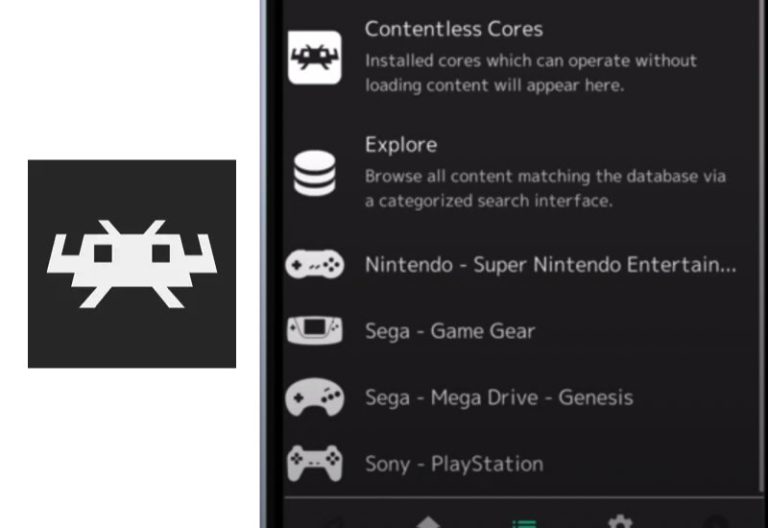
Find the option that says something like "Scan Directory" or "Add Content". It might be hiding in plain sight, lurking behind a cryptic icon.
Scanning Your Way to Victory
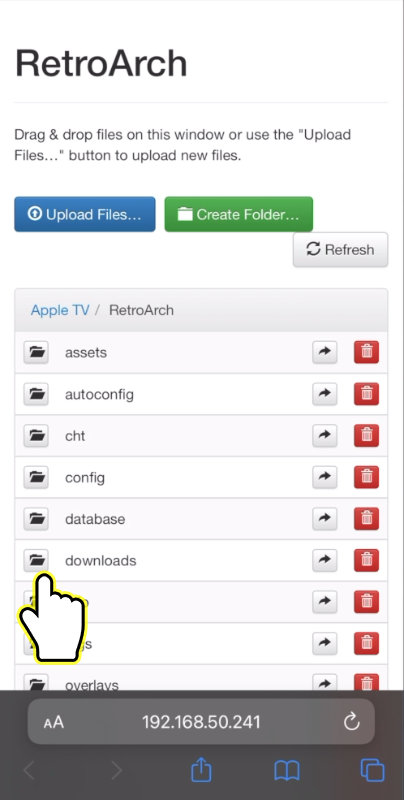
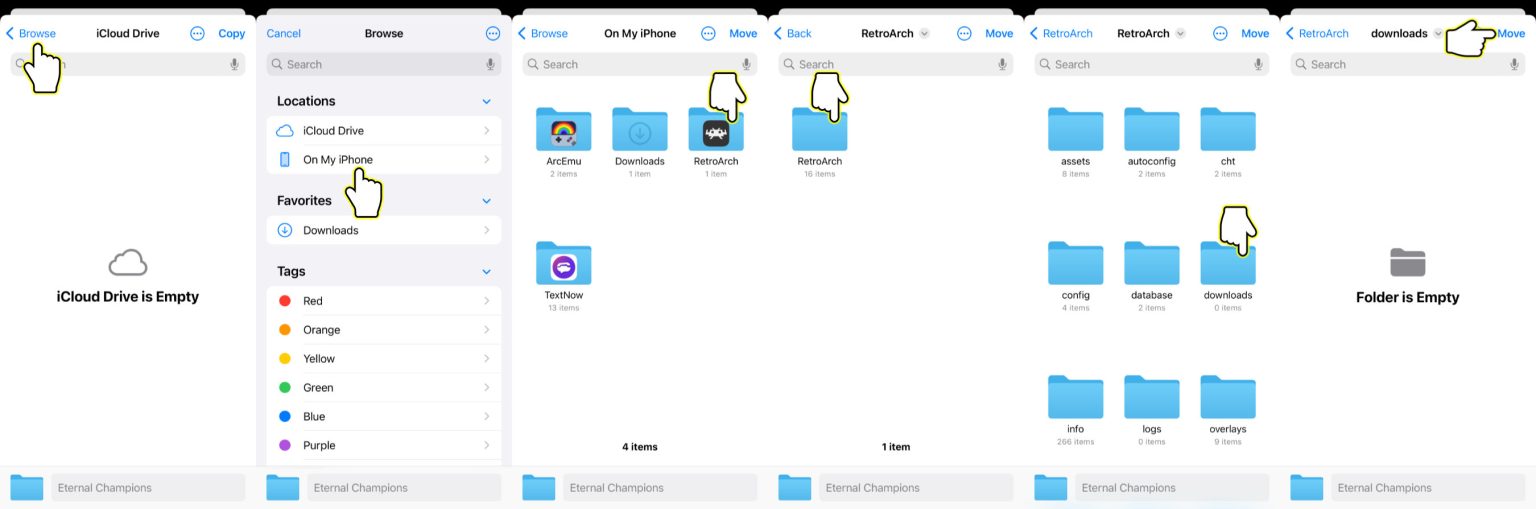
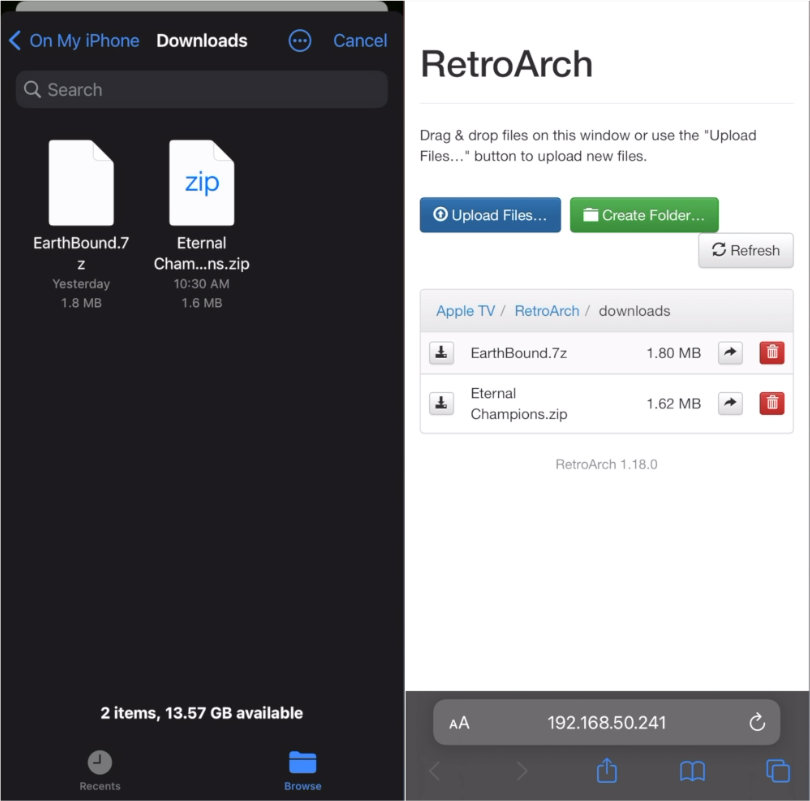
Tell RetroArch where your "My Awesome ROMs" folder is located. It's like introducing two shy kids at a party.
RetroArch will then proceed to scan the folder and identify the games. It's like a super-powered librarian who can read digital minds!
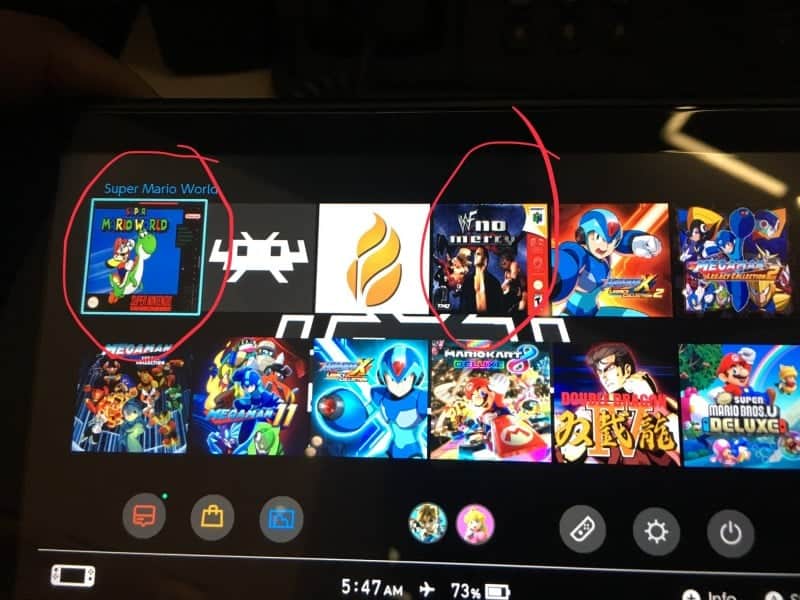
If all goes well, you'll see your games appear in the RetroArch menu. Celebrate with a virtual high-five!
The Manual Labor (When Scanning Fails)
Sometimes, RetroArch can be a bit… stubborn. It might not recognize your ROMs, especially if they have weird names.
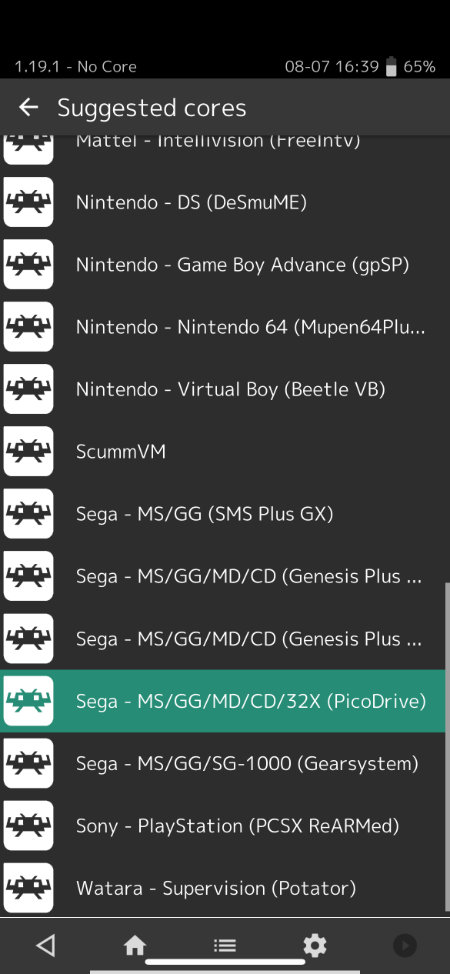
Fear not! You can manually add them. Find the "Add Content" option and then "Add Content Manually".
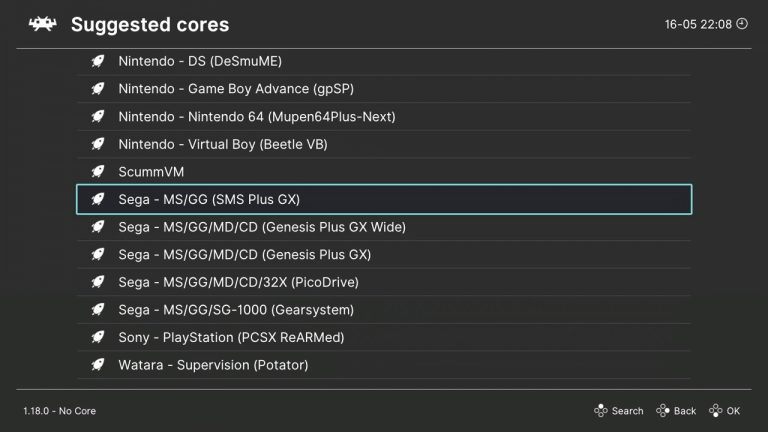
Navigate to the ROM file. You will have to manually select which Core to assign to the ROM.
Now you're talking to the system in plain language, not the Matrix.
Pick a Core, Any Core!
A Core is basically the emulator that runs the game. Think of it like a translator between the ROM and your computer.
RetroArch has a ton of Cores available. If you're playing an NES game, you'll need an NES Core. Seems obvious, right?
Experiment with different Cores to see which one works best. Some are more accurate than others. It's like trying on different pairs of shoes to find the perfect fit for your feet... or your ROMs.
Launch Time!
Now, find your game in the RetroArch menu, and hit that "launch" button! Prepare for a wave of nostalgia so intense, you might actually feel your hair revert to the style of the 80s!
If everything goes according to plan, your game will appear on screen. You've done it! You've successfully added ROMs to RetroArch!
Now, go forth and conquer the digital realms! Just remember to be responsible, ethical, and have fun!