Painting A Garage Floor With Epoxy Paint

Alright, gather 'round, you magnificent procrastinators and garage-dwelling dreamers! Today, we're diving headfirst into the glorious, sometimes terrifying, world of epoxy garage floor painting. You know that drab, dusty, oil-stained concrete expanse where your car goes to contemplate its existence and your old roller skates live out their twilight years? Well, we're about to give it a glow-up so fierce, it'll make your neighbors weep with envy. Seriously, they might start leaving you perfectly baked cookies on your doorstep just to bask in the ambient awesomeness. Or, more likely, they’ll just be confused why your garage suddenly looks like it belongs in a high-end car dealership. Either way, a win!
Now, before you picture yourself gracefully swirling paint like a Pinterest goddess, let’s get real. Epoxy is not your grandma’s craft paint. This stuff is industrial-grade magic, designed to withstand the existential dread of a dropped wrench and the indignity of a spilled can of motor oil. It’s the superhero cape your garage floor has been begging for. And the process? Well, it’s… an adventure. Think of it like a slightly more intense version of assembling IKEA furniture, but with more fumes and the potential for dramatic life choices.
Step 1: The Great Garage De-Cluttering (A.K.A. Operation ‘Where Did I Put That?’)
First things first, you gotta empty the beast. This is where the truth will come out. You’ll unearth forgotten treasures, questionable art projects from your kids’ formative years, and that one-off tool you bought for a single, never-to-be-repeated task. It's like a archaeological dig in your own driveway. Be prepared for the “Oh my gosh, I totally forgot about this!” moments. Embrace them. Take pictures. Maybe even write a memoir. But mostly, get it out. Everything.
Why so extreme, you ask? Because this epoxy stuff is like a clingy ex; it wants to bond with the concrete, and nothing else. Anything you leave behind will become a permanent, sad, un-epoxy-ed island in your otherwise pristine new landscape. So, into the driveway or the lawn it all goes. Think of it as a temporary, slightly chaotic outdoor exhibition of your life.
Step 2: The Concrete Confessional (Cleaning, Cleaning, and More Cleaning!)
Okay, the garage is looking a bit like a minimalist art installation (read: empty). Now, the real work begins: cleaning. And I’m not talking about a quick swipe with a broom. We’re talking about a deep, soul-cleansing, concrete-scrubbing marathon. Think of it as a spa day for your floor. A very, very aggressive spa day.
You’ll need to get rid of every last speck of dust, grease, oil, and that mysterious sticky substance you’ve been avoiding eye contact with for months. Most epoxy kits come with a degreaser, and trust me, you’ll want to use it like it’s going out of style. Renting a floor buffer? Do it. It's like a Zamboni for your garage. Get yourself some heavy-duty scrub brushes. This is not the time for delicate operations. This is the time to channel your inner lumberjack, but with cleaner hands.
And the cracks! Oh, the glorious cracks! They’re like little wrinkles on your concrete’s face. You gotta fill those bad boys. Use a concrete patching compound. Smooooth it out. Make it like it never happened. Nobody likes a visible imperfection, especially not when you’re aiming for showroom-chic.
The Surprise Fact You Didn't Know You Needed:
Did you know that concrete, the stuff our garages are made of, is actually a relatively modern invention? The Romans were way ahead of us with their volcanic ash magic! So, when you’re scrubbing your garage, you’re essentially battling the ghosts of ancient builders. Just kidding… mostly.
Step 3: Etch, Pray, and Hope for the Best (The Acid Etch)
Now, for the part that might make your inner child do a nervous little jig: the acid etch. Yep, you’re going to use acid. On your floor. Don’t worry, it’s usually a mild citric acid solution that comes in a box with your epoxy kit. But still, it sounds… edgy. And it is!
This step is crucial. The acid etch opens up the pores of the concrete, giving the epoxy something to really grip. Imagine the concrete is a shy introvert, and the acid etch is the friendly nudge that gets it to open up and mingle. You'll dilute the acid, pour it on, scrub it around like you’re making a giant, floor-sized margarita, and then rinse it all off thoroughly. And by thoroughly, I mean thoroughly. You don’t want any acid residue hanging around, or your epoxy might decide to stage a protest.
The best way to check if you've rinsed enough is to pour a little water on the floor. If it soaks in and darkens the concrete, you're good to go! If it beads up like a freshly waxed car, you've got more rinsing to do. Think of it as a water-based performance review for your concrete.
Step 4: The Moment of Truth (Mixing the Epoxy)
Alright, deep breaths. This is where the magic really happens. Epoxy usually comes in two or three parts, and you have to mix them precisely. It's like performing a chemical ballet. Follow the instructions on your kit to the letter. Seriously, these guys invented this stuff; they probably know what they’re talking about. Don’t go freestyling here unless you want a very expensive, very sticky art project that resembles a melted crayon.
Most kits have a pot life, which is how long you have before the mixed epoxy starts to harden. This is your race against time, folks! You can’t just whip it up and then go make a sandwich. You gotta be ready to roll (literally) as soon as it’s mixed. So, have your roller, your brushes, and your nerves of steel all prepped and ready.
And wear gloves. And a mask. And maybe a hazmat suit. Just kidding… mostly. But seriously, these fumes can be intense. Open those garage doors wide and let the fresh air (and any curious neighborhood dogs) in.
Step 5: Rolling Out the Red Carpet (Applying the Epoxy)
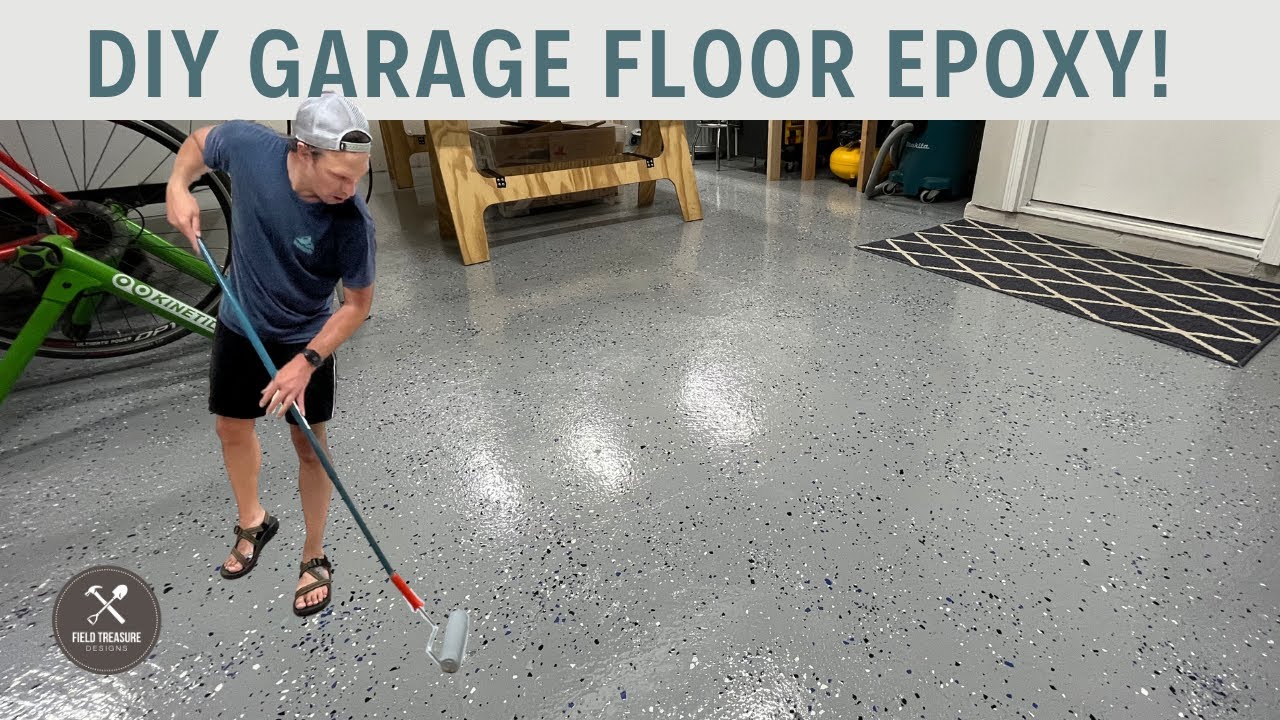
This is it! The big show! You’ve got your mixed epoxy, you’ve got your roller, and you’ve got a rapidly diminishing clock. Start in the furthest corner of your garage and work your way out. Think of it as painting a masterpiece, but the canvas is your garage floor and the paint is going to harden like a rock.
Apply an even coat. No thick puddles, no thin patches. You’re aiming for consistency, like a perfectly brewed cup of coffee. Use your brush for the edges and corners, and your roller for the big, open spaces. Move with purpose! Don’t dilly-dally. That epoxy isn’t going to wait for you to check your social media.
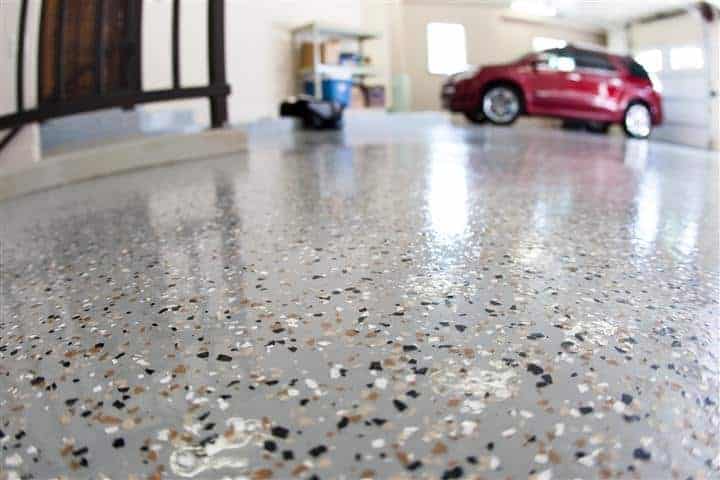
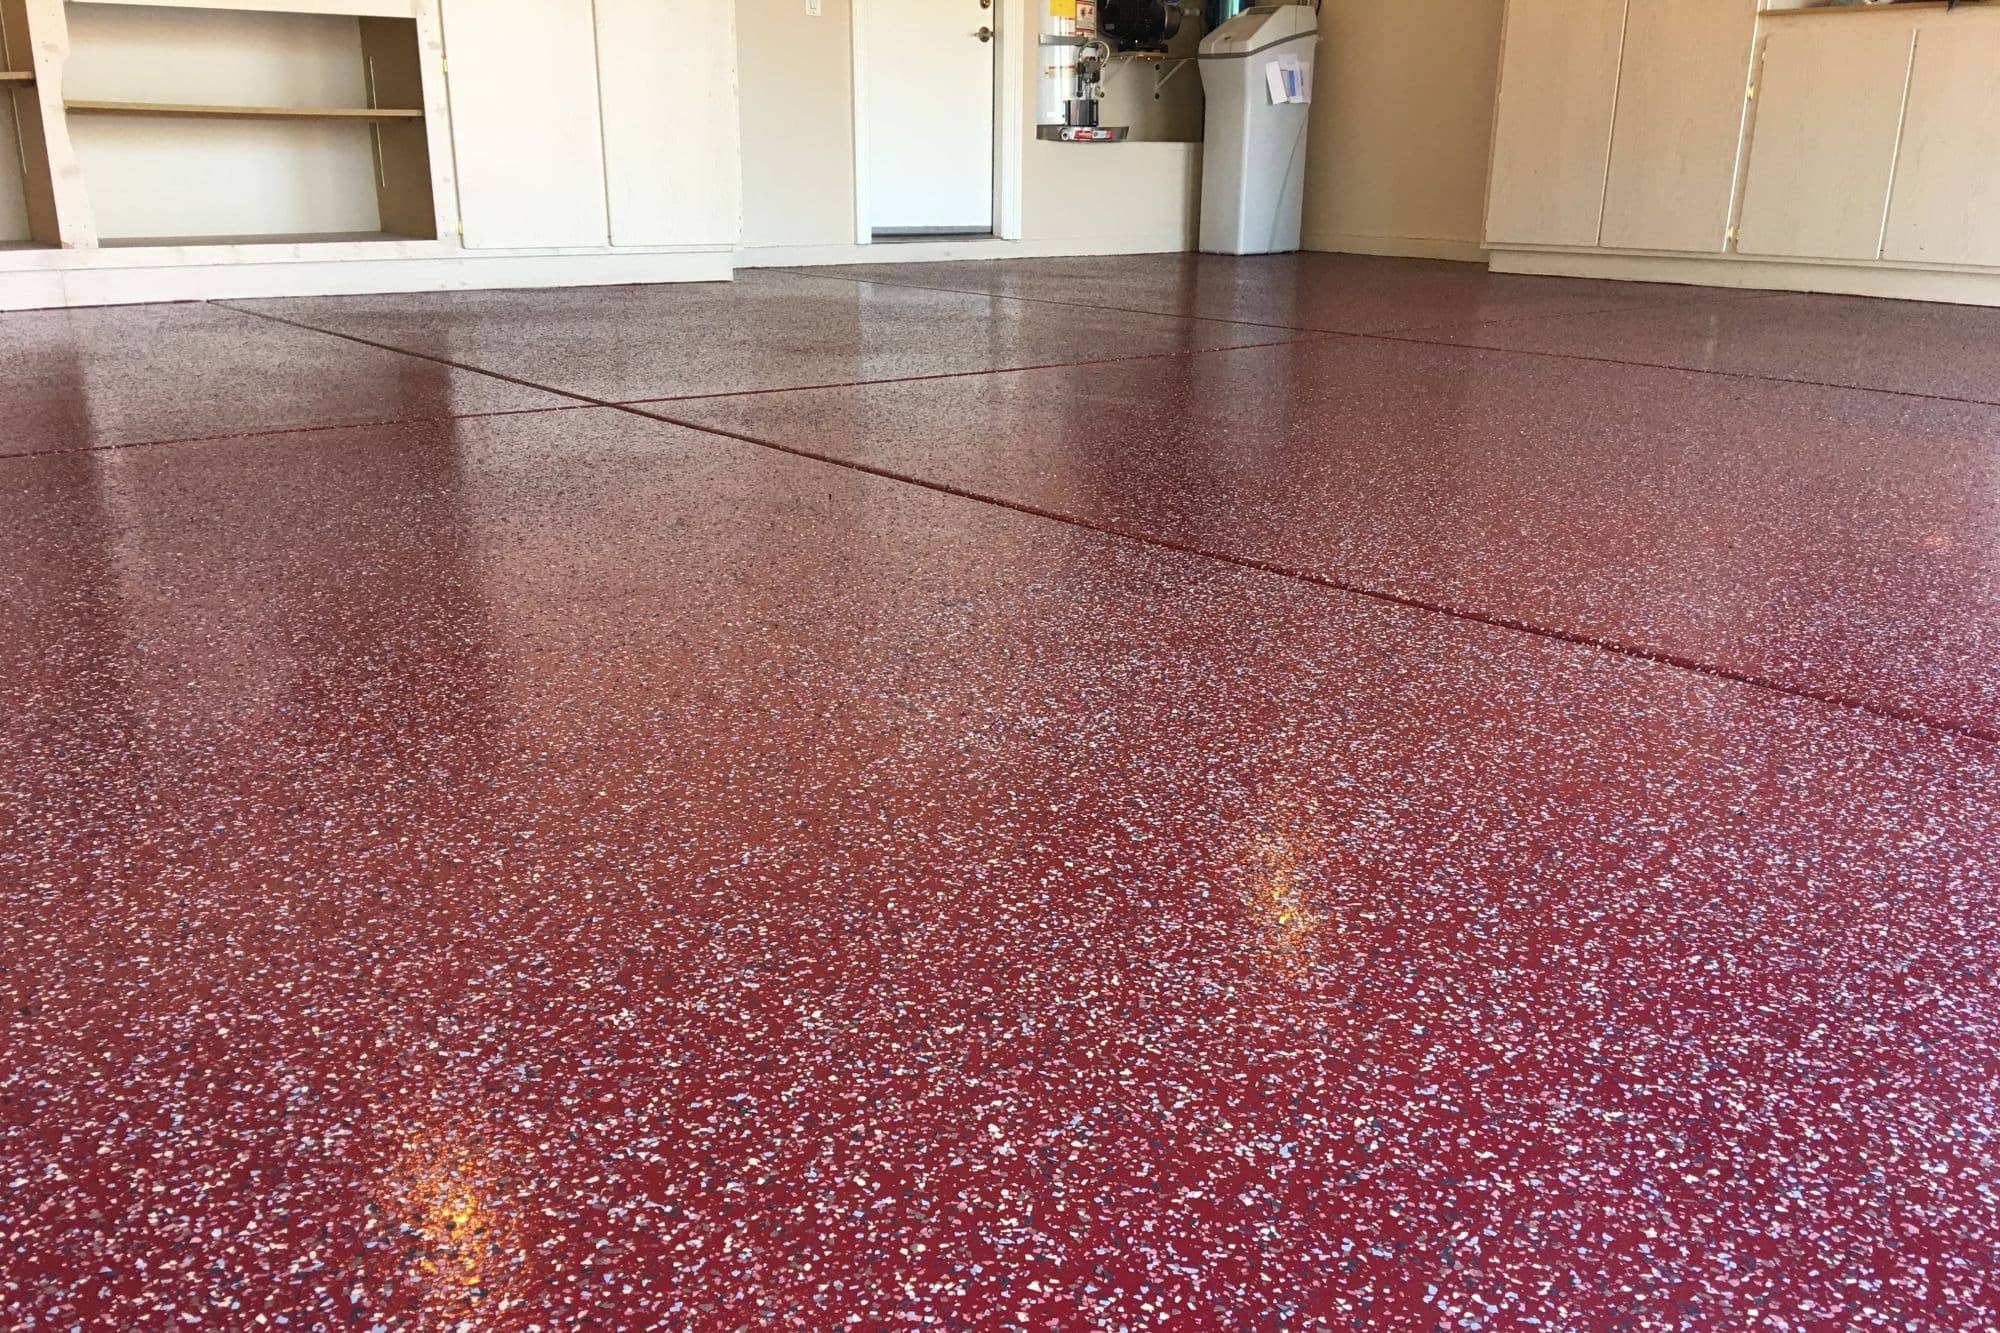
If you’re adding flakes (those little flecks of color that make it look super professional), this is the time to toss them! Some people prefer to broadcast them by hand, creating a random, artful scatter. Others like a more uniform look. The sky’s the limit, or at least, the ceiling of your garage is.
A Moment of Reflection (and Maybe Some Sweating)
You’ll likely find yourself sweating. A lot. This is part physical exertion and part existential panic. That’s normal. Just keep rolling. Think of the glorious, indestructible, envy-inducing floor that awaits you. It’s like a marathon, but with more chemicals and less cheering crowds (unless your family is exceptionally supportive, in which case, more power to them!).
Step 6: The Curing Conundrum (Patience, Young Grasshopper)
You’ve done it! You’ve conquered the epoxy! Now, you wait. And wait. And then you wait some more. Epoxy needs time to cure. This isn’t like regular paint where you can walk on it in a few hours. We’re talking days, people. Check your kit’s instructions for specific curing times. It’s crucial to let it cure properly before you put any weight on it, especially your car.
Resist the urge to sneak into the garage to admire your handiwork. Every step, every bump, every dropped dust bunny during the curing process can lead to a minor disaster. Think of it as a fragile newborn. Protect it. Cherish it. And for the love of all that is holy, don’t let your dog track mud all over it.
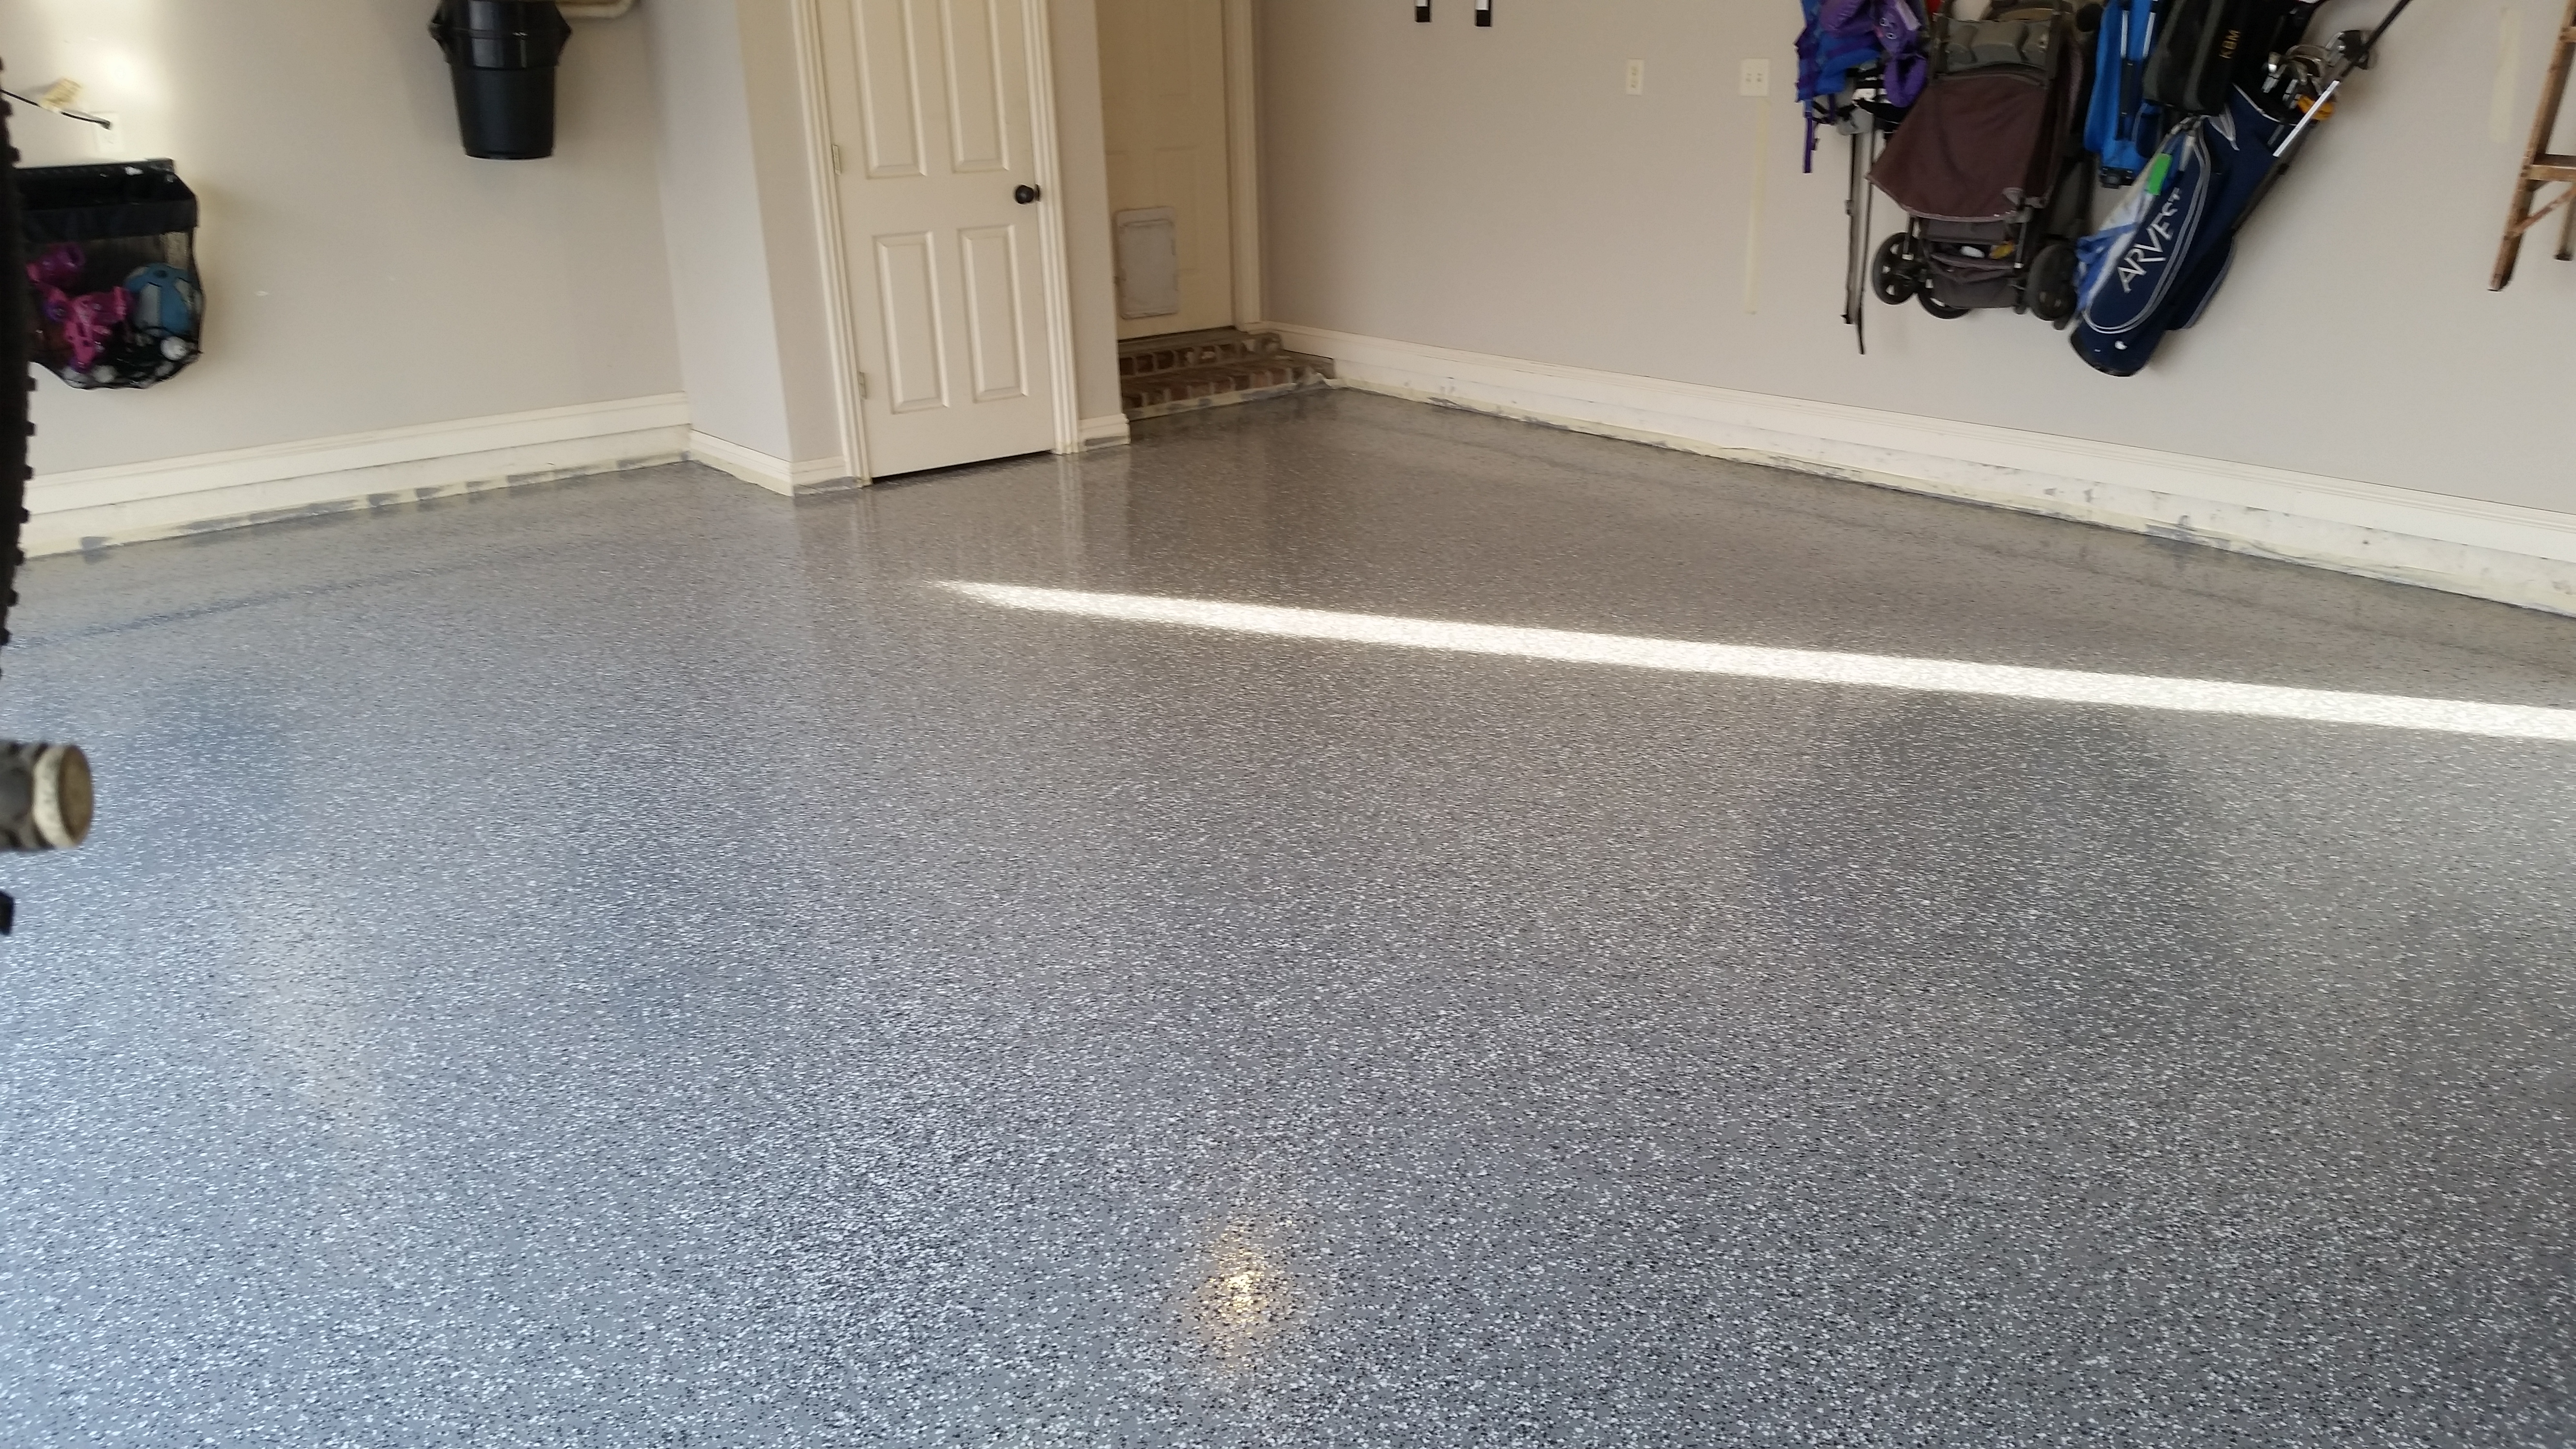
Once it’s fully cured, however… oh, the joy! You’ll have a garage floor that looks like it just rolled off a factory floor. It’s durable, it’s beautiful, and it’s a testament to your sheer grit and determination. So, go ahead, brag a little. You’ve earned it. Now, if you’ll excuse me, I need to go admire my own, slightly less-than-perfect, but still fabulous, epoxy floor. And maybe chase away that rogue squirrel that seems to think my garage is a nut-storage facility.