How To Change A Bath Tap Washer
Right then, let's have a chinwag about something that might sound a bit… plumb scary, but really, it’s about as complicated as making a decent cuppa. Yep, we're talking about those pesky bath tap washers. You know the ones. The tiny little heroes that are quietly doing their job, day in and day out, until one day, they decide to go on strike. And what’s the first sign of a tap washer revolution? That infuriating drip… drip… drip that’s enough to drive you batty.
Honestly, it’s the soundtrack to many a sleepless night, isn't it? Like a tiny, insistent drummer practicing for a concert you never asked to attend. Or think of it like a leaky pen. At first, it’s just a little smudge, easily ignored. But then it gets worse, leaving little puddles everywhere, and you’re constantly trying to clean up the mess. That’s your tap washer, making a statement. And we, my friends, are going to answer that statement.
Why Should You Even Care About This Little Rubber Disc?
Now, I get it. Your life is busy. You’ve got work, you’ve got kids (or a demanding cat), you’ve got that ever-growing pile of laundry that seems to reproduce overnight. The last thing you want to be thinking about is the inner workings of your bathroom fixtures. But here’s the thing: that little drip, drip, drip isn't just annoying. It's also a money drain.
Think of all that water. It's like throwing pennies down the drain, only it's actual water, which we need! And over time, those wasted drops add up. It's like leaving the tap running while you brush your teeth, but even worse because it's constant. So, by fixing this tiny, humble washer, you're essentially giving your wallet a little hug and doing a bit of good for Mother Earth. Pretty neat, huh?
Plus, there's a certain satisfaction, a little win, in fixing something yourself. It's like finally conquering that one recipe you’ve been meaning to try, or assembling that flat-pack furniture without tears. It’s a small victory, but a victory nonetheless!
Getting Ready for Action: Your Toolkit and Your Mindset
Before we dive in, let's get our ducks in a row. You don't need to be a qualified plumber, armed with a degree in pipe-fitting. What you do need is a few basic tools and a bit of patience. Think of yourself as a calm, collected surgeon, minus the scrubs and the intense pressure. More like a gentle tinkerer.
Here’s what you’ll likely need:
- A screwdriver: Usually a flathead is best for this job.
- An adjustable spanner or wrench: This is your trusty multi-tool for gripping things.
- Pliers: Might come in handy for a stubborn bit.
- A new tap washer: These are super cheap and you can get them at any hardware store. Take your old one with you if you can, just to be sure you get the right size. They’re like tiny little rubber doughnuts!
- A cloth or old towel: For any inevitable drips or spills.
- A spirit level (optional, but helpful!): Just to make sure you don't end up with a wobbly tap.
And the most important tool? Your patience. If you rush, things can get a bit… well, a bit more complicated than a simple washer change. Take your time, breathe, and imagine you're defusing a very small, very wet bomb.
Let's Get Down to Business: The Step-by-Step Guide
Okay, deep breaths. We’re going in. The first and most crucial step is to turn off the water supply. Seriously, don't skip this. It's like trying to bake a cake without preheating the oven – you're just asking for trouble. You'll usually find an isolation valve under the sink for that specific tap. Turn it off. If you can't find it, or if you're not sure, you might need to turn off the main water supply to your house. Again, take your time and double-check.
Once the water is off, open the tap you're working on. This will release any remaining water in the pipes, kind of like letting the air out of a balloon. You should only get a trickle, if anything. If you're still getting a decent flow, the water's not off properly, so stop and go back to that step.
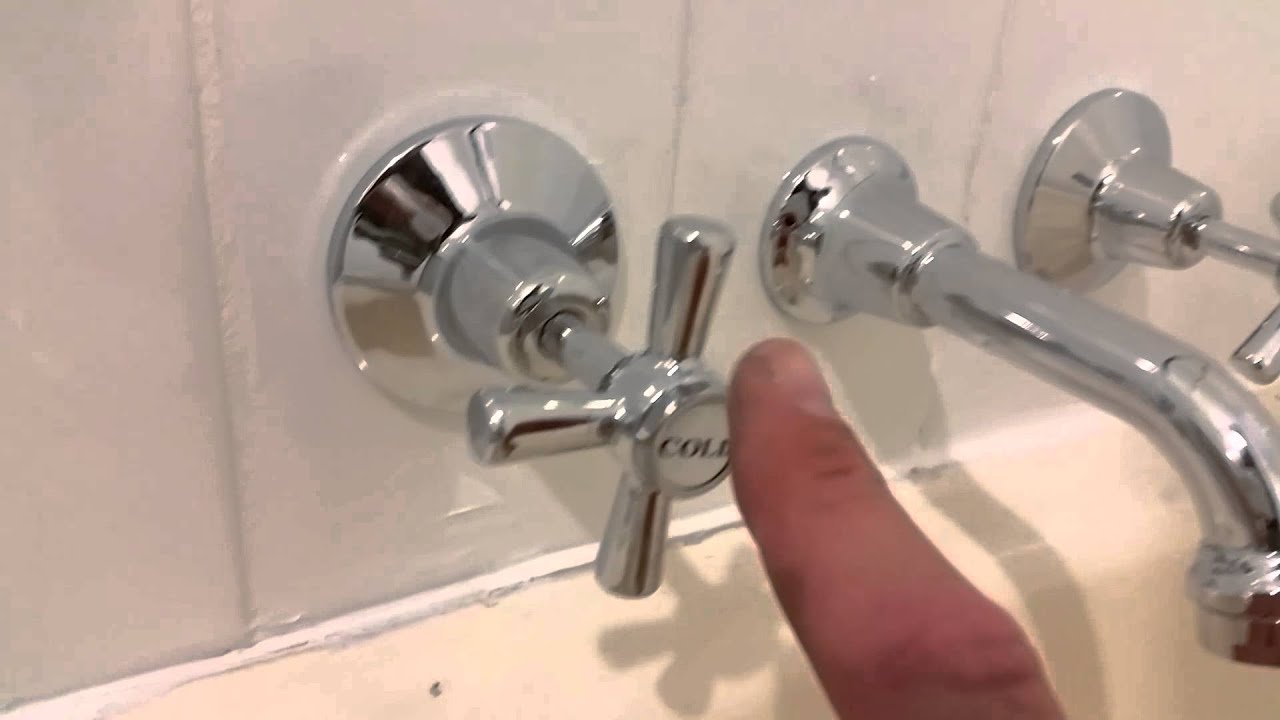
Unscrewing the Tap Handle
Now, have a look at your tap handle. Most have a decorative cap or cover. You might need to gently pry this off with your flathead screwdriver. Be careful not to scratch it! Underneath, you'll find a screw. Unscrew this, and the tap handle should lift off. Sometimes, these can be a bit stiff, like an old jar lid. A gentle wiggle and a bit of persuasion might be needed. If it feels really stuck, don't force it too hard. There might be a hidden grub screw on the side, which you might need an Allen key for.
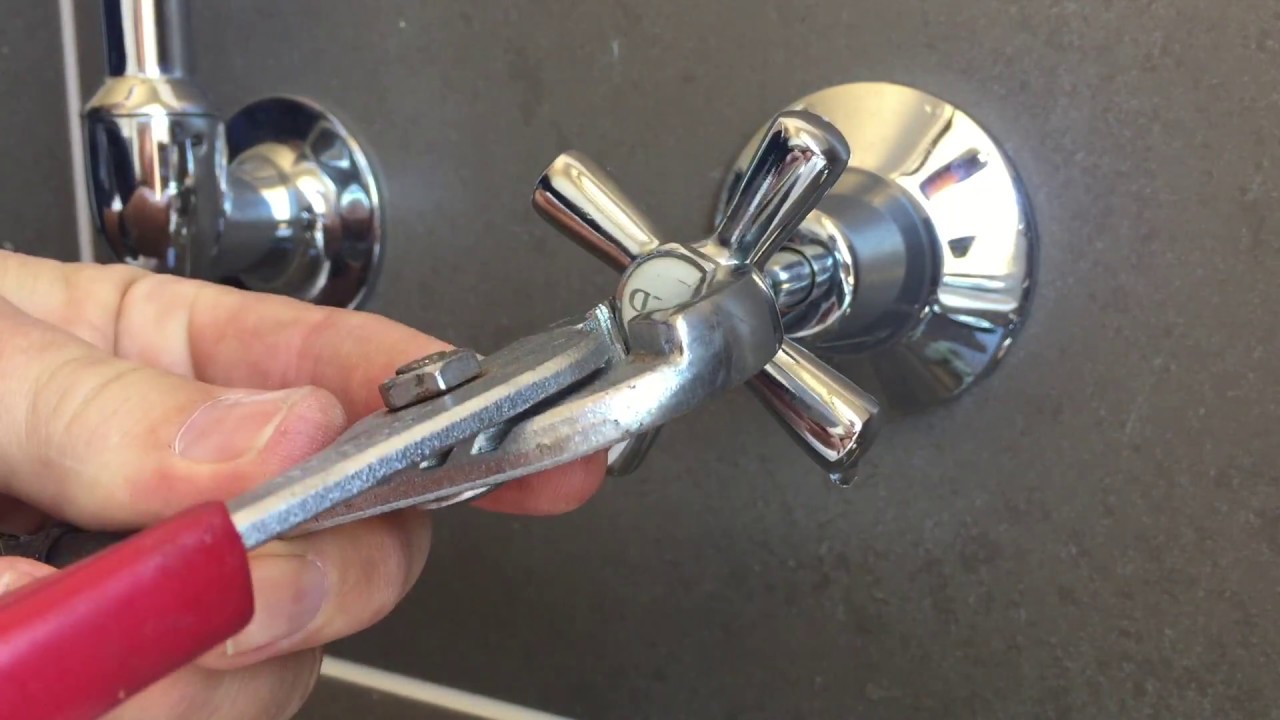
Getting to the Heart of the Matter: The Valve
With the handle off, you’ll see the valve stem. This is where the magic (or in this case, the leak) happens. You’ll need your adjustable spanner to unscrew this part. Turn it anti-clockwise, again, like you're opening a jar. It might feel a bit tight, but it should eventually come loose. As you unscrew it, be prepared for a bit of water to escape. That’s why you have your cloth ready!
Once the valve is out, look at the bottom of it. You'll see a little rubber washer, usually held in place by a screw. This is the culprit! This is the little guy who's decided to give up the ghost.

The Grand Swap: New Washer Time!
Now for the exciting part: the replacement! Carefully unscrew the old washer. You might need your pliers for this if it's a bit stubborn. Then, pop the new washer into place. Make sure it sits snugly. Screw the new washer firmly onto the valve, but don't go overboard with the tightening. You don't want to damage the new rubber.
Before you put everything back together, it's a good idea to give the valve and the inside of the tap a quick wipe to remove any gunk or sediment. Think of it as giving your tap a little spa treatment.
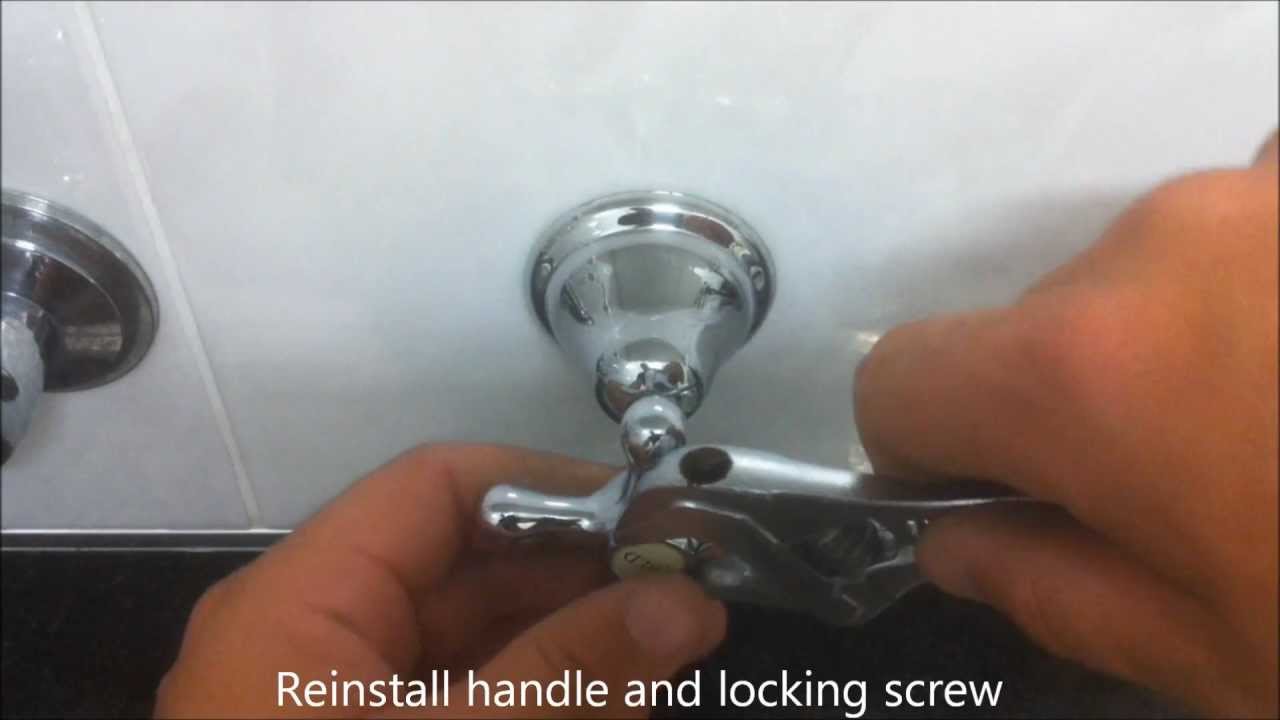
Reassembly: Putting Humpty Dumpty Back Together
Now, we reverse the process. Screw the valve back into the tap body. Again, hand-tighten it first, then use your spanner to give it a gentle tightening. Don't overtighten, or you might crack something. Reattach the tap handle, pop the screw back in, and then replace the decorative cap. Easy peasy!

Finally, the moment of truth. Turn the water supply back on slowly. Then, test your tap. Open it up, let the water run for a moment, and then turn it off. Listen carefully. Is the dripping gone? Hooray! You've done it! You've banished the drip for good.
A Few Extra Tips from Your Friendly Neighbourhood Guide
Sometimes, even after changing the washer, a tap might still drip. This could mean the valve seat (the part the washer presses against) is damaged or worn. If this is the case, it might be time to call in a professional, or at least investigate further. But for most common drips, a new washer is the magical cure.
Also, remember that taps come in different shapes and sizes. While the basic principle of changing a washer is similar, the exact steps might vary slightly. If you're ever unsure, a quick search online for your specific tap model can be a lifesaver. There are heaps of helpful videos out there.
So, there you have it! A simple, achievable DIY task that saves you money and gives you bragging rights. Next time you hear that annoying drip… drip… drip, don't despair. Just channel your inner DIY champion and get those washers changed. You’ll thank yourself (and your wallet will too)! Happy tinkering!