How Do You Change A Bike Tyre
Ever found yourself stranded by the side of the road, a flat tire mocking your cycling ambitions? Don't sweat it! Becoming a bike tire ninja is a superpower you absolutely want in your arsenal. Think of it: no more frantic calls to a friend, no more expensive call-outs to the local bike shop. Just you, your trusty tools, and the satisfying thwack of a freshly inflated tire. It’s not just practical; it’s incredibly empowering. Learning to change a bike tire is like unlocking a new level in your cycling adventure. It’s a skill that opens up more possibilities, more miles, and less worry. Plus, there’s a certain smug satisfaction in knowing you fixed it yourself! So, let’s dive into this surprisingly fun and incredibly useful world of tire transformation.
The Magic Behind the Fix
The purpose of changing a bike tire is beautifully simple: to get you back on the road (or trail!) as quickly and efficiently as possible after a puncture or wear and tear. It's the cyclist's version of roadside assistance, but with way more DIY charm. The benefits are numerous and frankly, quite liberating. Firstly, it saves you money. Those trips to the bike shop for a simple puncture fix can add up, especially if you're a frequent rider. Secondly, it saves you time. Waiting for a repair can put a serious damper on your ride plans. Being able to do it yourself means you’re back in the saddle in minutes, not hours. Thirdly, it builds confidence. Every time you conquer a flat, you gain a little more self-reliance and a deeper understanding of your machine. It’s a gateway skill to other bike maintenance tasks, making you a more capable and independent cyclist. Plus, it’s a fantastic conversation starter at the coffee shop – “Oh, this old thing? Just fixed a flat earlier today.”
Gathering Your Heroes: The Essential Tools
Before we get our hands dirty, let's assemble our trusty companions for this tire-changing quest. You wouldn't go into battle without your armor, and you shouldn't go into a tire change without your gear. The absolute essentials are:
- Tire Levers: These are your best friends for this job. Look for a set of at least two, made of sturdy plastic or composite material. Metal ones can sometimes damage your rim, so plastic is generally preferred for most situations.
- A Pump: Whether it's a portable hand pump or a floor pump, you'll need this to reinflate your tire after the swap. Make sure it's compatible with your valve type (Presta or Schrader – more on that in a moment!).
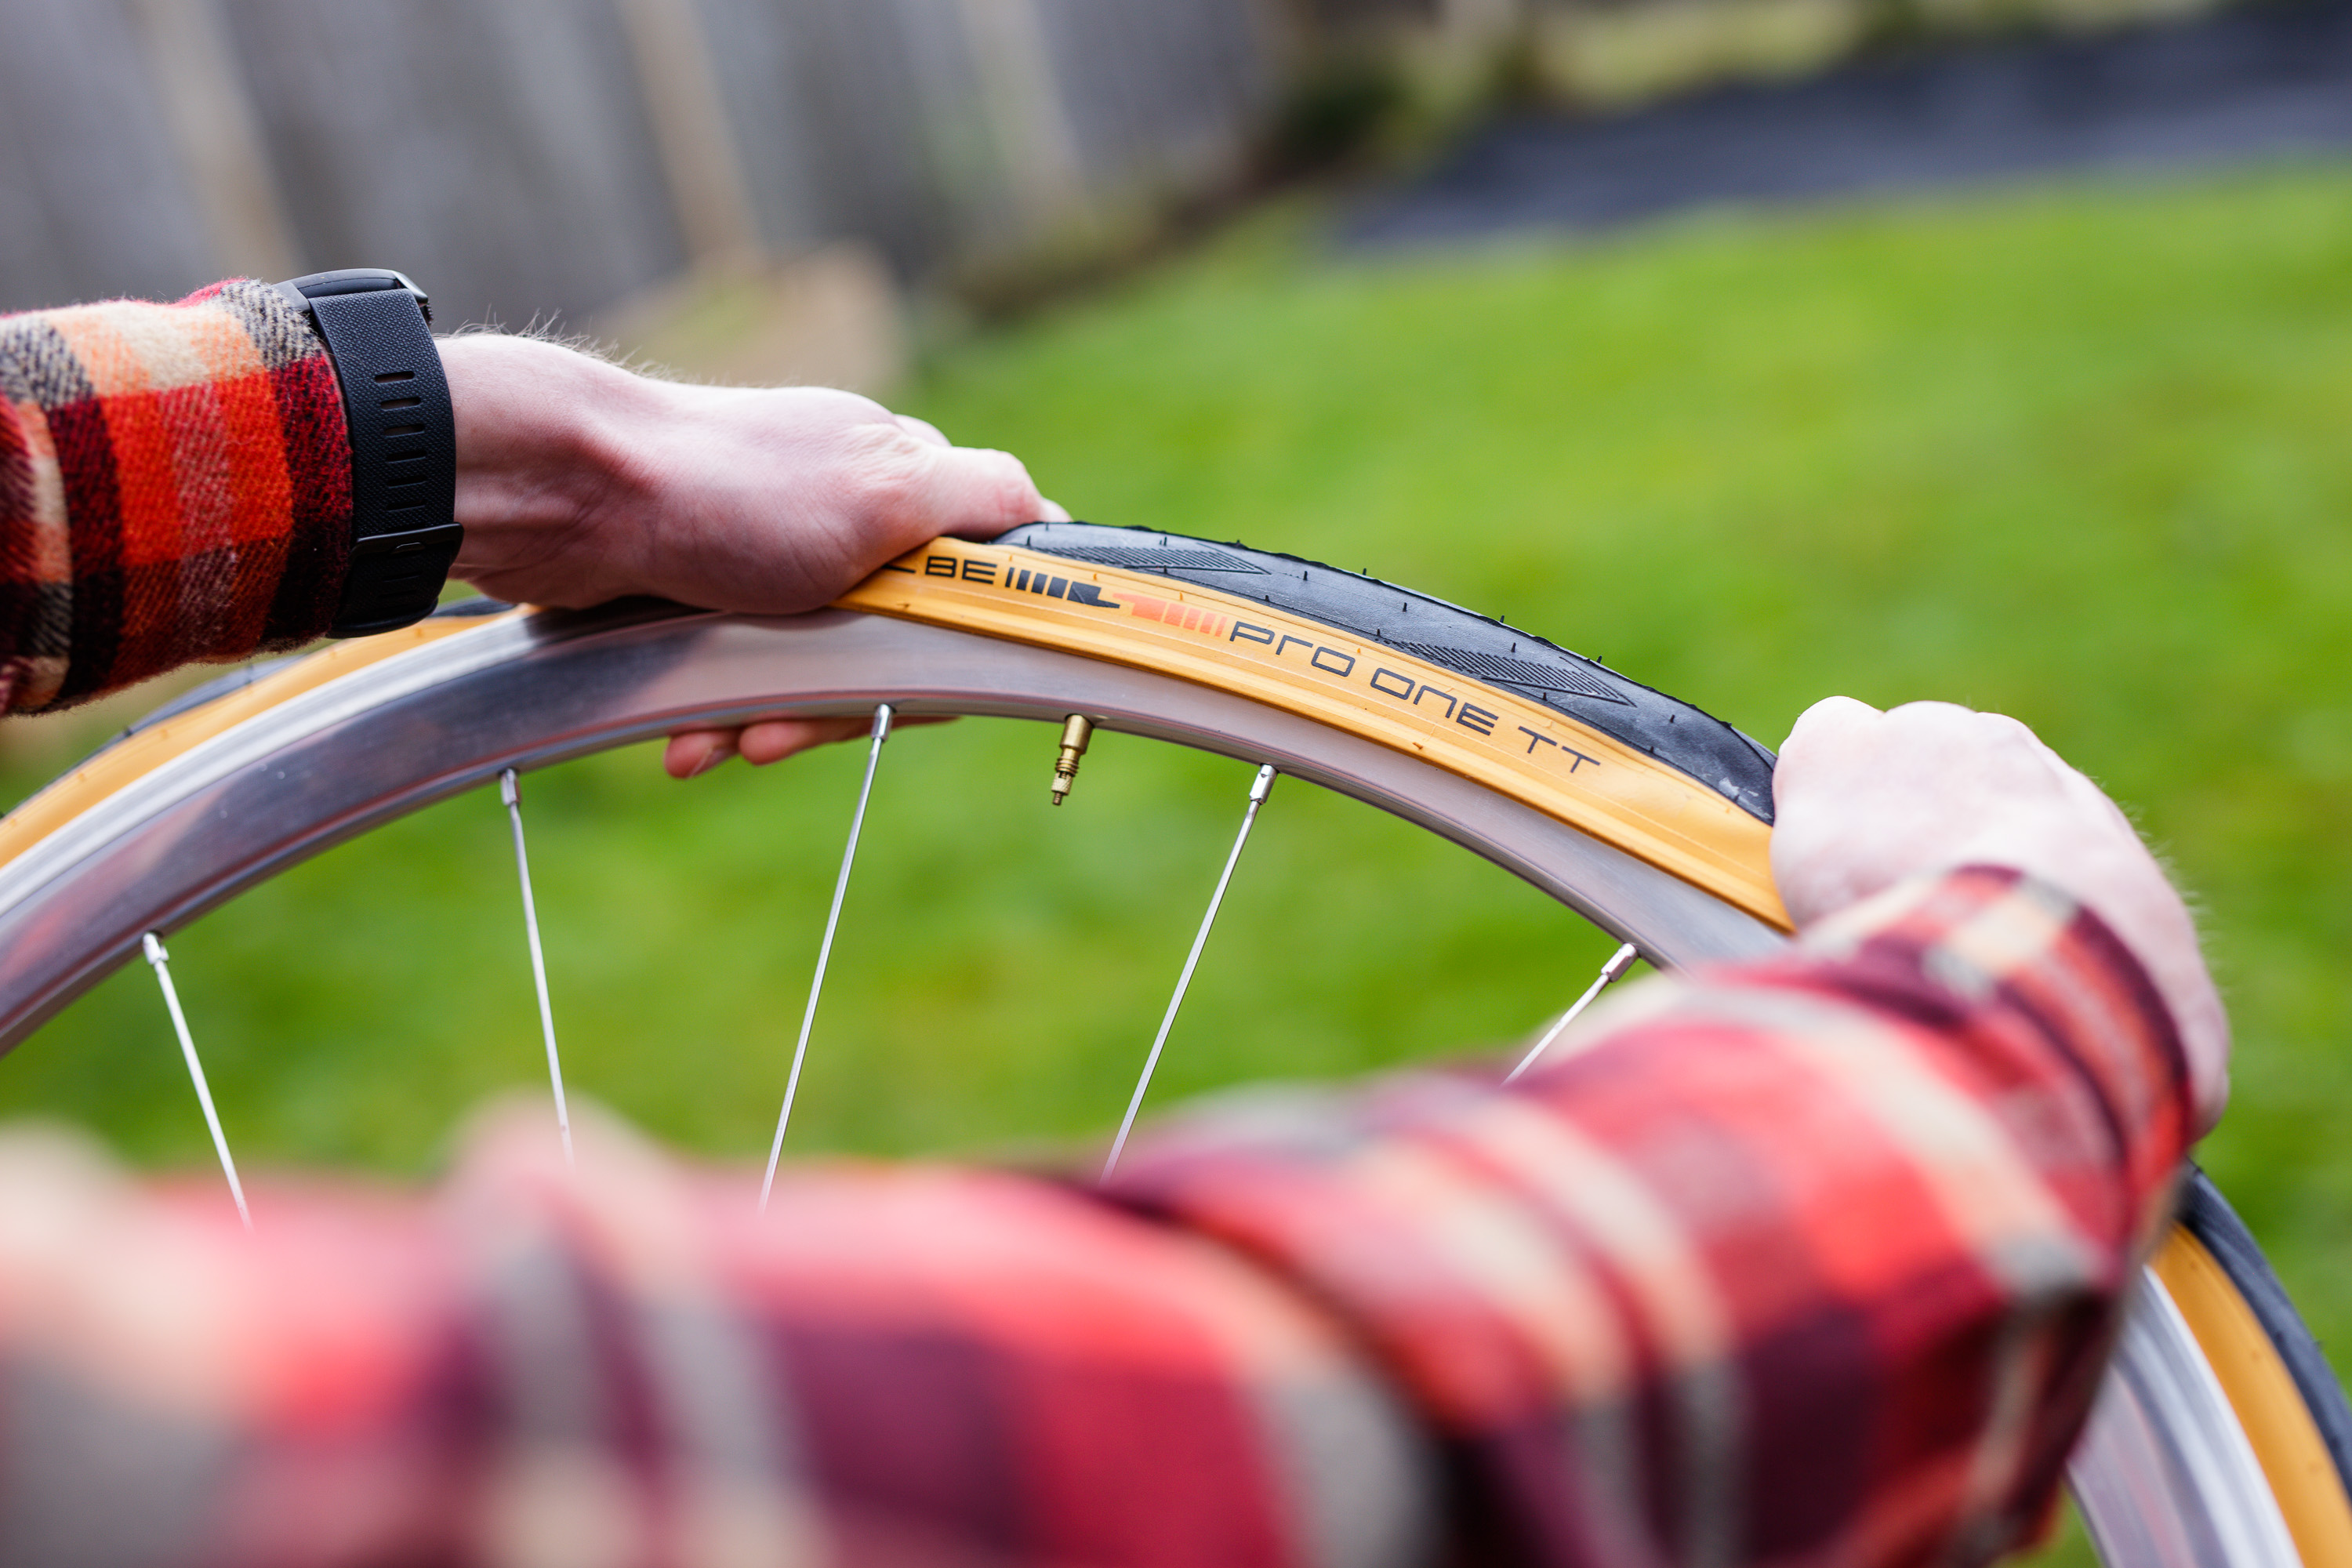
- A New Inner Tube: This is your replacement hero! Ensure it's the correct size for your tire and has the right valve type. You can usually find the size printed on the sidewall of your tire (e.g., 700x25c for road bikes, 29x2.2 for mountain bikes).
- A Patch Kit (Optional but Recommended): For those times when you want to save your spare tube for another day, a patch kit is a lifesaver. It allows you to repair the punctured tube.
- A Wrench or Allen Key (Sometimes): Some bikes have bolt-on wheels instead of quick-release levers. If yours does, you'll need the appropriate size wrench or allen key to remove the wheel. Check your bike before you head out!
Having these items ready means you’re prepared for almost any tire-related emergency. Think of them as your emergency toolkit for fun on two wheels!
The Grand Unveiling: Removing the Wheel
First things first, we need to get that wheel off the bike. If you have a quick-release lever, this is usually straightforward. Flip the lever to the open position and give it a gentle tug. If it’s a bit stiff, you might need to unscrew the nut on the opposite side a few turns. For rear wheels, you’ll need to shift your gears to the smallest cog at the back. This helps create slack in the chain and makes removal easier. Then, gently pull the derailleur back and lift the wheel out of the dropouts. If your wheels are bolt-on, grab that wrench or allen key and get to work loosening those nuts. Don't worry if it feels a little clunky at first; practice makes perfect!

The Art of the Tire Extraction
Now for the main event! Once the wheel is free, you'll need to deflate any remaining air in the tube. If you have a Schrader valve (like on a car tire), you can press the little pin in the center with your fingernail or the cap of your pump. For a Presta valve (thinner, with a little nut at the top), unscrew the small nut first, then press down on the tip. You'll hear a hiss as the air escapes. Next, take one of your tire levers. Wedge the curved end under the bead of the tire, where it meets the rim. Be careful not to pinch the inner tube! Lever it up and over the rim. If it’s a tight tire, you might need to work your way around. Once you have a section of the bead off the rim, hook the other end of the lever onto a spoke to hold it in place. Now, take your second tire lever and insert it a few inches away from the first. Pry this section of the tire bead over the rim. You should now be able to work your way around the rim with your levers, or simply pull the rest of the bead off by hand. You’re almost there!
The Inner Tube's Dramatic Exit (and Entrance!)
With one side of the tire bead off the rim, you can now reach in and pull out the old, sadly deflated inner tube. Gently pull it out from around the rim. It’s a good idea to locate the source of the puncture in the tire itself – run your fingers carefully along the inside of the tire (watch out for sharp objects!) and the outside. This helps ensure you don't put the new tube in only to get another flat immediately from the same culprit. Once you've found the offending object, remove it. Now, take your new inner tube. Inflate it just a tiny bit, enough to give it some shape. This makes it easier to get it into the tire and reduces the risk of pinching it. Starting at the valve stem, push the valve through the hole in the rim. Then, tuck the rest of the slightly inflated tube into the tire, working your way around the wheel. Make sure the tube isn't twisted.
The Tire's Triumphant Return
Now for the satisfying part: getting the tire back onto the rim. Start by pushing the tire bead back over the rim, working with your hands. You'll want to start opposite the valve stem and work your way towards it. As you get closer, it will get tighter and tighter. Don't force it! Sometimes, you can use your thumbs to push the bead into the rim. If it’s really stubborn, this is where your tire levers might come in handy again, but be extremely careful not to pinch the new inner tube between the tire bead and the rim. That’s a common mistake that leads to immediate flats! Once the tire is seated on the rim, go around both sides and push the tire bead towards the center of the rim. This ensures the inner tube is seated correctly and not caught under the bead. Finally, it’s time to pump it up! Connect your pump to the valve and start inflating. You’ll hear the tire bead pop into place on the rim as it inflates. Pump it up to the recommended pressure, which is usually printed on the sidewall of your tire. Give the wheel a spin to make sure everything looks good and that there are no bulges or uneven areas.
Reassembly and Victory Lap
With the tire perfectly inflated, it’s time to get your wheel back onto your bike. For rear wheels, carefully guide the chain onto the smallest cog. Make sure the wheel is seated properly in the dropouts. Then, secure your quick-release lever or tighten those bolts. Give your wheel a spin to ensure it’s running freely and not rubbing against the brakes or frame. And that’s it! You’ve done it! You’ve successfully changed a bike tire. Take a moment to appreciate your newfound skill. You’re now equipped to handle one of the most common cycling mishaps, meaning more miles, more adventures, and more independence. Now, go out there and enjoy the ride!