Best Soil For Lavender Plants In Pots

Hey there, fellow plant parent! So, you’ve decided to bring a little bit of Provence into your life with some gorgeous lavender, have you? Excellent choice! Seriously, who doesn’t love that scent? It’s like a mini vacation for your nose, right?
But, as you know, if you’re eyeing those cute little pots, you’re probably wondering, “What’s the magic dirt for these fragrant beauties?” Don’t worry, I’ve got you covered. It’s not rocket science, but it’s definitely not just any old dirt, either. Think of it as giving your lavender the best spa treatment for its roots.
The Dirt on Lavender’s Digs
Okay, let’s get down to brass tacks. Lavender is a bit of a diva, but in a good way. It’s Mediterranean, which tells you a whole lot. Think sunshine, rocky terrain, and definitely not soggy feet. That’s the golden rule, my friends: lavender HATES wet feet. Like, really hates it. It’s a one-way ticket to root rot, and nobody wants that drama.
So, when we talk about the "best soil" for potted lavender, we're really talking about creating a mix that mimics its natural, well-draining habitat. We want something that lets water flow right on through, instead of pooling around those precious roots. Imagine a desert-lover trying to live in a swamp – not ideal, right? That’s what soggy soil is to lavender.
The Foundation: Drainage, Drainage, Drainage!
This is the big one. If I could tattoo anything on my forehead about growing lavender in pots, it would be this. Drainage is non-negotiable. If your pot doesn't have drainage holes, you might as well start planning your lavender’s funeral now. Just saying! And even with holes, the soil inside the pot needs to be airy and porous.
So, what does this mean in practical terms? It means you can’t just grab a bag of “all-purpose potting mix” and call it a day. Those can be a bit too… well, all-purpose. They hold moisture, which is fine for some plants, but for our lavender pals? Not so much.
DIY Potting Mix: Your Lavender’s Dream Team
Alright, let’s get our hands dirty, shall we? Mixing your own soil is actually super satisfying, and it gives you complete control over what your lavender is getting. Plus, it’s usually cheaper than buying fancy pre-made mixes. Win-win!
The secret ingredient, or rather, the secret ingredients, are things that boost drainage and aeration. Think of it as creating a little airy condo for your lavender’s roots.
The Usual Suspects (for Drainage!)
Here are the stars of our drainage show:
- Perlite: This stuff looks like tiny white Styrofoam balls, but don’t let its looks fool you! It’s volcanic glass that’s been heated up, making it super lightweight and incredibly porous. It creates little air pockets in your soil, allowing water to escape quickly. It’s like a tiny, built-in drainage system for every particle of soil. Seriously, perlite is a game-changer.
- Pumice: Similar to perlite, pumice is also volcanic rock. It’s a bit heavier and has a more irregular shape, which also helps with aeration and drainage. It’s like the slightly more rugged cousin of perlite. You can use either, or a mix of both!
- Coarse Sand: Now, when I say sand, I don’t mean the fine stuff you build sandcastles with at the beach. That will just clog things up. We’re talking about horticultural grit or coarse builder’s sand. This stuff has larger grains and will really open up your soil. Just be sure it's not treated with anything yucky.
These guys are your best friends for ensuring that water doesn’t linger. They break up the denser particles of your base soil, creating channels for moisture to flow through. Think of it as building a tiny underground highway system for water.
The Base: What Else Goes In?
Okay, we’ve got our drainage boosters. What’s the main event? What are we mixing them into?
- Good Quality Potting Soil: You still need a decent potting mix as your base. Look for one that’s labeled for containers and ideally contains things like peat moss or coco coir for a bit of moisture retention (just a bit!). It provides the essential nutrients and structure for the plant. Don’t go for the cheapest bag you can find; it might be too heavy or lack good organic matter.
- Compost (Optional, but nice!): A little bit of well-rotted compost can add some valuable nutrients and beneficial microbes to your mix. However, use it sparingly, as too much compost can sometimes hold onto too much moisture for lavender. A small percentage is usually plenty. Think of it as a gourmet garnish, not the main course.
The Magic Ratio: Let’s Talk Numbers (Sort Of!)
So, how do you put it all together? There’s no single, absolute perfect ratio because it can depend on your specific climate and how much you tend to water. But here’s a great starting point that usually works wonders:
The Classic DIY Mix:

- 2 parts good quality potting soil
- 1 part perlite (or pumice, or a mix of both!)
- 1 part coarse sand (horticultural grit)
So, if you’re making a big batch, think two buckets of potting soil, one bucket of perlite, and one bucket of sand. Easy peasy. This ratio gives you a really well-draining, airy mix that lavender absolutely adores.
Why this ratio? The potting soil provides the necessary foundation, the perlite/pumice ensures speedy drainage and aeration, and the coarse sand further improves drainage and prevents compaction. It’s a symphony of drainage perfection!
Some people even go bolder with drainage, especially in really humid climates. You might see recipes with equal parts potting soil, perlite, and sand. If you’re a notorious over-waterer (no judgment, we’ve all been there!), you might consider leaning more heavily on the perlite and sand. It’s all about finding that sweet spot for your watering habits and your plant’s needs.
What to AVOID Like the Plague
Let’s recap what you absolutely do not want in your lavender pot:
- Garden Soil: Never, ever use soil straight from your garden in pots. It compacts way too easily, drains poorly, and can be full of pests and diseases. Pots need a lighter, airier medium. Your garden soil is for the ground, not for a penthouse apartment for your lavender.
- Heavy Clay Soils: These are the water-hogging culprits. They turn into concrete when dry and a muddy mess when wet. Lavender wants to feel the breeze through its roots, not be suffocated.
- Fine Sand: As mentioned, the beach variety is a no-go. It just turns your soil into a dense, waterlogged brick.
- Pure Peat Moss or Coco Coir: While these are good components of potting mix, using them alone will retain far too much moisture. They need to be balanced with drainage materials.
Basically, if it feels heavy, dense, or overly sticky when wet, it’s probably not right for your lavender. You want something that feels light and crumbly.
Beyond the Soil: Other Potting Tips for Happy Lavender
Even with the perfect soil, there are a few other things to consider to make your potted lavender truly thrive. It’s like giving your star athlete the best coach, the best equipment, and a fantastic diet!

Pot Choice Matters!
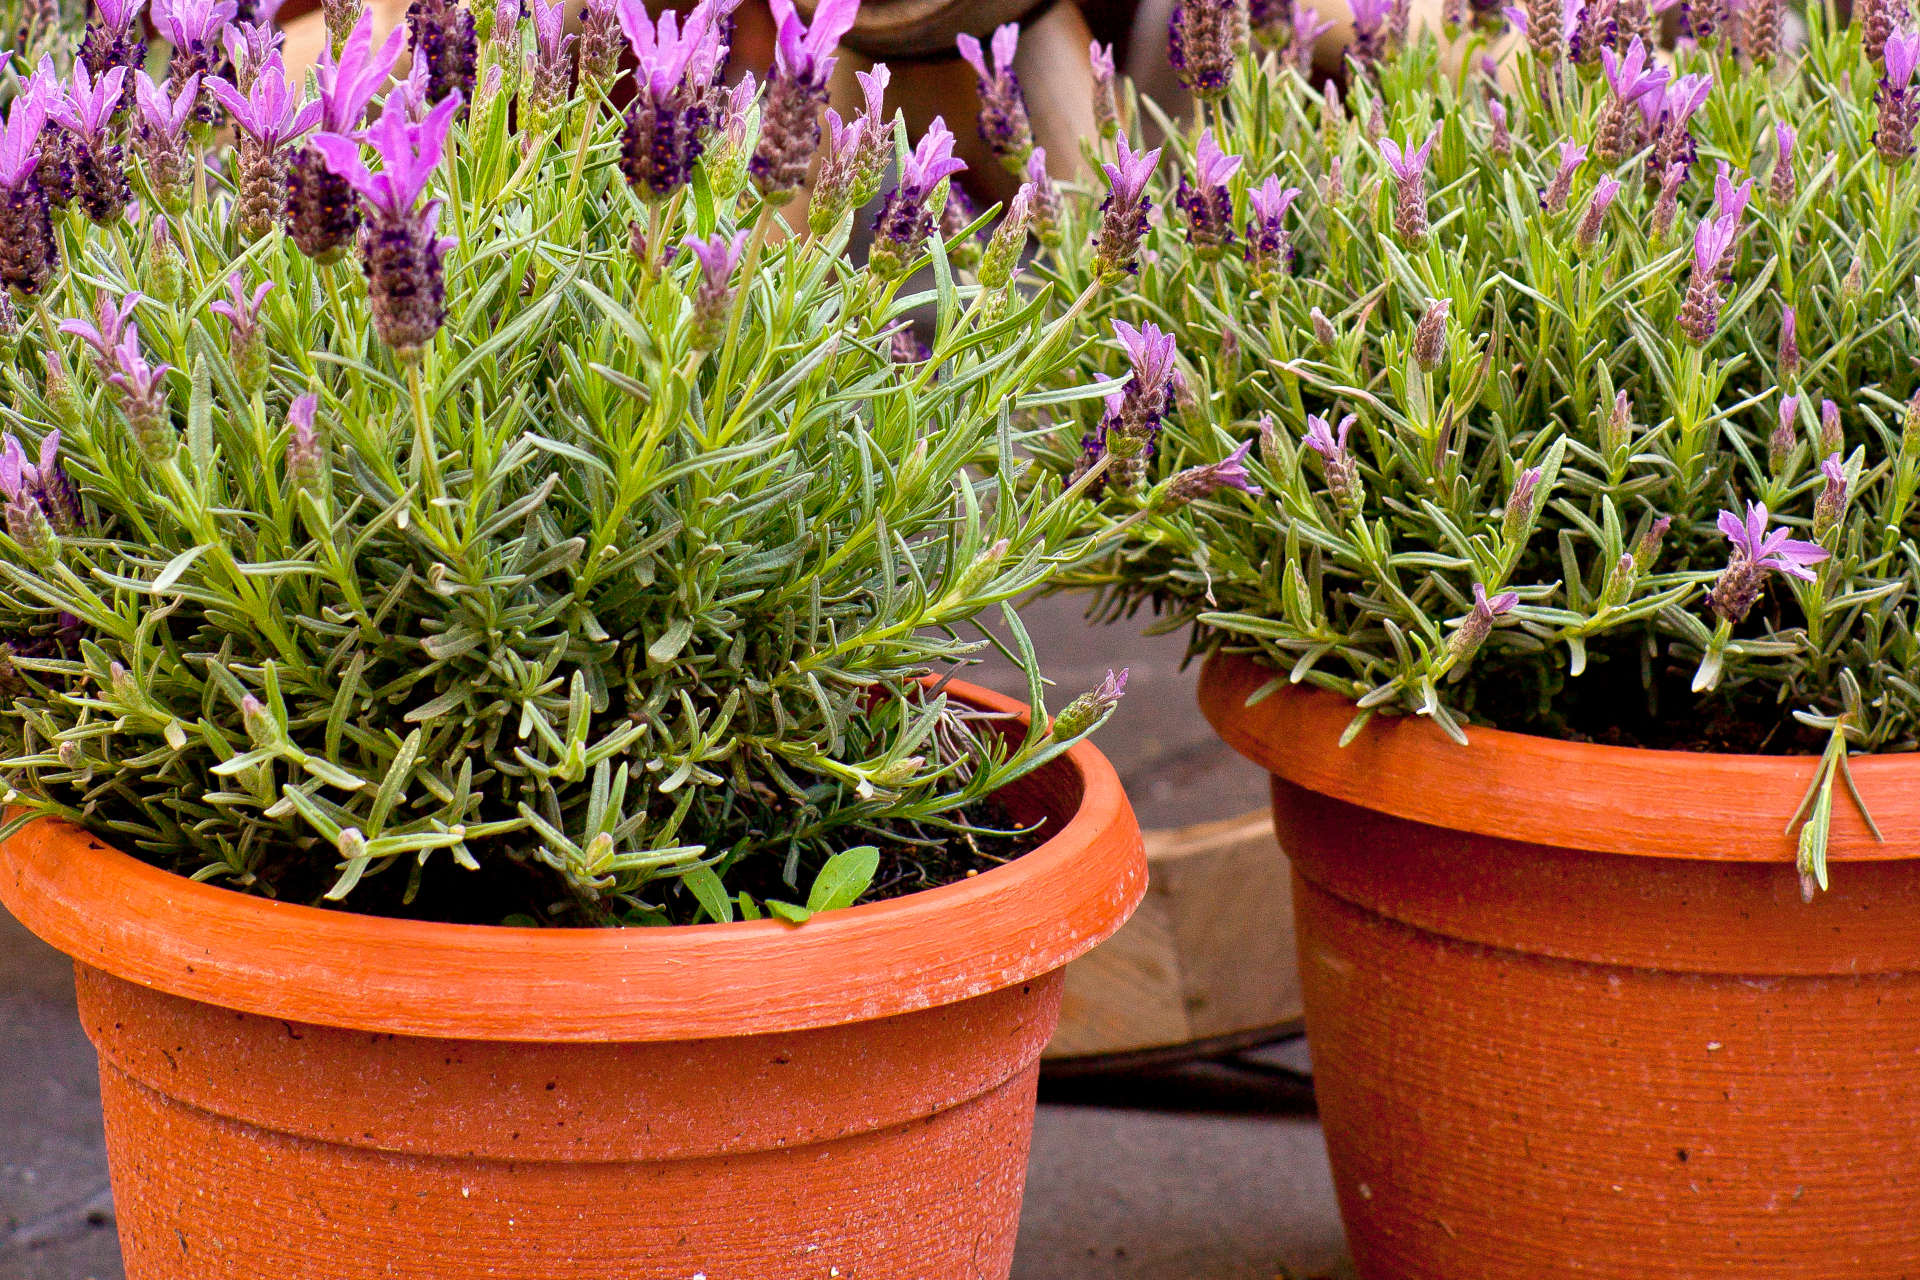
We’ve already touched on drainage holes, but let’s talk about the pot itself. Terracotta pots are your friend! Why? Because they’re porous. They allow a little bit of air to get to the roots and also help the soil dry out more quickly. They’re like the breathable athletic shoes of the pot world.
Plastic pots can work, but you have to be extra vigilant about watering because they don’t allow for any evaporation through the sides. And no matter what material you choose, make sure those drainage holes are ample! If you’re worried, you can always put a layer of gravel or broken pot shards at the bottom, but honestly, a good well-draining soil mix is usually all you need. The drainage holes are paramount!
Sun is Key!
Lavender loves sun. Like, seriously loves it. It’s a sun-worshipper. For potted lavender, you want to give it at least 6-8 hours of direct sunlight per day. If you don’t have a spot that sunny, you might want to rethink growing lavender, or at least manage your expectations. A sunny windowsill might work for a small plant, but for a mature, happy lavender, it needs its rays!
Think of it as lavendertide’s all-you-can-eat buffet of sunshine. Without it, they get leggy, produce fewer flowers, and just aren’t as fragrant. Sad times.
Watering Wisely
This is where that fantastic soil mix really pays off. When you’ve got a well-draining soil, you can water more freely without causing waterlogging. The key is to let the soil dry out between waterings.

How do you know when it’s dry? Stick your finger about an inch or two into the soil. If it feels dry, it’s time to water. If it feels moist, hold off. You can also use a moisture meter if you want to be super precise. It’s better to underwater slightly than to overwater. Remember, lavender prefers to be a little thirsty than a little drowned.
When you do water, water thoroughly until water runs out of the drainage holes. This ensures that the entire root ball gets hydrated. Then, let it dry out again.
Fertilizing? Less is More!
Lavender isn’t a heavy feeder. In fact, too much fertilizer can actually reduce its fragrance and make the plant weak. If you’ve used a decent potting mix and a bit of compost, you probably won’t need to fertilize much, if at all, in the first year.
If you do fertilize, opt for a balanced, slow-release fertilizer or a diluted liquid fertilizer sparingly, maybe once or twice during the growing season (spring and early summer). And always, always, always follow the instructions on the package. It’s not a competition to see who can fertilize the most!
Troubleshooting: When Things Get a Little Wobbly
Even with the best intentions, sometimes things go a bit awry. Here’s how to spot and fix common issues related to soil:
- Yellowing Leaves: This is often a sign of overwatering, meaning your soil is staying too wet for too long. Check your drainage, and make sure you're letting the soil dry out between waterings.
- Leggy Growth (long, weak stems): This usually points to insufficient sunlight. Move your lavender to a sunnier spot!
- Root Rot (mushy roots, wilting even when watered): This is the big one, caused by consistently soggy soil. If caught early, you can try repotting in fresh, dry, well-draining soil. You might need to trim away rotted roots.
- Pests: While not directly soil-related, healthy plants are more resistant to pests. Good soil and proper care will lead to a stronger, more pest-resistant lavender.
So, there you have it! The secret to happy, fragrant lavender in pots is all about giving it a home that’s as close to its Mediterranean roots as possible. Think airy, well-draining, and sunny. It’s not about fussing over them constantly, but about setting them up for success from the get-go. Now go forth and create your own little fragrant oasis!